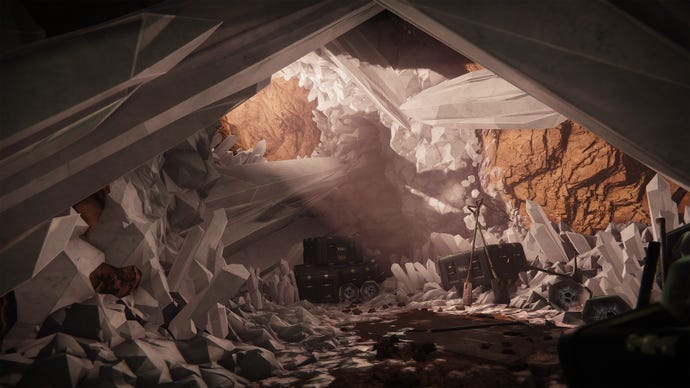
Destiny 2: Grasp of Avarice dungeon guide
The legendary loot cave is back with a brand new dungeon.
A new dungeon is finally out in Destiny 2! Grasp of Avarice takes us back to the legendary loot cave, where we’ll be able to venture deep into unexplored territory in the hunt for loot. This three-player content is filled with puzzles and raid-style bosses, so you might be struggling with a few parts.
To help you out, we’ve written up this Grasp of Avarice guide to take you through each and every stage of the dungeon. After reading this, you’ll be able to plunder the loot cave without issue. If you prefer a video version of this guide, Dorrani has created a walkthrough you can watch embedded below!
Grasp of Avarice guide: Entering the cave and Burdened by Riches
You’ll start outside in the Cosmodrome by the loot cave, as Hive enemies pour out of the mysterious hole. As you kill the enemies that constantly come out of the cave, you’ll notice they drop exotic engrams that grant the ‘Burdened by Riches’ debuff. Once this runs out, you’ll die, so you want to clear these as soon as you can.
To do so, enter the cave once it’s clear of enemies and you’ll find a white crystal. Standing near the crystal will allow it to syphon the stacks of ‘Burdened by Riches’ from you. Once you hand in enough, the enemies will stop coming and a new entrance will open up in the cave.
Grasp of Avarice guide: How do I get past the Rusted Gangplank puzzle?
You’ve reached the Rusted Gangplank! This part of the dungeon is filled with traps and puzzles, meaning you’ll have to manoeuvre around instant-kill spikes to proceed.
When you get to the Rusted Gangplank, you'll reach an open area with a sealed vault door directly ahead of you. To your right, there'll be two doors. Open the door on the left, then jump over the trap pad on the floor towards the terminal. Activate it, then the vault door outside will open.
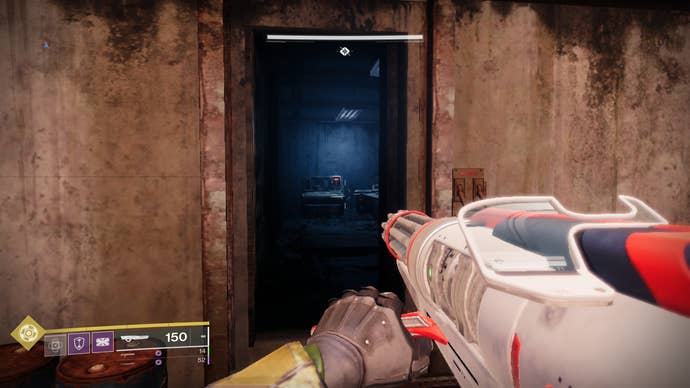
Proceeding forward, you'll reach a large jump with a platform ahead of you. Take that jump, then immediately jump forward to the console ahead of you. Do so quickly, because the floor will fall from under you causing you to die if you don't!
Do not activate this console, it’s trapped! Turn back around and you'll see a small room beneath the falling platform you were just on. Head inside and you’ll find a safe console that you can activate to open the path forward.
Head back to the first room with the vault door, and look up! You'll see six air vents have opened. Make your way up via the small wall fans to your right on the wall. Once you’ve reached the top, head to the opening to the back right of the room (right corner of the vault-door-wall). Step on the button and the hatch above you will open.
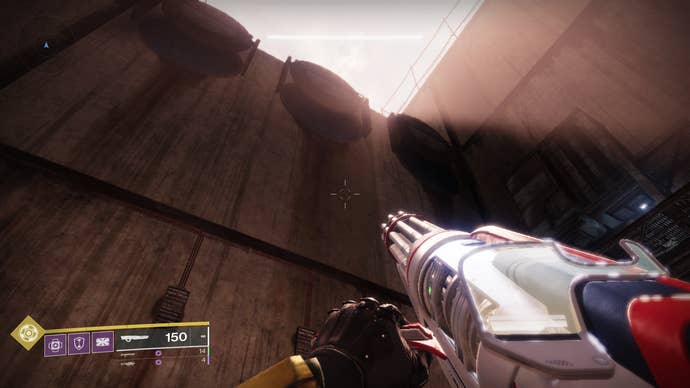
Once you're up, hop on the platform directly ahead of you then turn around. Do not jump too far as there are spikes behind it. Jump onto the pipes to your right but be careful, as there's a trap button that will kill you if you step on it.
Turn around again towards the first platform and you'll see another ledge you can climb up on. Jump up then sprint to the cave entrance ahead of you. If you're not fast, the floor will drop out and you'll die.
Activate the terminal in the dark blue cave and crawl through the door. Congratulations, you’ve reached a checkpoint! You'll now enter the big green room - which means more puzzles.
Grasp of Avarice guide: How do I get past the green room puzzle?
As you enter, you'll see half open doors across the big green room that you can crawl through. Make your way inside these rooms and activate terminals as you go to proceed onwards.
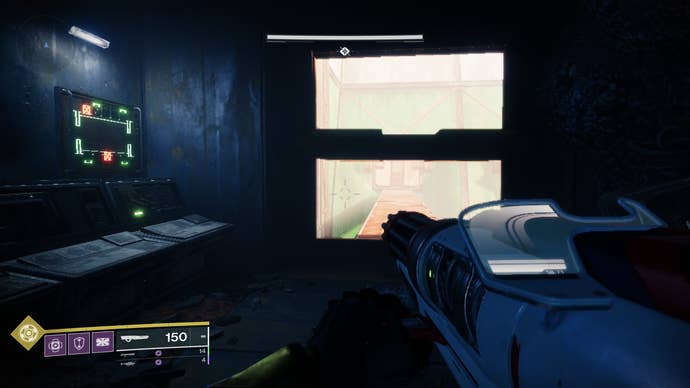
Inside these rooms are Taken Thralls and trap buttons, so be careful not to get blown up.. Continue making your way through these Hive trap rooms and you'll reach another blue cave at the polar opposite end of the green room from the entrance.
Activate the terminal inside, then look up. You should see an opening above you. Climb through and activate another terminal by a large glass window. This will spawn a Hive Shrieker outside, and open a large door by the green room entrance.
Make your way all the way back towards the entrance, reactivating terminals as you go, and enter the big door you just opened. There will be a few enemies inside you should clear out, alongside yet another terminal to the exit back at the other end of the green room.
You guessed it. Make your way back towards the other side of the room through the Hive trap rooms, then jump through the large opening. Inside, there will be two regular-sized doors with switches next to them.
Activate the one with a lamp on the floor near it. The other one is booby trapped. You don’t want to go through the green room terminal extravaganza all over again.
Grasp of Avarice guide: How do I get past the blue room puzzle?
You'll next reach the big blue room. It’s a large circular area with an endless drop below, so be careful to stick on the platforms.
There are four sections to the blue room, marked with large numbers above them. 01, 02, 03 , and 04.
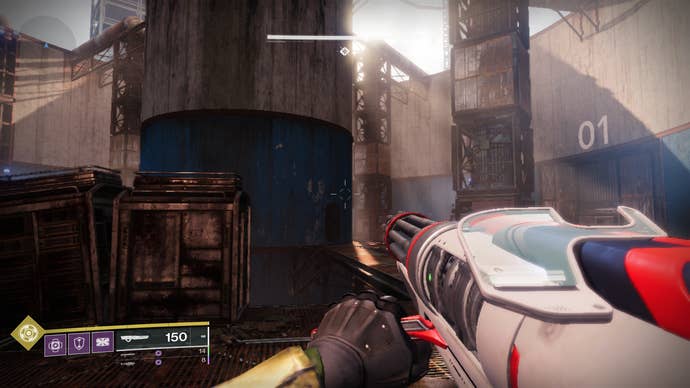
Go to section 01. There will be a terminal that you must activate there. Once you do, section 03 will have rooms open up where our next objective can be found.
Head to section 03 and kill the enemies there. Head inside and activate another terminal. This will open more rooms back at section 01. Leave and make your way back to the first terminal and you’ll see enemies have spawned.
Clear out these enemies and do the same thing you just did at section 03, go inside and activate a terminal. This will open up section 02.
Head to 02 and kill the enemies. There’s a twist! Not only is there no terminal, there’s also a special enemy carrying a scorch cannon. Kill that guy and grab his gun. Once you have it, head over to the final section: 04.
Shoot the generator next to the door with the scorch canon, and the door will open fully. You’ll want to use a fully powered shot here. To do that, shoot but hold down the fire button (right trigger for controllers, left click for mouse and keyboard). You’ll see the rocket pulse with energy. Once it has pulsed twice it is fully charged and will open the door.
These generators can sometimes be tricky, so when shooting them with a scorch cannon be sure to aim at the hole in the centre. You’ll know you’ve hit it right if “immune” pops up on impact.
Go inside, and climb up the giant red staircase. As you do, you'll notice spaces to the sides you can enter. As you go up, the room will go dark. Immediately get into one of those spaces as an Indiana Jones style bolder will roll down the stairs.
At the top of the stairs you'll enter a garage space. Do not enter the door next to the lights - this is a bait exit and will kill you. Instead, look away from the door and you'll see a ruined car by a stack of boxes. Climb these boxes to find the way forward through the air vents.
Once you leave the vents you'll enter a giant dark room. Very spooky. Make the jump from the pillar platform directly in front of you to the open door with green lighting at the other end of the room. Once you head through, you’ll reach the first boss room.
Grasp of Avarice guide: How to beat Phry’zhia the Insatiable?
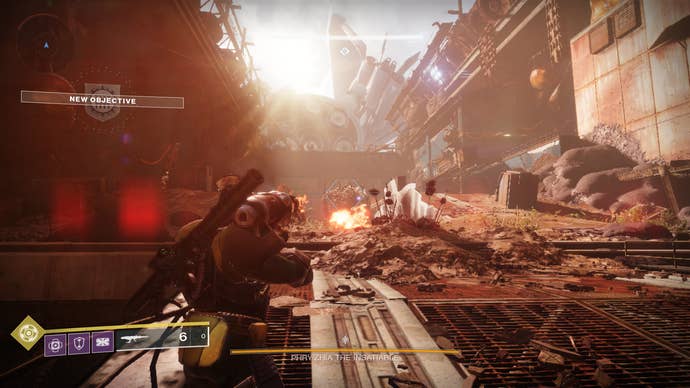
You’re finally done with puzzles and into the action! The main gimmick to this boss revolves around the crystal at the front of the arena - you may notice it’s the same sort of crystal you used to enter the dungeon all the way at the start.
Well it works the same way! Before you’re able to damage the boss, you need to kill certain enemies that will drop exotic engrams. Picking them up provides the ‘Burdened by Riches’ debuff, which can be syphoned off by standing near the crystal.
In this fight, only the Hive enemies that spawn from locked rooms at the left and right of the arena will drop engrams. To open these, you’ll need to kill a Fallen carrying a scorch cannon at the north of the arena - opposite the crystal.
Once you have the scorch cannon, shoot a fully charged shot off at a generator above the locked doors. Once you do, these will open allow you to head inside and collect engrams from hive enemies.
Take the debuff these grant you back to the crystal to charge it up. As a tip, this crystal totally blocks incoming damage from the boss, so if you position yourself with it between the two of you, you will be safe.
Once charged, the boss will be vulnerable to damage. Give it everything you’ve got, as it will soon be shielded again. Repeat this process until the boss has died, it’s as simple as that!
Grasp of Avarice guide: How to beat the Sparrow race?
Once you’ve beaten Phry’zhia the Insatiable, you have a sparrow race to complete! You’ll enter a large dark room with two terminals. Activate the one on the left (the one on the right is booby trapped), and hop on your sparrow as fast as you can.
Here’s how it works. The race is essentially a straight shot through Fallen-infested pathways with four bombs located along the way. You have to reach each bomb one after the other before the time runs out, otherwise you’re entire fireteam dies and you’ll have to start over.
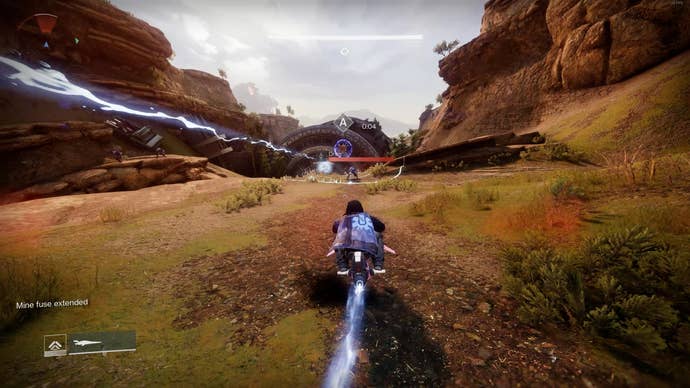
To deactivate the bombs, briefly stop underneath them until they are disarmed, then quickly head off again. You don’t have to stay under them for very long, so don’t delay!
You don’t have long to reach each bomb at all. In fact, it’s borderline impossible to reach them without help. Thankfully the track is littered with red switches that grant you extra time. Driving close to these will extend the countdown, giving you more time to disarm them before the entire party is wiped.
The the last bomb located in the mouth of a giant skull! Once you deactivate that one, the race is over and you can breathe a sigh of relief.
Grasp of Avarice guide: How to beat the Fallen Shield
The next boss fight is more of a puzzle encounter. The boss health bar refers to the strength of the shield protecting the giant spherical structure in the centre of the room.
This room is gigantic, and dotted with islands that you have to reach by using cannons installed on each landmass. You can change the direction these cannons are facing by interacting with them.
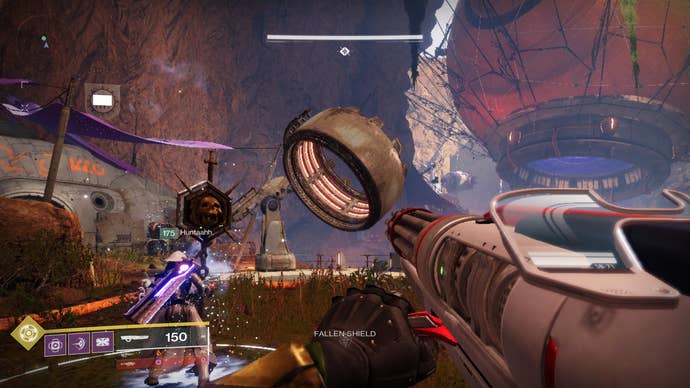
To power up these cannons, you have to kill a Fallen armed with scorch cannons, using them like before to power generators attached to these cannons.
Each charged generator is good for one trip across, and it runs out of power quickly, so make sure everyone is in position below the cannon before activating it.
What you’re looking for on these islands are shielded servitors. Once you’ve found them, everyone must make their way to the island to start making progress before taking the boss down.
To take down the Servitor’s shield, kill nearby enemies on the island. They will drop exotic engrams that you must use to charge a crystal on the island. These can be found inside a small building in the centre of each island, so you won’t have to look too hard to find them.
Once the crystal is charged, the shield around the servitor will go down. Kill it, then push its body down towards the nearby cannon (the same cannon you’ve been using to jump across islands). Before you power it up, aim the cannon towards the structure in the centre of the room.
Power up the cannon, and watch the Servitor soar into the structure, dealing damage. Repeat this process a few times and the boss will go down.
Once the fight is done, head to the small island directly below the large structure and you’ll find another cannon. Aim it directly up, power it, and shoot yourself towards the final boss.
Grasp of Avarice guide: How to beat Captain Avarokk the Covetous
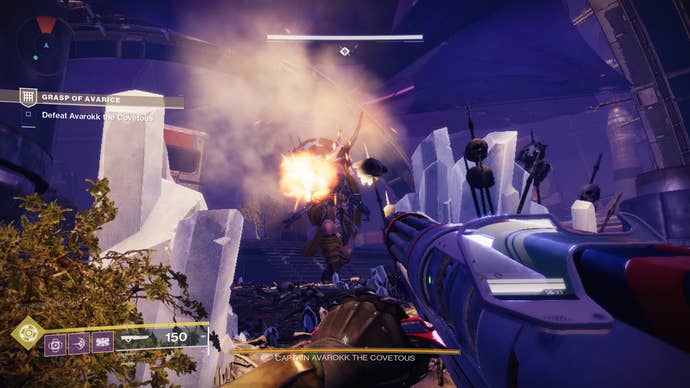
This boss, Captain Avarokk the Covetous, works a lot like the first boss Phry’zhia the Insatiable. There’s a crystal you must power to bring down his shields, allowing you to damage it during a limited-time vulnerability phase.
Defeat enemies around the room to collect scorch cannons. Pick these up and use them to power up generators found around the room. This will cause containers to drop a huge amount of engrams along the arenas’ perimeter.
Collect these and the attached Burdened by Riches debuff and deposit them at the crystal in the centre of the room. Deposit enough, and the boss will teleport to a set location near the centre. Use this opportunity to deal as much damage as possible.
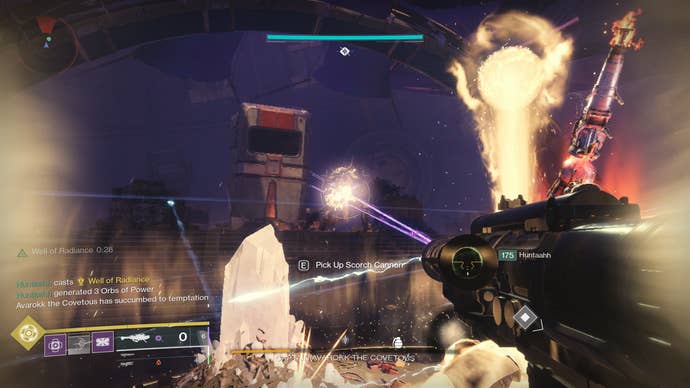
One difference between this fight and previous ones is the two master enemies that appear after each damage phase. One is a Sniper Shank and another is a Vandal. Each of these have tonnes of health, and can make gathering engrams difficult, so take them out if you start dying too often.
Also, watch out for the water! As everyone knows, even shin-high puddles kill Guardians immediately, so stay on the platforms at all times.
Repeat the crystal charging cycle over and over again until the boss is dead. In our fireteam of two people, it took four resets, so a full team should be able to clear it in three phases.
Congratulations! With Avarokk’s death you’ve beaten the Grasp of Avarice dungeon! If you’re looking for new Destiny 2 30th anniversary content, we’ve got a guide on how to earn the Gjallarhorn and Gjallarhorn catalyst, as well as some of the new Halo-inspired weapons you can get right now.
