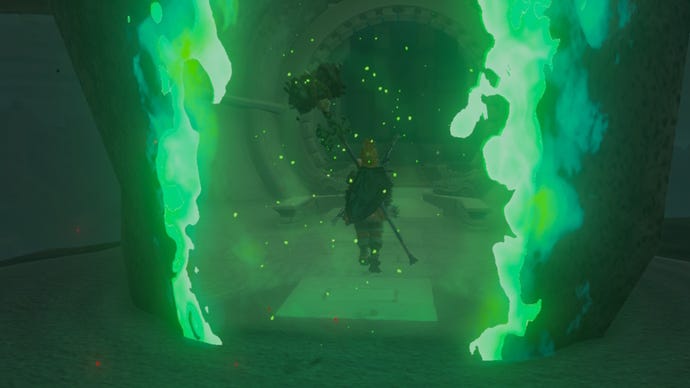
How to complete the Serutabomac Shrine in Zelda: Tears of the Kingdom
Way up top!
Update: We fixed some broken links and rearranged the page a bit to ensure you can find what you're looking for more easily!
The Serutabomac Shrine in The Legend of Zelda: Tears of the Kingdom is definitely a mouthful to try and say, but as far as shrines go, it isn’t too tricky to tackle. This shrine will teach us all about the ways in which we can access high places, mainly with the use of Ascend and creation of ramps!
If you’re having trouble navigating Serutabomac Shrine, don’t fear; it’s simple. Here’s how to complete the Serutabomac Shrine in Zelda: Tears of the Kingdom.
How to complete the Serutabomac Shrine in Zelda: Tears of the Kingdom
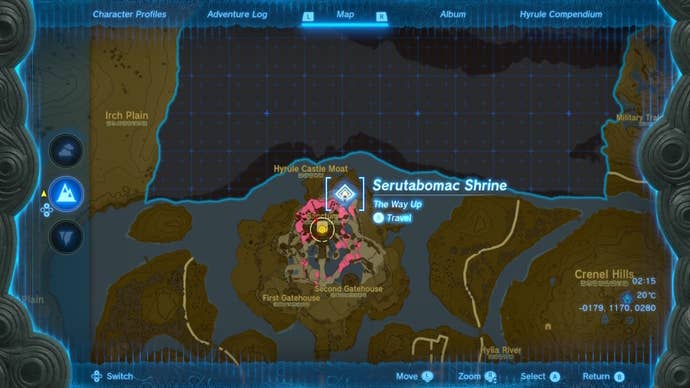
The Serutabomac Shrine in Zelda: Tears of the Kingdom is located on B1 of Hyrule Castle, and will be your primary fast travel point to the castle once you have encountered it.
Once you enter the Serutabomac Shrine, you’ll be presented with a metal platform and some bars sticking out of the wall. Simply use Ultrahand to place the platform on top of the two bars, and Ascend up through the platform.
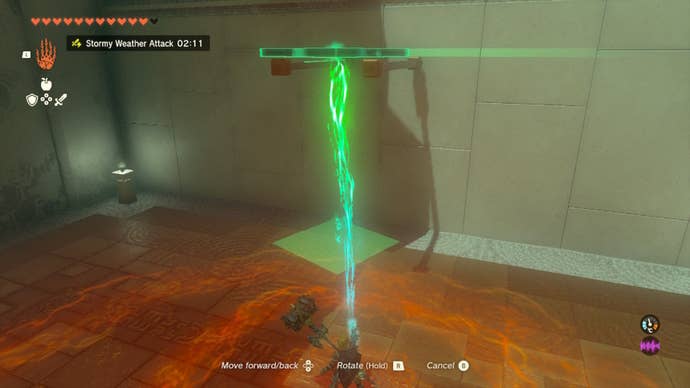
In the second area of the shrine, there are two platforms and one bar in the wall to our left. This time, we want to make a ramp using the two platforms, and place it on the bar as shown below.
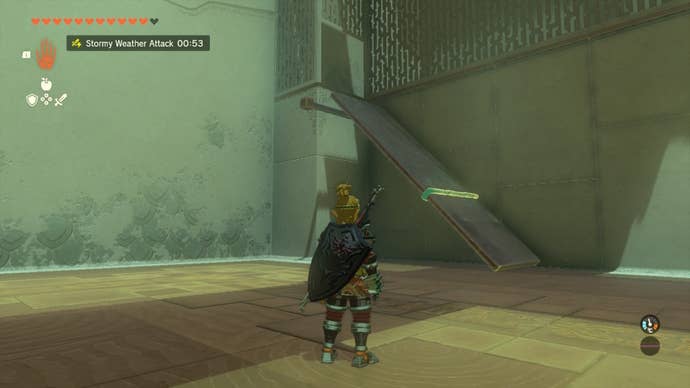
Now, there are three platforms, and two bars sticking out of the wall. We want to fuse the three platforms together to build a small arch that will stand atop the bars.
If we simply place a platform on the bars and Ascend up, Link won’t be able to reach the exit. If you’re confused, see the picture below!
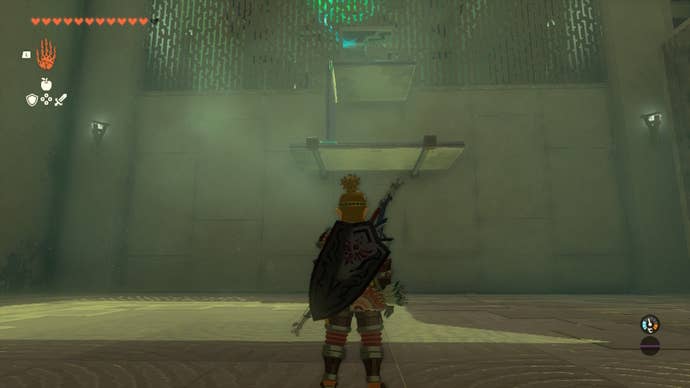
You’ll now be able to exit the shrine and receive your Light of Blessing!
How to get the Serutabomac Shrine chest in Zelda: Tears of the Kingdom
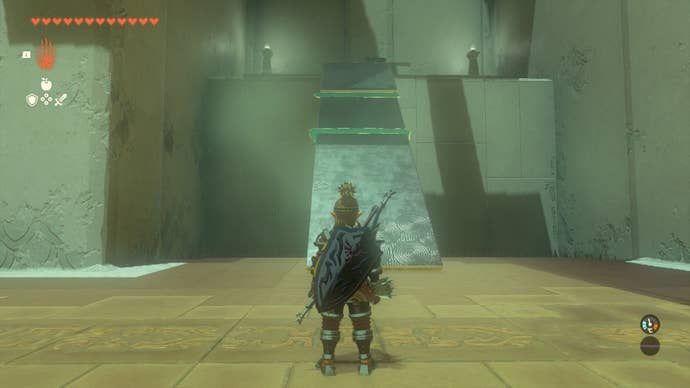
In the third section of the shrine, where we must build a small arch to exit, the chest is behind Link. To reach it, all you need to do is use the three platforms to create a ramp, and then walk on over to it!
Inside of the chest is a Magic Rod!
For more on Zelda: Tears of the Kingdom, don’t forget to help Addison with their signs, and make sure you grab the Shrine Sensor! As well as that, here’s what your Bubbul Gems are used for.
