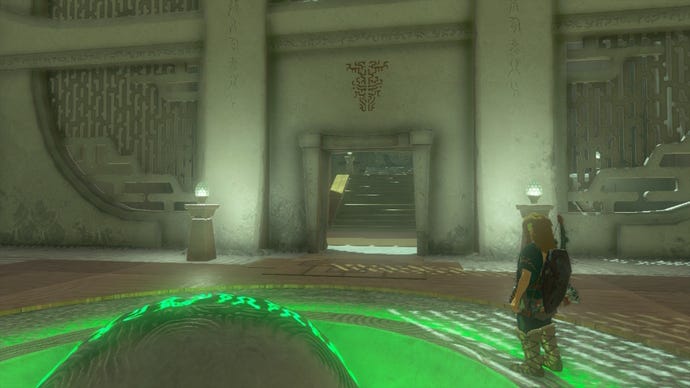
How to complete the Runakit Shrine in Zelda: Tears of the Kingdom
Built to carry!
There are too many shrines to count across Hyrule and the skies above, meaning Link has his work cut out for him in The Legend of Zelda: Tears of the Kingdom if you plan on completing them all. Shrines are great fun, offering you a way of acquiring more heart containers and stamina, as well as a crash course in the various abilities you’ll use during Link’s adventure.
The Runakit Shrine is certainly one of the trickier shrines to complete in Tears of the Kingdom, requiring plenty of creative construction. So, here’s how to complete the Runakit Shrine in Zelda: Tears of the Kingdom.
How to complete the Runakit Shrine in Zelda: Tears of the Kingdom
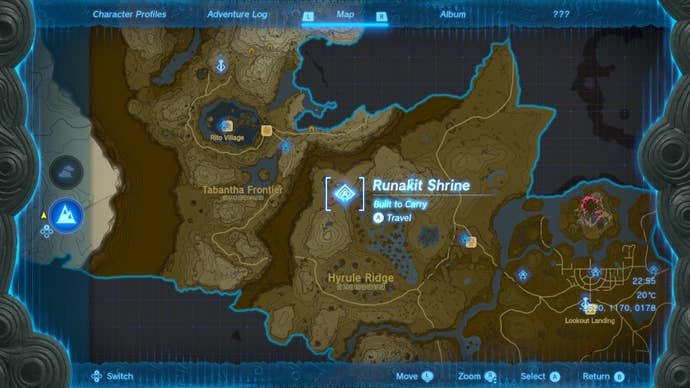
The Runakit Shrine in Zelda: Tears of the Kingdom is visible from Lindor’s Brow Skyview Tower. You’ll be able to glide from the tower directly over to the shrine, which is just west of the tower, and marked on the below map.
When you enter the Runakit Shrine, the main goal is to essentially get that big ball in the distance into the slot directly to the left of Link.
Glide over to the two ladders in front of you and climb up.
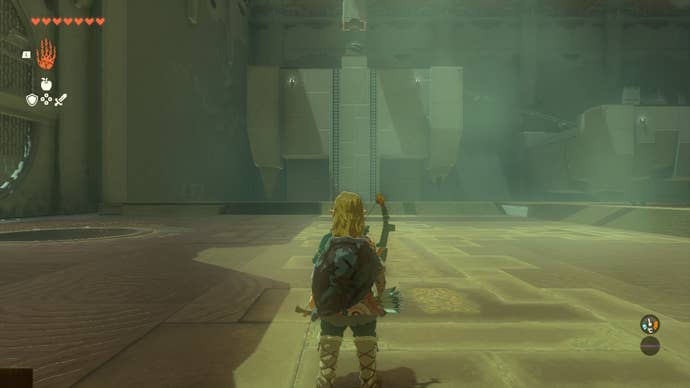
You can then use the Ultrahand ability to pick up the ball and pop it on the tracks here, sending it down into the next area. Easy enough!
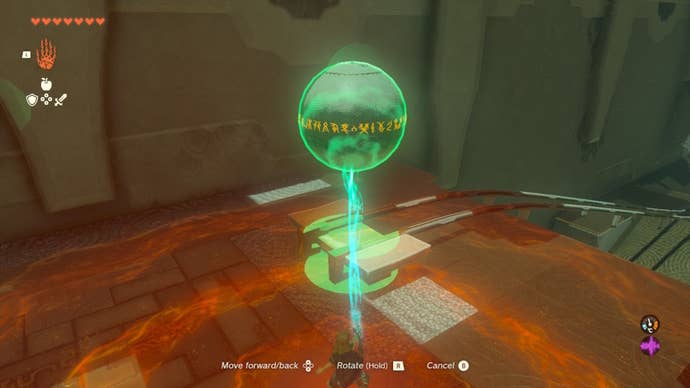
Now, getting the ball over to the next area requires a little more construction, as the tracks are too wide for us to send the ball rolling. There are four poles in this area, and we can use these to make our ball wider!
Simply attach a pole to either side of the ball, as shown below.
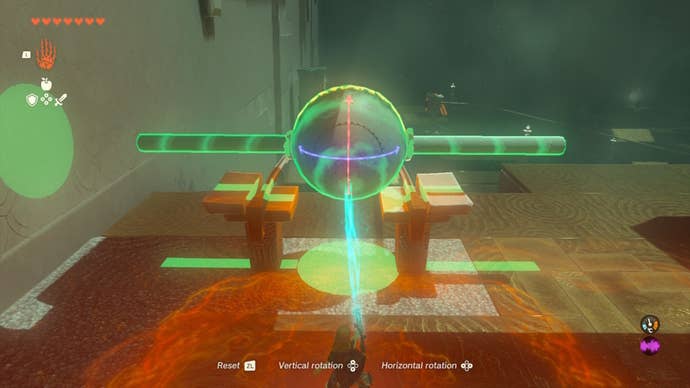
Place the contraption on the tracks and your ball will begin rolling into the third and final area of the shrine, where we’re going to need to do more building!
There’s only a single railing that will get the ball over to the slot by the Runakit Shrine’s exit. So, we need to use the various concrete slabs lying around to build a little box for our ball to sit in.
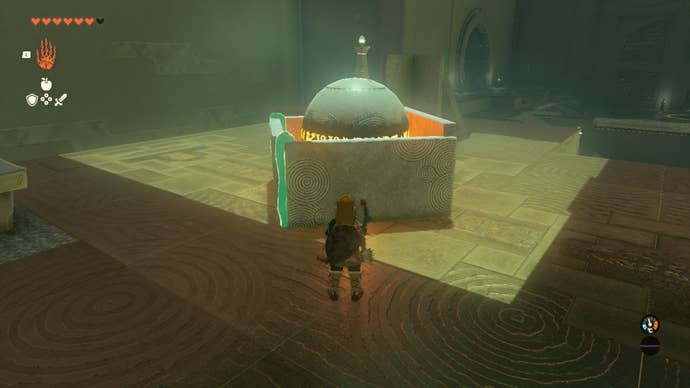
We can then attach a single concrete slab to the side of our box, with the angled, triangular slab attached to the top. This forms a makeshift hook that we can use to attach the box to the railing, sending the ball over towards the slot.
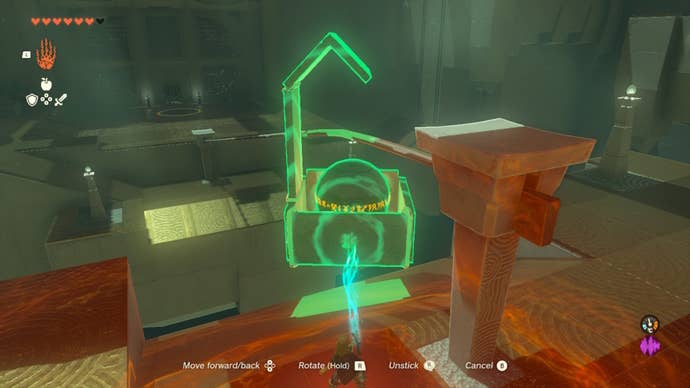
Then, have Link glide over to where he first entered the shrine, and pop the ball into the slot. The exit of the Runakit Shrine will now open, and you’ll be able to retrieve your Light of Blessing!
How to get the Runakit Shrine chest in Zelda: Tears of the Kingdom
In the third area of the Runakit Shrine, the chest sits atop a platform along the wall. This chest is easy enough to grab, as all we need to do is use the concrete slabs in the area to build a bridge to the ladder.
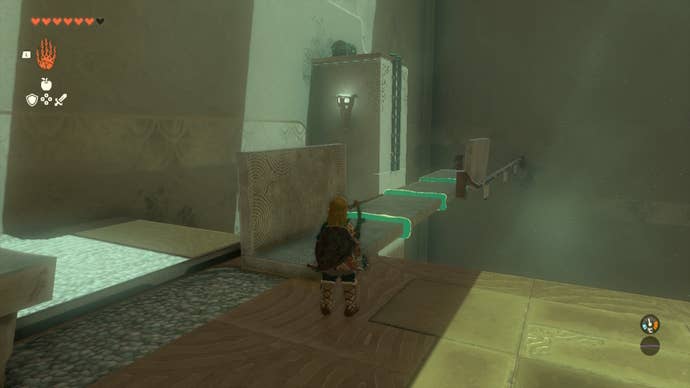
Have Link walk across the bridge and open the chest, where you will receive a Construct Bow for your efforts!
For more on Zelda: Tears of the Kingdom, take a look at how to reveal more of the map, and which hard-earned items you should sell for Rupees. While you’re at it, take a look at our walkthrough to see where to go next in Tears of the Kingdom’s story!
