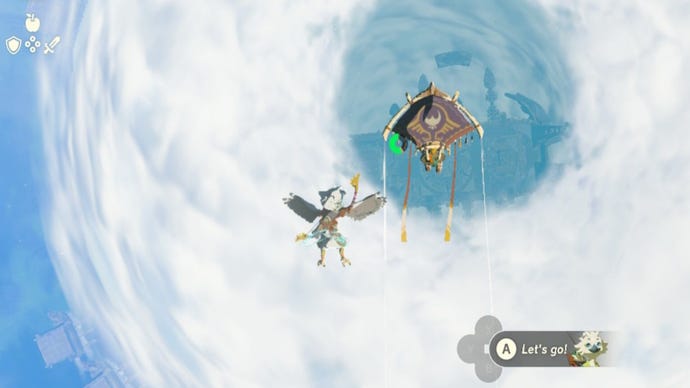
How to climb the sky islands to the big cloud in Zelda: Tears of the Kingdom
We've got quite the trek ahead of us before reaching the Wind Temple.
You've now been reunited with the adorable Tulin in The Legend of Zelda: Tears of the Kingdom, and this little fella will stay by our side for a while now. All in all, he makes a pretty great follower, and isn't bad company at all with his powerful wind ability.
Link and Tulin are on a mission to see what the big cloud above Rito Village is all about, in the hopes that they might even get some more answers about Zelda's whereabouts. That said, getting to that big cloud is a trek, and involves a lot of flying boats. So, here's how to climb the flying boats and reach the big cloud over Rito Village in Zelda: Tears of the Kingdom.
How to climb the flying boats to the big cloud over Rito Village in Zelda: Tears of the Kingdom
Use Tulin’s ability to reach the pillar north of the building you’re both already stood on.
If you look up, you’ll see a large mountain and plenty of platforms attached to it, Mario-style. We need to use a combination of Tulin’s ability and Link’s stamina to get up there; eventually reaching the top.
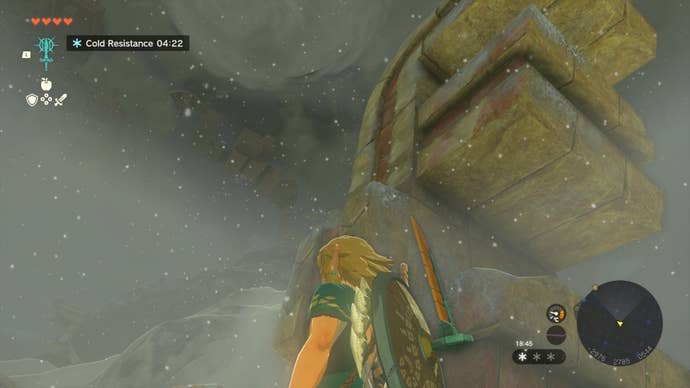
We won’t always need Tulin’s gusts, however. Platforming our way up to that ominous cloud in the sky will also require Link to use Ascend, attach crates to one another, and uncover some incredibly fun sky-trampolines.
Be sure to explore the every nook and cranny of each pillar you stand on, too, as there’s plenty of chests to be found while climbing this mountain.
When you reach the base of the mountain, you’ll see more platforms along the edge of the cliffs for us to scale. There are also plenty of enemies keeping these platforms guarded, too, so be careful!
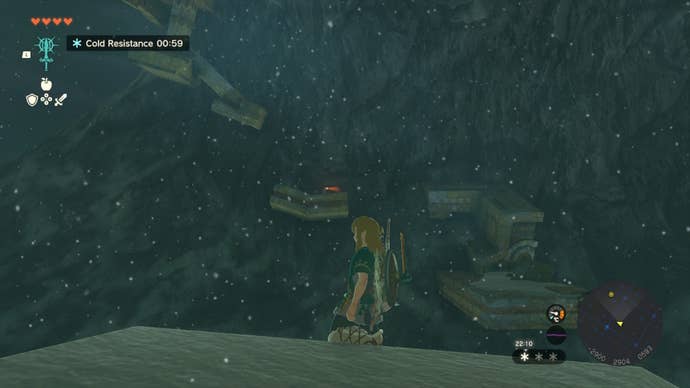
On the platform with the Soldier Construct, you can casually climb up to the next platform, rather than requiring Tulin’s ability.
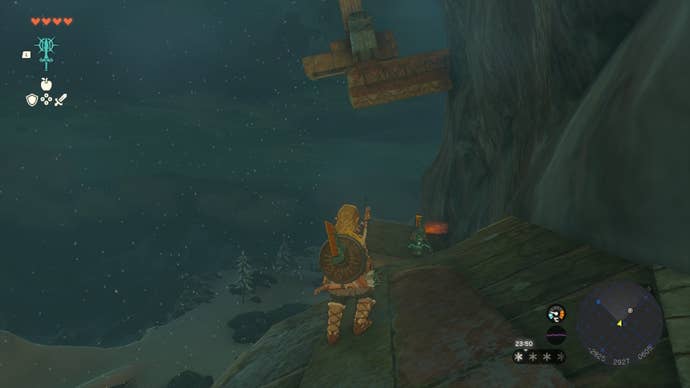
At the top of the mountain, speak with Huck. Glide to the next platform, and attach the two boxes together, so they’re on top of each other.
Link can now climb atop of these to gain some height, and use Tulin’s ability to then reach the next platform safely.
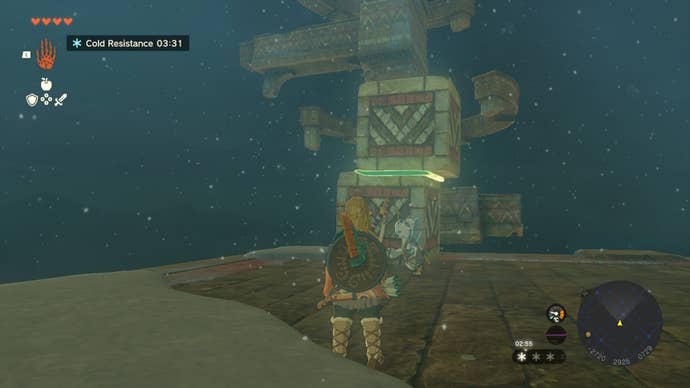
You’ll want to very carefully climb this next structure, using Ascend if you fancy. Ultimately, if you fall, actually getting back up here takes a lot of effort, so proceed with caution.
At the top of the structure, use Tulin’s ability to glide over to the platform to the west, with another towering structure above it.
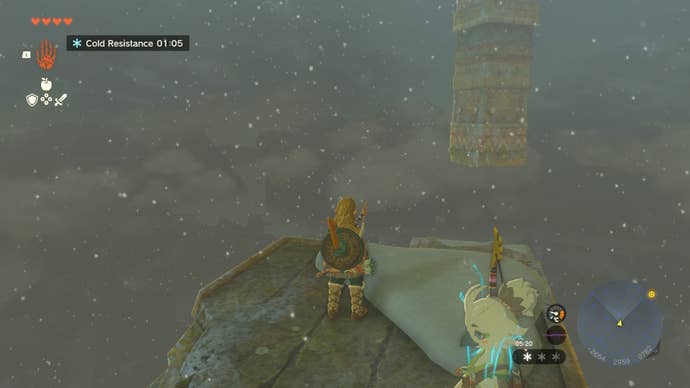
Link can then use the Ascend ability on the structure above him to make his way to the top. Use Tulin’s ability again to then glide over to the islands with the nearby shrine.
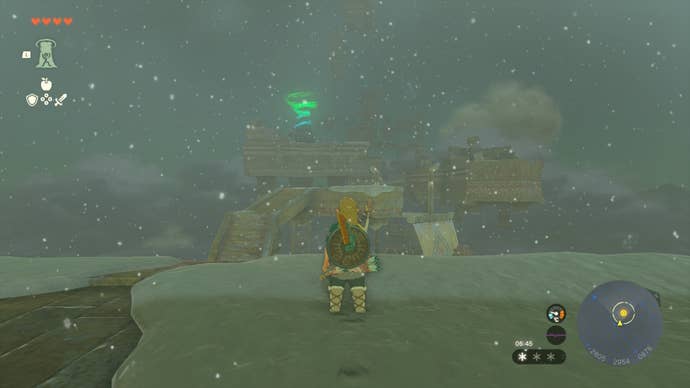
Tulin will chat to Link about Zelda for a moment, before being distracted by a sky-boat. Can you blame him?
Continue up the stairs, and at the ledge, hop down. You’ll be blasted into the air and able to glide over to the next structure.
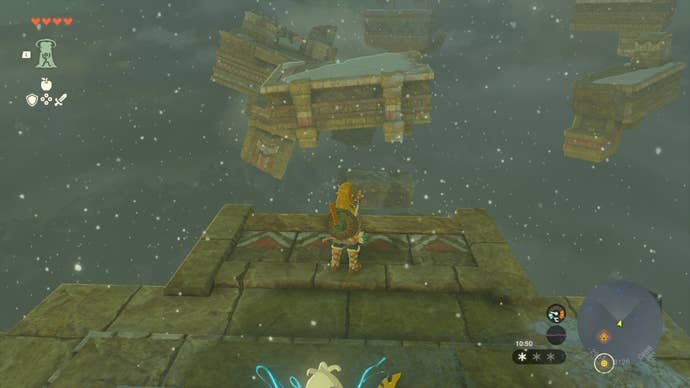
Now, we want to keep heading northwest and continually glide from structure to structure, slowly heading upward. When you reach another trampoline, glide over to the platform with two more crates on it.
Attach one crate to the top of the other using the Ultrahand ability, and then move it closer to the wall. Link can then climb on top of it, and Ascend through the floor above him.
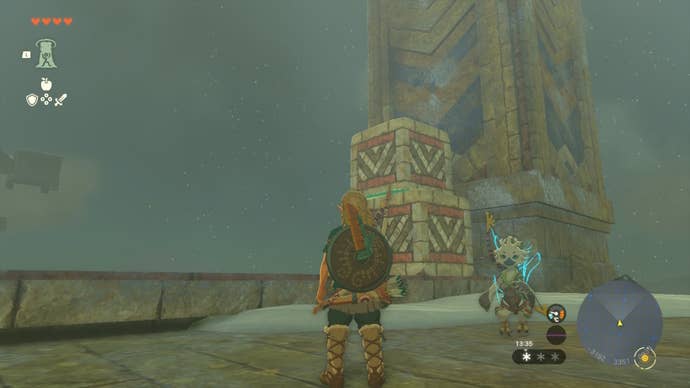
Glide to the structure pictured below, where you can find a chest with Portable Pot Zonai devices by the Soldier Construct, letting you cook anywhere at any time.
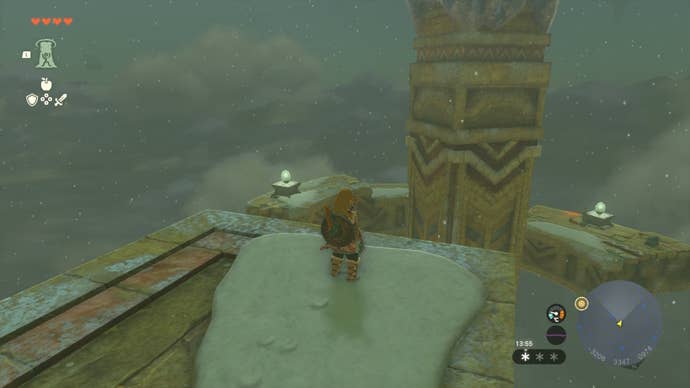
Now, you know the drill; glide over to the platform pictured below, using Tulin’s ability.
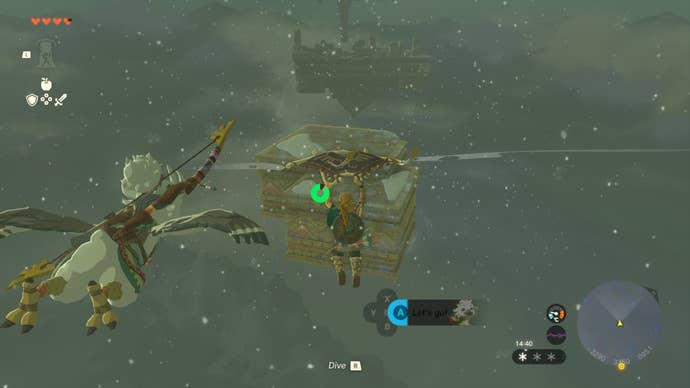
Instead of trying to continue forward, turn around, and glide to the platform with three crates on it.
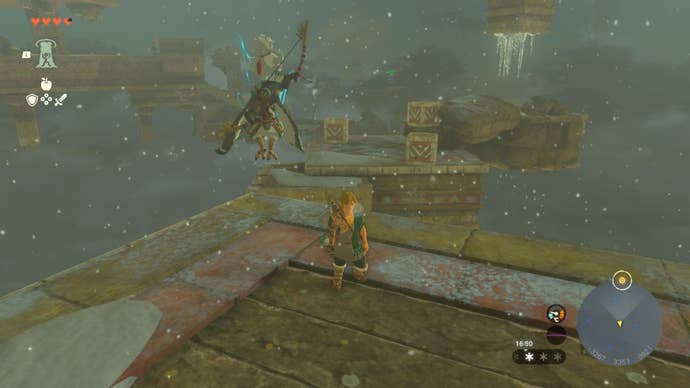
We want to stack these three crates on top of each other using Link’s Ultrahand ability, and move them, so they’re underneath the pillar that is covered in ice.
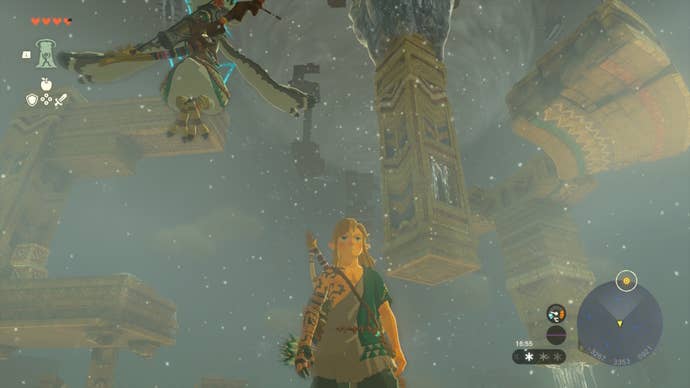
Now, Link can climb on top of them, and Ascend through the pillar to reach the top of it. Glide from platform to platform until you reach the one with a big patch of frozen ice in the middle of it, pictured below.
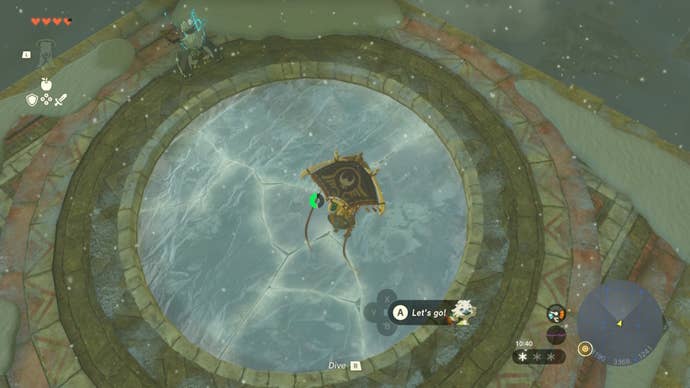
Jump on top of this ice patch repeatedly to break it, and reveal another trampoline that will propel you into the air.
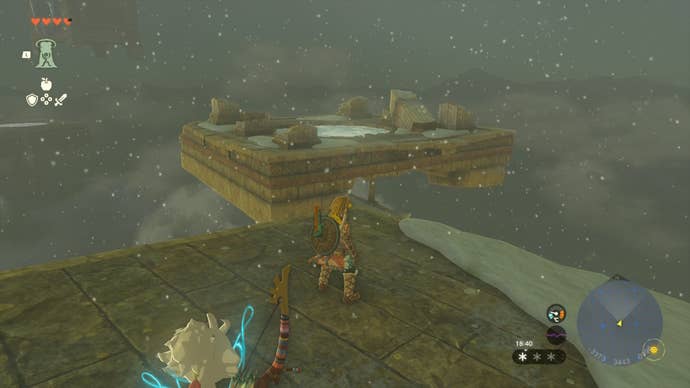
Head over to the platform with the lamps on it, and more patches of ice.
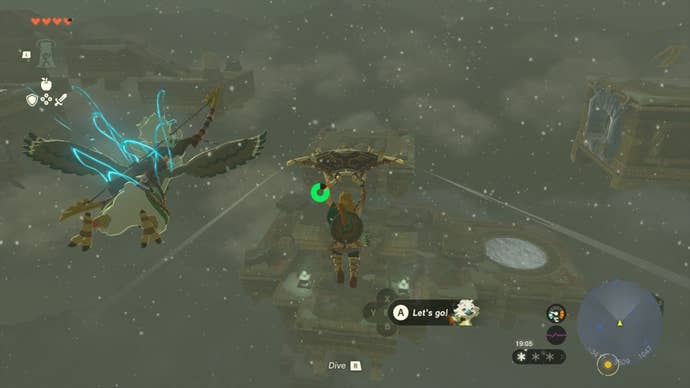
Be particularly vigilant on this platform, as some portions of the floor will begin to fall beneath you, and the last thing we want is to fall all the way back down to Hyrule.
To your right is some ice (shown above); jump on this to reveal a trampoline, and head to the furthest platform with the stairs, pictured below. It’s quite the glide for Link, but he’ll make it.
Alternatively, you can blow up the middle platform (blocked by a bunch of rocks) using Bomb Fruit or a Zionic device. This will give Link a second trampoline to jump on along the way to the far platform.
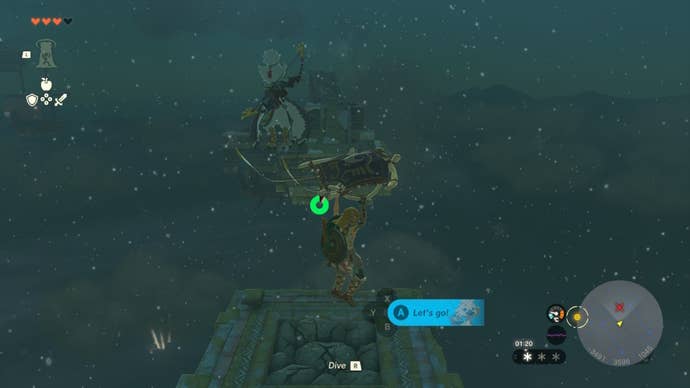
From here, we ideally want to follow the white lamps to our left, reaching the furthest platform that is illuminated with them, pictured below. We’ll have to hop on another two sky-trampolines along the way to get there.
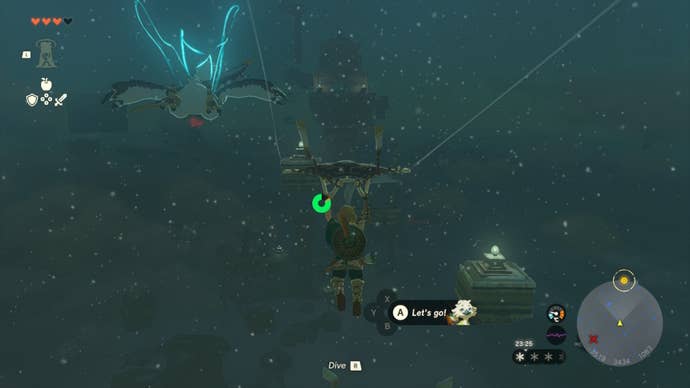
On this little platform is some fish for Link to collect, and a cooking pot with some Flint. If you need to stock up on some meals, now is the time to do it!
When you’re ready, use Tulin’s ability to fly over to the next structure, which is being circled by Aerocudas.
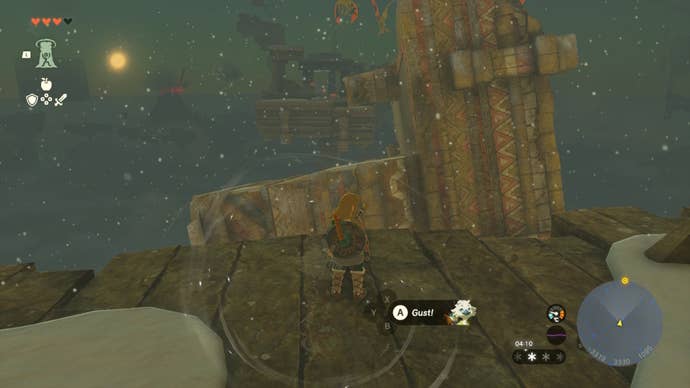
Climb to the top of the structure, and use Tulin’s ability again to fly over to the next platform, which has even more enemies.
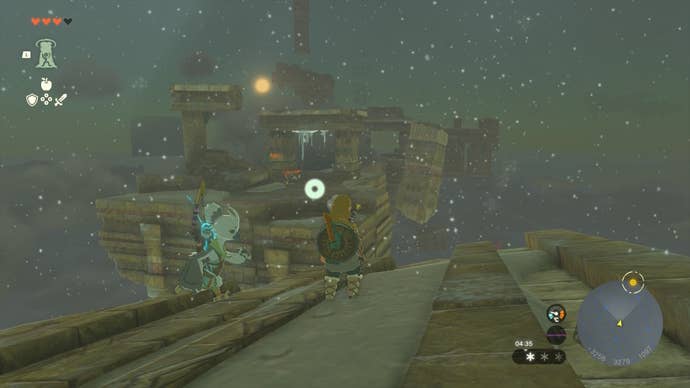
Run to the furthest end of this platform, and be quick about it, as it will begin to fall from beneath you as you do. At the end, glide over to the platform straight ahead, which has even more Soldier Constructs eager to send you tumbling to your death.
From here, we want to continually go left and upwards; you can fight the enemies if you want, but they’re pretty tough, so I recommend trying to run past them and continue ahead where possible.
When you reach the platform with the broken-apart hot air balloons, Link essentially needs to put one of these back together so he can reach the tall structure ahead.
You can attach the Flame Emitter Zionic Device to the bottom of one of the balloons. Then, attach it upright to a plank of your choosing so Link has something to stand on.
Stand on the platform and strike the Flame Emitter. The hot air balloon will ascend Link into the air, and you’ll then need to use Tulin’s ability to send yourself gliding towards the structure ahead.
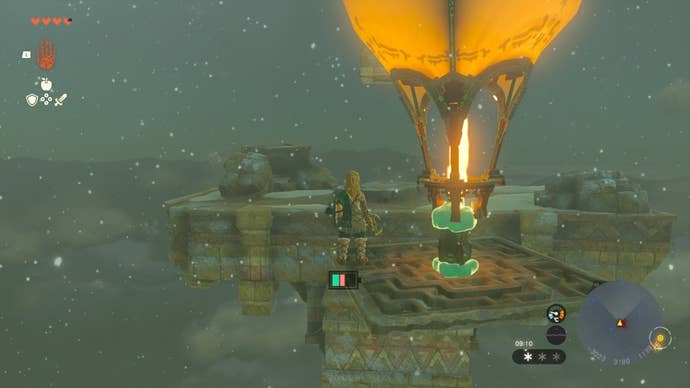
If you look up on this platform, Link can Ascend through the towering pillar above it.
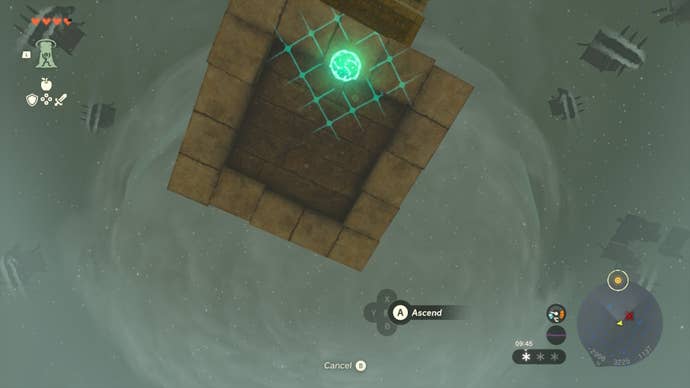
Climb up the north-west platforms here. Once again, there’ll be another ledge to jump off with a sky-trampoline below it.
You’ll have to time your jump carefully so that you can perform a second jump using the one of the two moving sky-trampoline pictured below. Two successful jumps and you’ll reach the furthest platform, which has an ice patch on it.
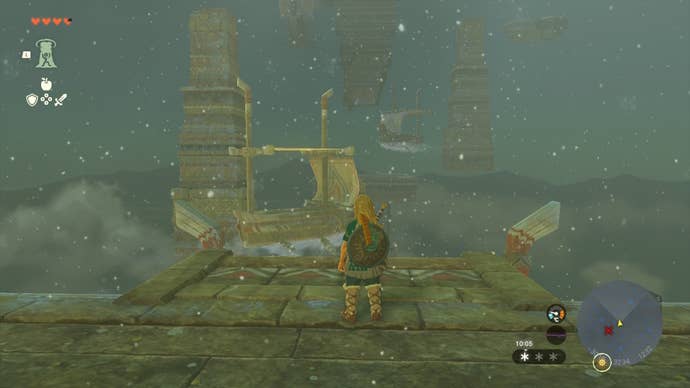
Jump on the ice patch repeatedly to land on another sky-trampoline, which will send you to the top of the next platform we want to be on.
Up top, Tulin will have a chat with us again, and the Kahatanaum Shrine will be here to visit. At this point, the temperature will be too cold for Link to withstand, also. So, cook up some Cold Resistant dishes using the Portable Pot devices you acquire earlier!
Go up the stairs to the left and use the trampoline. Glide to the platform marked with white lamps to your left.
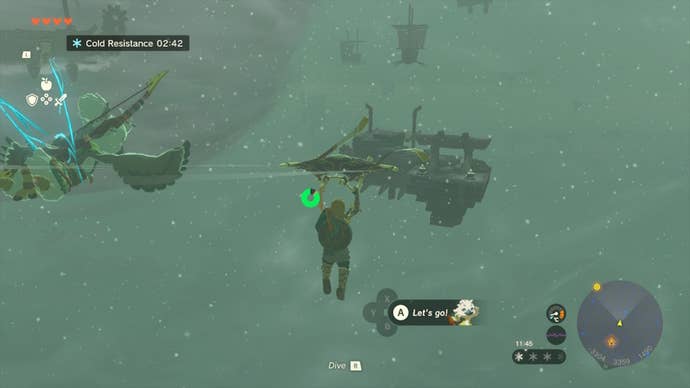
There’ll be another huge sky-trampoline to jump on, and if you look out into the distance, we’ll be hopping on a few more before we reach a stable structure again. Keep hopping between sky ships, following the white lamps marking your path, until you reach the floating staircase with six lamps on it.
The wind up here is pretty strong, so don’t forget to use Tulin’s ability if you find yourself gliding past the sky-ship you want to be jumping on.
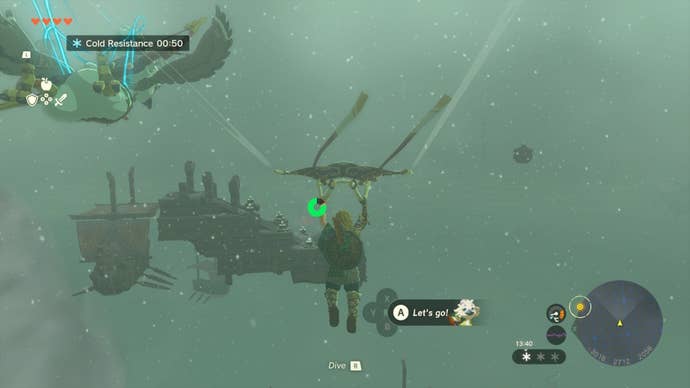
At the top of the staircase is another trampoline. We now want to fly above the cloud, and down into the middle of it, where you’ll see a temple.
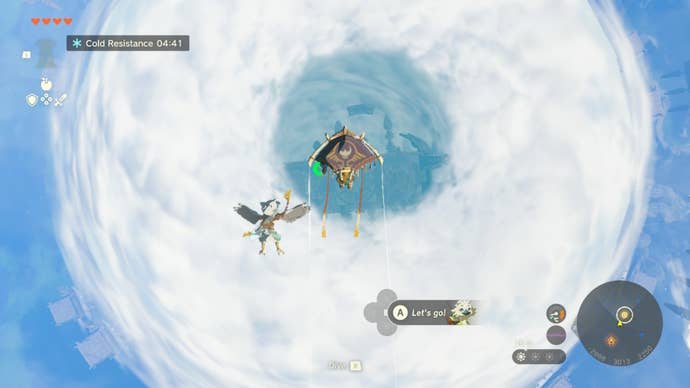
You finally made it up to that ominous cloud in the sky and have discovered the Wind Temple! If you’re continuing your quest with Tulin, have a look at our next guide on how to complete the Wind Temple, and how to beat the Wind Temple boss.
