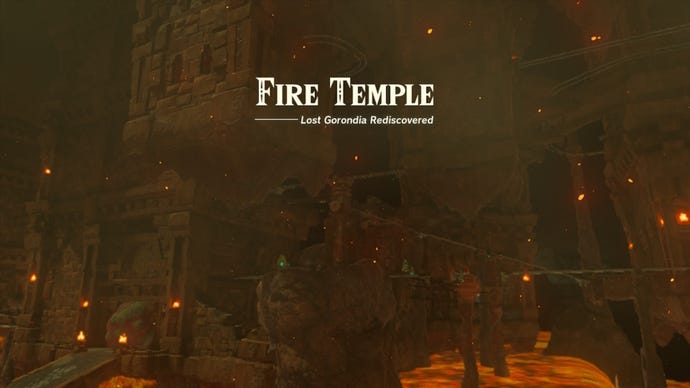
How to complete the Fire Temple in Zelda: Tears of the Kingdom
Down in The Depths lies one huge, fiery temple.
Completing the Fire Temple in The Legend of Zelda: Tears of the Kingdom is easy one of the toughest task you have faced so far - and getting here wasn't easy!
After climbing up Death Mountain and tackling the monstrosity that is Moragia, you will have ventured down into The Depths and discovered a huge, lava-filled temple. The Fire Temple’s main dome is locked up tight, however, so we need to go about undoing all those padlocks.
There are five locks in total across the Fire Temple, and it’s easier to get yourself lost in here than it is to actually make progress. Luckily for you, here’s our guide on how to complete the Fire Temple in Zelda: Tears of the Kingdom.
How to complete the Fire Temple in Zelda: Tears of the Kingdom
You’ve freed Yunobo from a mysterious mask, ventured up Death Mountain and felled Moragia, and finally, made your way through The Depths and discovered a magnificent temple; the Fire Temple.
We’ve got our work cut out for us here, but once the Fire Temple is complete, that’s the Goron City questline finished with. First things first, have Yunobo charge at the red rock blocking the Fire Temple’s entrance. Then, speak with Yunobo and advance inside.
Head forward towards the gate with five locks to trigger a cutscene, and then interact with the circular pillar beside Link, shown below. This will unlock the gate (but not the padlocks), and give us a fast travel point within the Fire Temple. Now, we can begin exploring.
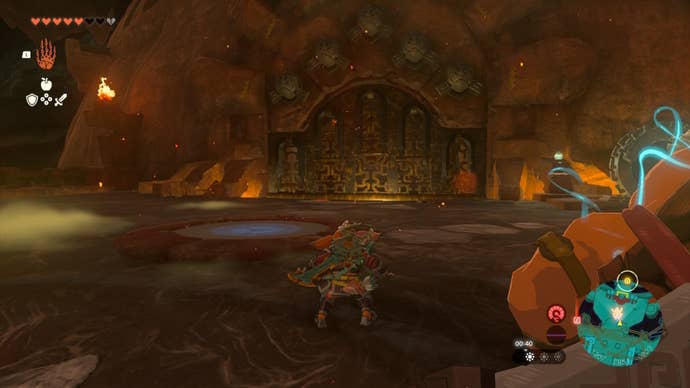
This temple is huge, consisting of various mine carts and floors. All in all, however, there are five locks that we need to unlock, much like the Wind Temple.
Fire Temple Lock 1
The first lock in the Fire Temple is shown on the below map of the first floor, it is the bottom marker on your map, and indicated here by the red marker we have placed beside it. From the first lock, our route between all five locks is relatively linear.
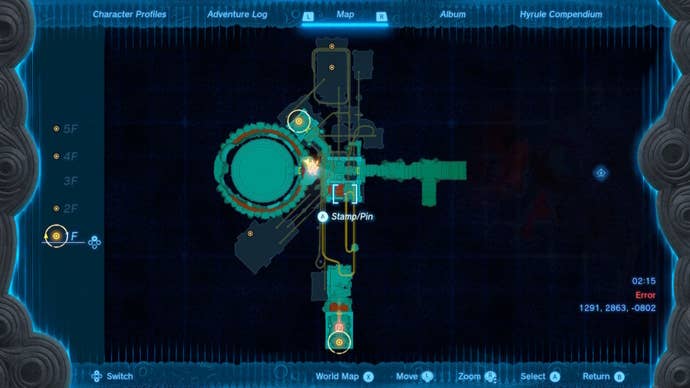
From where you will have spoken to Yunobo, by the locked gate, turn around and head right. There’s a Soldier Construct here, so you know you’ve gone the right way.
On your left will be lava, and some stone slabs to stand on. Cross the lava.
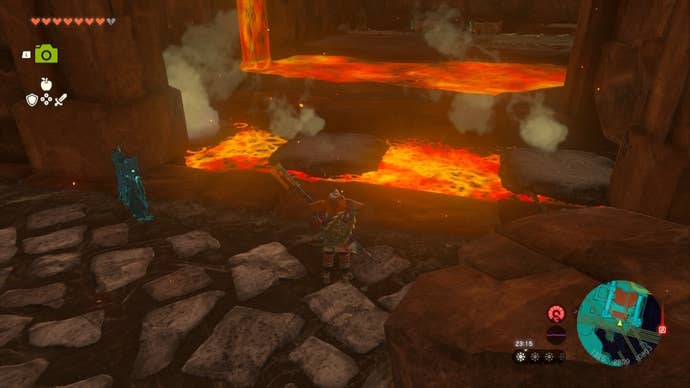
Up ahead is more lava, but this time we’ve no stones to step across. On our left, however, is some Fire Hydrant Zonai Devices. If you use these while facing the lava, they’ll temporarily solidify the surface so that Link can walk across it.
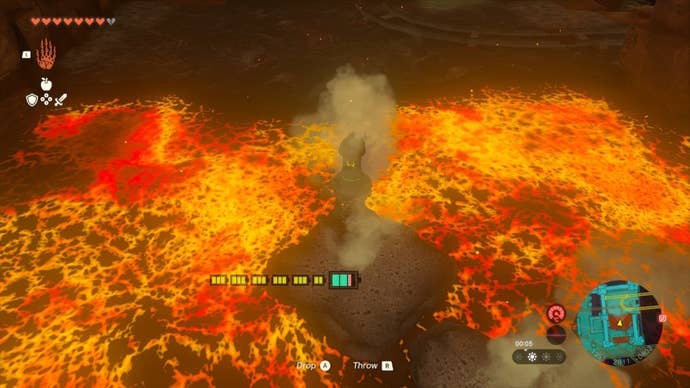
Now, attach one of the mine carts to the track and hit the fan to get things moving. You’ll need to use Yunobo’s charge ability to hit the target up ahead, which will switch the tracks we’re on.
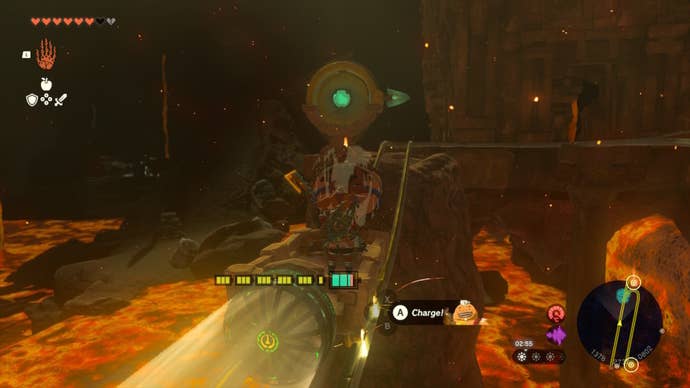
You’ll soon wind up in a room with one of those horrible wall worm enemies, a Fire Like; kill it to get a chest containing a Strong Zonaite Shield.
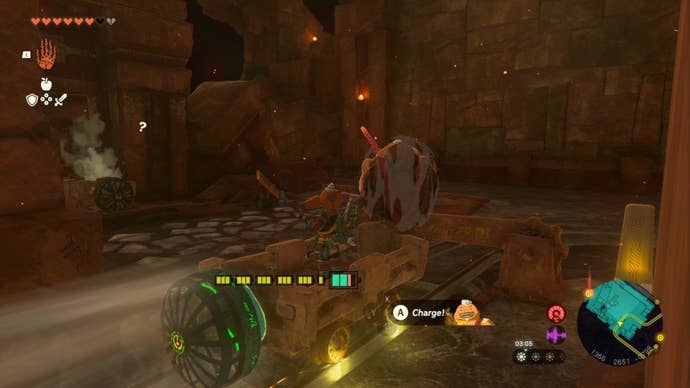
Once that’s done, pick up one of the nearby Fire Hydrant Zonai Devices and go left, towards the lava and past the Fire Like we just killed.
Use the Fire Hydrant to create a path of stone through the lava and to the next door. Create lots of stone slabs and use the Ultrahand ability to attach them together, then send Yunobo charging down it.
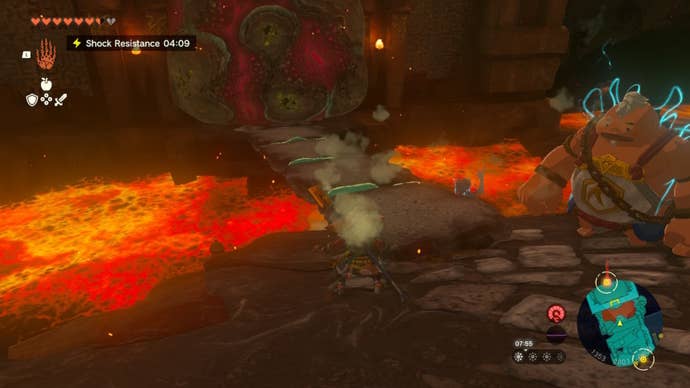
Now that the rock has broken, you’ll see the first lock, up ahead. Yunobo would not follow me whatsoever along the path I just made, so I had him charge from the same spot again. This time, while aiming for the lock as accurately as possible. You should be able to have Yunoobo walk right up to the lock, however.
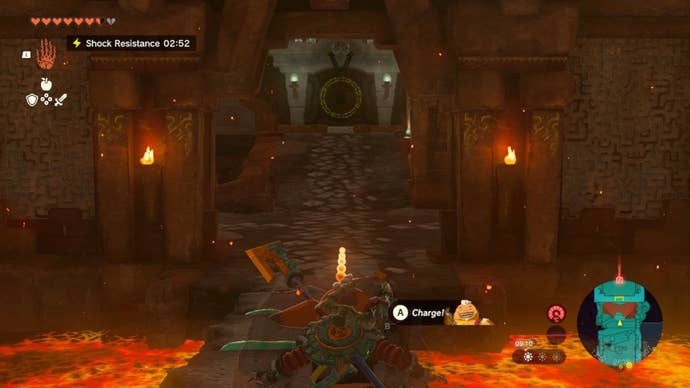
Now, onto the next lock!
Fire Temple Lock 2
Return to the minecart from earlier. Hit the switch next to it using a weapon to unlock more of the track, then hop in and get moving. Have Yunobo charge at any marbled rock blocking the way.
When you reach the end of the track, turn your minecart around and hop in again. We want to go back along the track, but this time, have Yunobo charge at the track switch.
You’ll come to another stop. This time, hop out and go across the bridge to your left. Hit the pillar here and the tracks will be lowered.
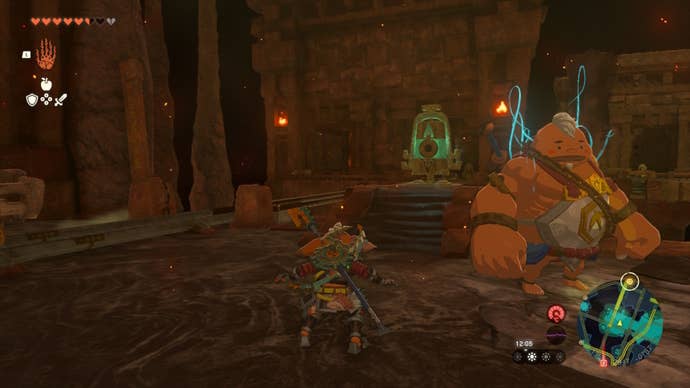
Put another minecart on the tracks here, and get things moving again. You’ll arrive in a room full of lava, with a rock that Yunobo can destroy. You can then use a nearby Fire Hydrant to forge yourself a path, or pay close attention to the slab of rock that will slowly come towards Link.
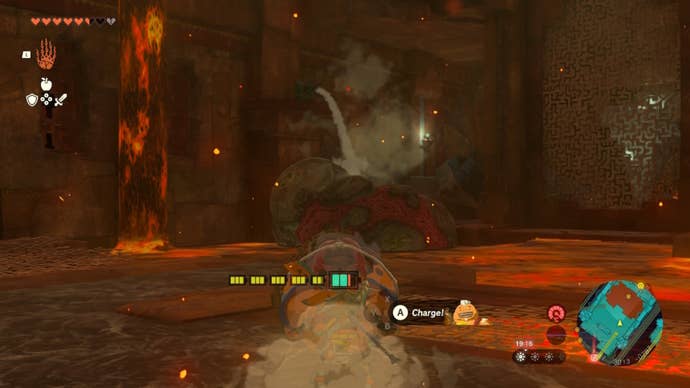
Hop on the slab of rock when it’s near, and then use the Recall ability to send it back the way we came. This will get us to the next area we need to be in.
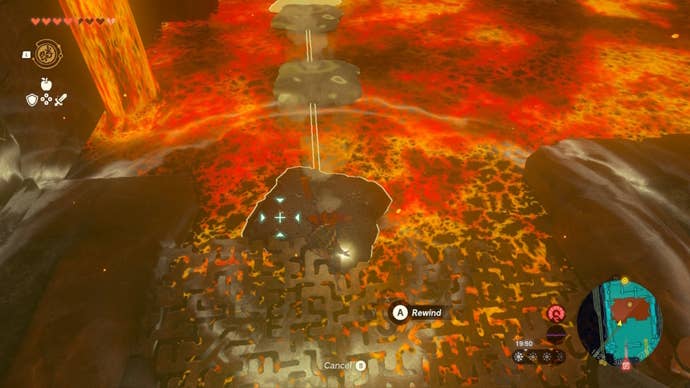
In the next area, kill the Soldier Construct, and then have Yunobo charge at the lock.
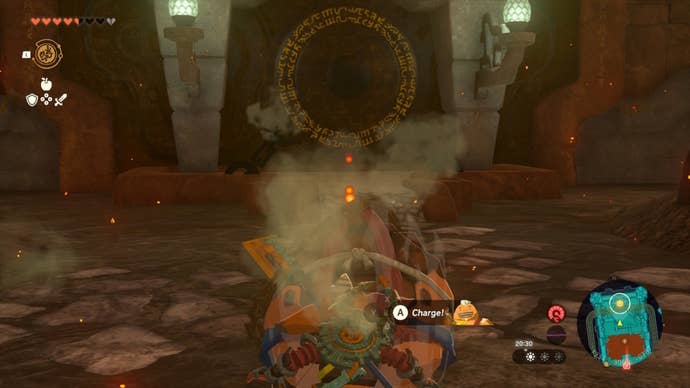
Fire Temple Lock 3
Now, we want to go back the way we came and over to the mine cart again. Hit the pillar beside it to turn it around and hop in, but before setting off, look to the pillar ahead (shown below).
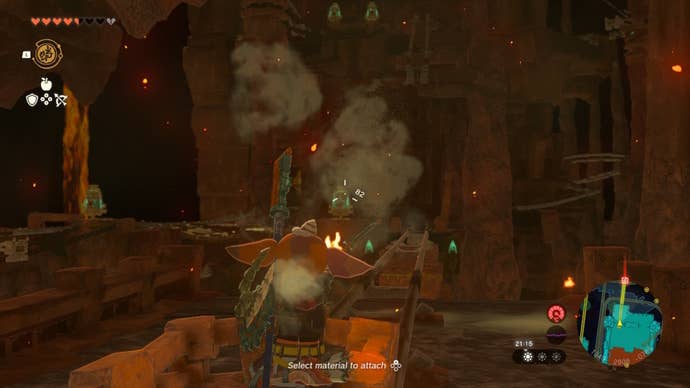
Fire an arrow at this (you’ll need to aim a little higher than the pillar itself to hit it), and the tracks will rise. Now, ride the mine cart to the next area.
First things first, head to the back of this area and kill the Soldier Constructs. They’ve some pretty handy gear we can take, and we’ll need the Rocket Zonai Devices that they have.
Then, you’ll notice various tracks we can take around the area. We want to go along the southwestern tracks to the room here, marked with a purple marker on the map below, but they’re broken.
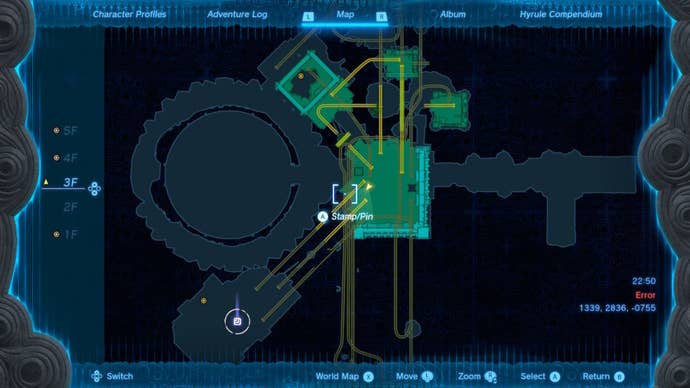
This is no bother, though. Attach two of the rockets we just received to either side of a mine cart, and then send yourself flying to the next floor.
This might take more than one attempt to perfect, which means you may have to reload a save; if your mine cart goes flying into the lava and you respawn, it won’t respawn with you.
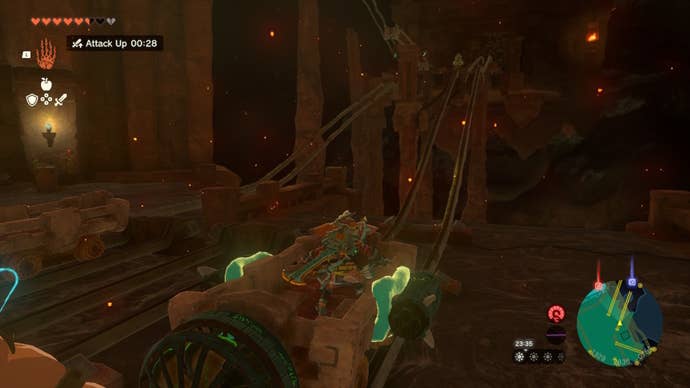
In the next area, kill the Soldier Construct. Up ahead, there’ll be a bridge that takes us up to a room obscured by a gate. Use Ultrahand to repair this bridge, and then charge Yunobo up it; there’s a marbled rock on the ceiling he can destroy.
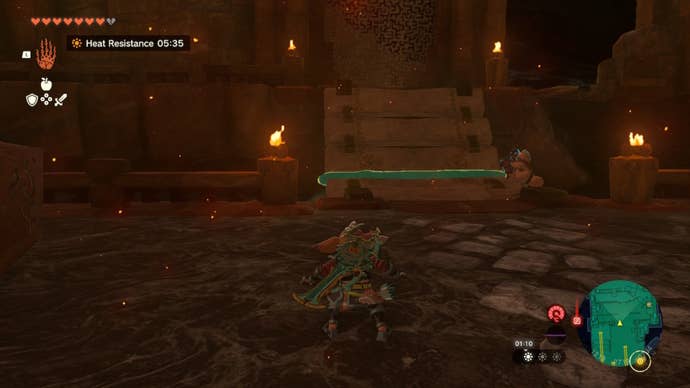
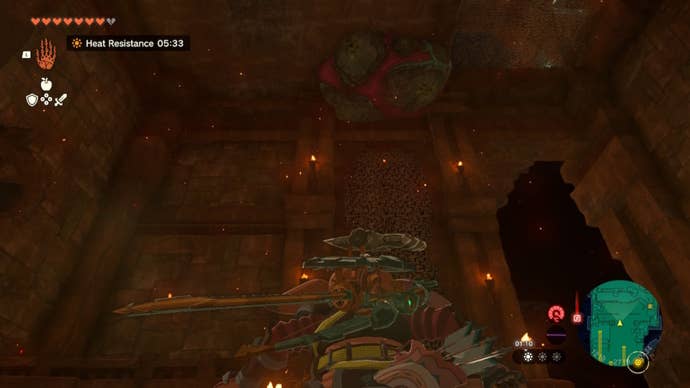
A box will now drop down from the ceiling. Climb on top of it and use the Recall ability to send it back up, so Link can reach the next area.
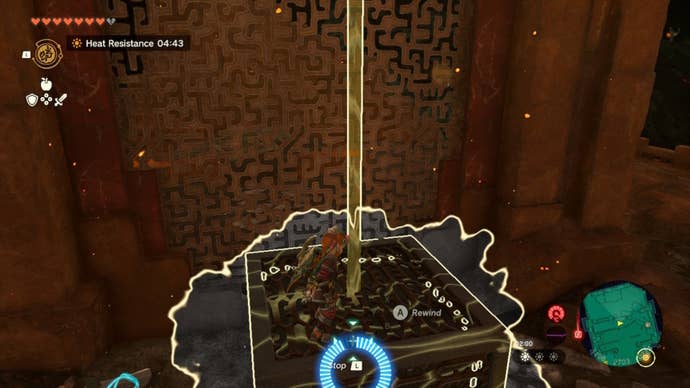
Up here is the third lock. Have Yonobo charge into it, and now it’s time to go and locate the fourth lock. We’re getting there!
Fire Temple Lock 4
Jump back down to the area with the carts and bridges. Hit the pillar ahead to lower the right track, then pop a minecart on it and ride back to the central room. This is the room where we found the rockets, which has multiple tracks.
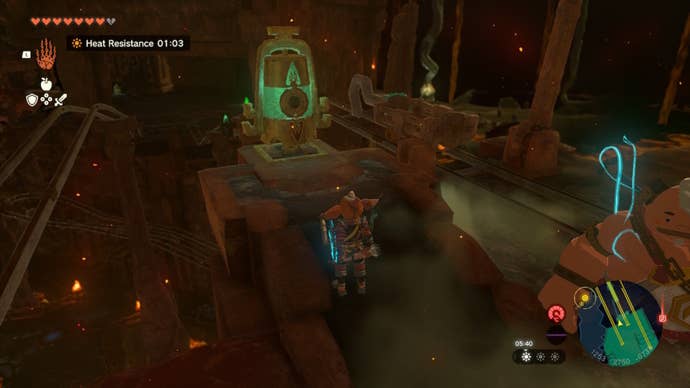
In this area are two more pillars; hit the one on the left twice, and hit the right one once. This will move the tracks a little. Now hop back onto the track we were just on, and press ahead.
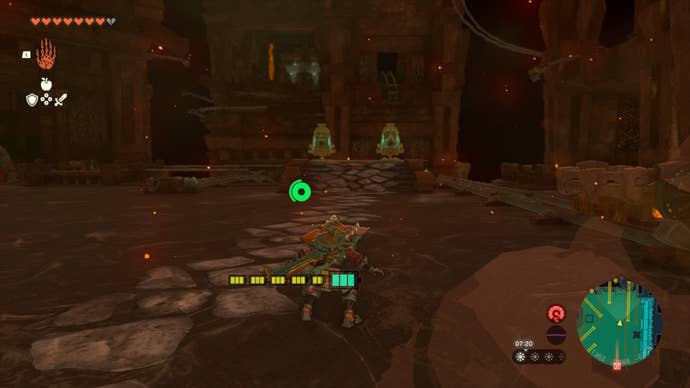
The minecart will go on one long ride, and Link needs to jump off when the cart has a slope to the left, shown below.
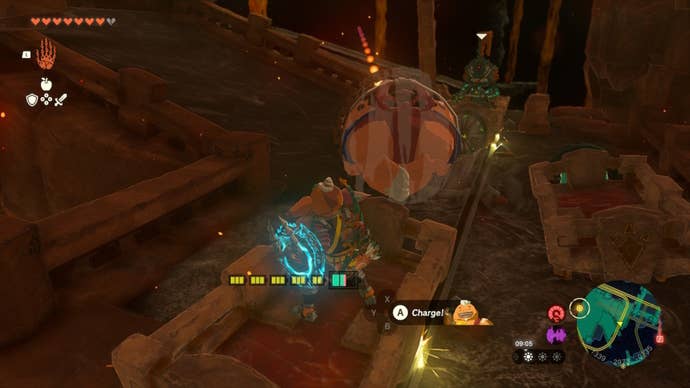
In front of us is a slope and some marbled rock. Send Yunobo charging up the slope to break the rock and reveal a Fire Hydrant Zonai Device.
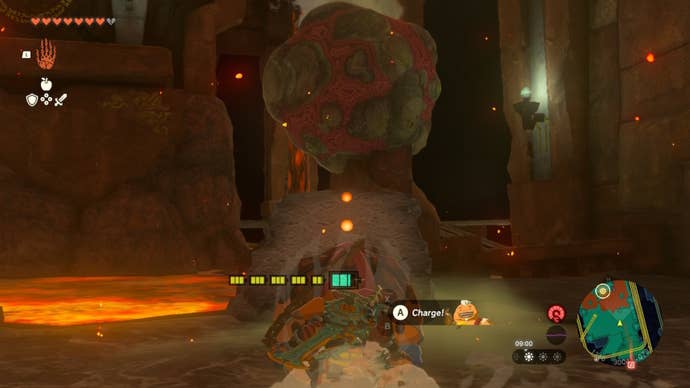
Grab the Hydrant using Ultrahand, and form some more stone slabs using the lava. You can then use Ultrahand and the various stone slabs to build yourself a ramp directly up to the lock, and send Yunobo charging up it.
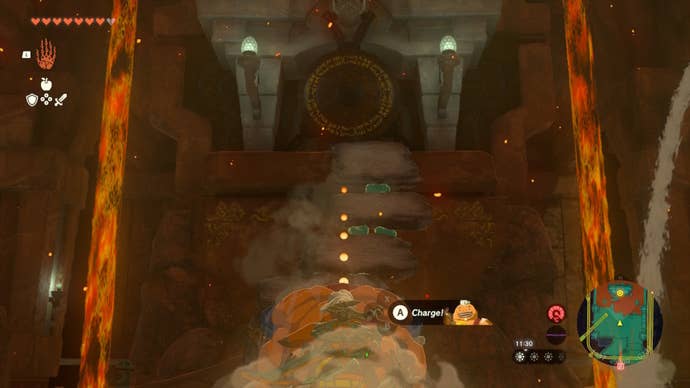
That’s our fourth lock dealt with. Now onto the fifth and final one!
Fire Temple Lock 5
From the room we’re already in, move the ramp to point at the marbled rock in the southwest corner, pictured below. You might need some additional slabs to help hold the ramp up, then have Yunobo charge at the rock.
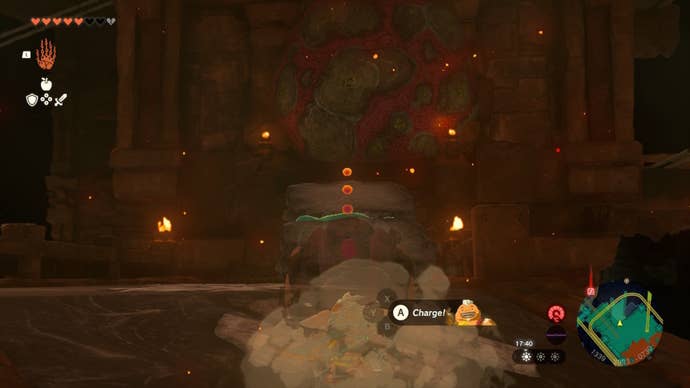
We want to go into the room we just cleared out using Yunobo. So, using stone slabs and Ultrahand, build yourself an extra long slope over there. In the end, my super long slope consisted of 11 slabs of stone and totally tanked my FPS.
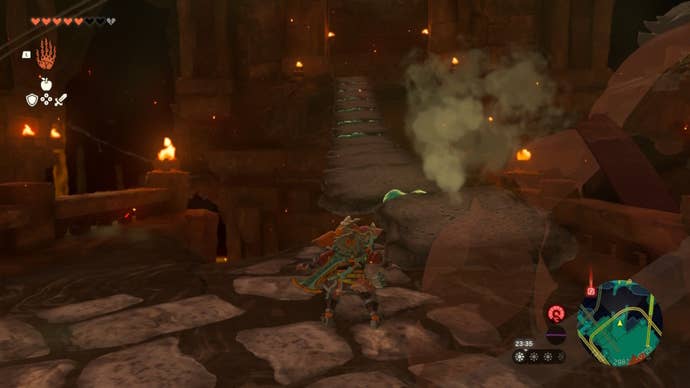
Jump down into the hole in the floor here. At the bottom is a chest containing a Strong Zonaite Longsword, and our fifth and final lock. You know what to do… charge!
Hit the switch in this room to open the gate and press forward. To your right will be the original gate we have been trying to unlock this entire time, so head on through it by interacting with the device to the right of it.
In this large dome arena, fire Yunobo at the marbled rock on the ceiling using the slopes. This will reveal that it isn’t, in fact, a rock, and is someone you might recognise… the Marbled Gohma.
Here’s how to beat the Fire Temple’s Marbled Gohma.
For more on Zelda: Tears of the Kingdom, have a look at our guide to Bubbul gems as they can grant you some fun rewards, and don’t neglect fixing Addison’s signs! Alternatively, if you find yourself in dire need of Rupees, here’s our guide on what to sell and what to save.
