Zelda: Echoes of Wisdom - Suthorn Ruins Walkthrough
The first major dungeon in Echoes of Wisdom is filled with puzzles, enemies and sometimes both at the same time!
As the first major dungeon in Zelda: Echoes of Wisdom, Suthorn Ruins takes some getting used to. But to heal the rifts across Hyrule, Princess Zelda must jump into the Stilled world and help Tri find his friends to repair the damage.
First, navigating the Stilled world is a test in and of itself, but the real challenge lies in Suthorn Ruins themselves, with floors of puzzles and enemies to contend with - and sometimes both at once!
Here’s how to make it out alive, with solutions to every puzzle and instructions on how to find every optional chest too!
Stilled Suthorn Forest
As you enter the Stilled Suthorn Forest, you find the floating landscape cracked and splintered, with huge endless voids stretching out between pieces.

Go over to the right and hop over the gap to the bridge reaching up to the higher level. Then when you see the roaming black blob patrolling the plateau at the top, either run immediately to the right or walk towards it to face the monsters. These inky blobs will only spew out monsters when they touch you, and won’t damage you until then, so don’t worry about running away from them too much because they’re fast.

Either way, hop over the suspended trees on the right and you’ll spot a trapped villager, but make your way into the door next to them after the dialogue.

Inside, hop across the gap on your right and stand on the button on the other side to open the gate, avoiding the Keese as you do.
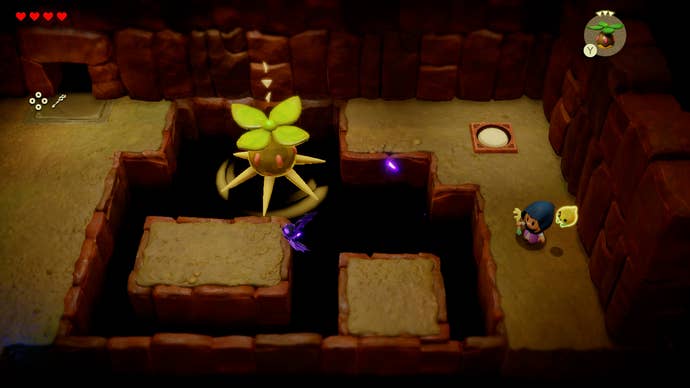
Then, in the next room, you need to summon an Echo to defeat all of the shadowy Zols (the Peahat works very nicely).
Outside, hop up onto the higher platform, then go down the ladder on the island on your left. Defeat the Moblin inside and grab the 50 rupees from the chest.
Back up the ladder, make a stack of objects next to the ladder hole to reach the higher island to your left where you can grab a hidden chest full of more rupees, then go back to the middle.

Walk up the longer island and take a right, where some well stacked objects let you collect even more rupees, before taking the left-hand path past the Counsellor from Hyrule Castle.
Suthorn Ruins walkthrough
You now find yourself in Suthorn Ruins, the first proper dungeon in Echoes of Wisdom, which is two floors of puzzles and combat challenges.

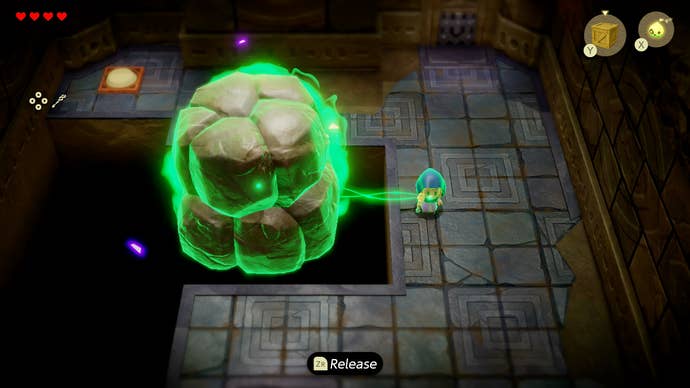
Activate the warp point, then go through the door in front of you. Then in the next room, press X to cast Tri into the large rock blocking the button. Drop the rock into the hole, then stand on the button.

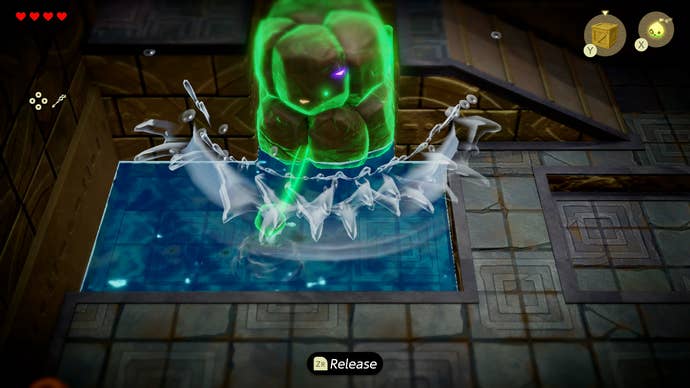
Next, in the following room, cast Tri into the large rock again, then jump and move it over to the gap in the pool of water on the other side of the room. Go up the ramp and into the now-accessible room to grab some ingredients from a buried chest.
Go down the ladder revealed by the rock and you find yourself in a secret passage containing an extremely useful Echo, the Strandtula, which lets you traverse side-scrolling areas much more easily.

Grab onto the empty webs next to the red ladder, then drop a sea urchin or other damaging object onto the spider on the other side.

Learn the Echo from the spider, which you can then use to create a line up to the treasure chest. This chest contains a very useful item: the dungeon map. While a Dungeon Map doesn’t reveal everything in a room, it does allow you to plot your way through the dungeon, which can be invaluable in the confusing mess of rooms towards the late-game!

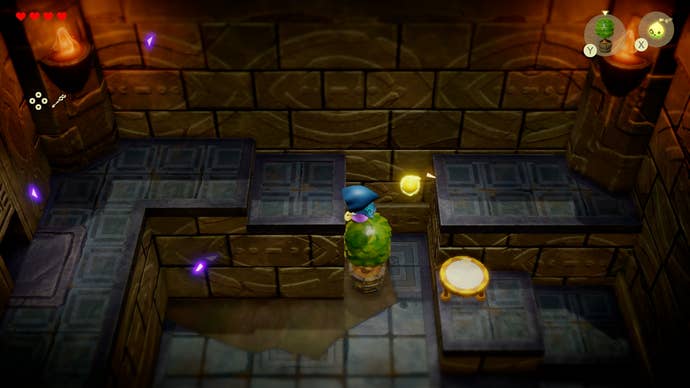
Either way, climb up the ladder on the right and you find yourself inside a room with another large gap. Fill the hole with a tall potted shrub, then make your way through the door.
Take a right and ride the elevator up, then walk forward to the top of the stairs. Here you find a metal Darknut, who can resist most forms of damage. Luckily, both a Peahat and a sea urchin can penetrate metal, so summon some in the Darknut’s path until he’s defeated.
Learn his Echo - which will come in handy often because of this metallic resistance - then continue left over the debris before going down the ladder in the room at the top of the stairs.

In this side-scrolling room, you need to use your Ignizol echo to light the torches throughout the chamber. The first is below you.

Next, either use a Strandtula to climb over the top of the boulder blocking your path, or cast Tri into it and drag it out of the way.

Casting a Carmadillo into the boxes at the top of the ladder will break them, giving you free access to light the second torch with an Ignizol (use a trampoline if you can’t reach).

Climb up the ladder that’s now accessible and activate the warp point at the top. This next part is subtle and confusing, so don’t worry if you didn’t get it straight away, but there’s a shield on one of the statues you can cast Tri into, then pull off the statue by walking backwards which will open the door.

In the room that follows, you’re attacked by shadowy Keese, but immediately to your left is a hidden chest behind a high wall. At the top of the slope leading down to the wall, drop a trampoline and a tall shrub to make a bridge, then hop over and open the chest.
Now go deeper into the room and you’re attacked by two Darknuts. You can either face your own Darknut off against them, or summon a Peahat to take them both out easily.
Then, at the top of the stairs, you face your first boss.
Shadow Link boss battle
In front of an ancient stone tablet, you find an Echo of the legendary hero, Link, laying in wait to stop you in your tracks.
To defeat him, you first need to find a way around his shield, and a way to keep his strong melee attacks from hitting you.

This is where the Darknut from earlier comes in. Summon a Darknut, who can tank multiple hits from Link, then make your way behind the shadow and throw one of the pots littered around the room at his back to damage him.
If you try and throw a pot from the front, it will only get blocked by his Hylian shield, so make sure you’ve got a suitable angle before you let loose.

Once you run out of pots, you can switch to a similar, but less efficient strategy, when you summon a Moblin to distract Link and throw a rock at him while he’s facing the other way.
When he’s defeated, you can climb a vital power which will propel you through the rest of Echoes of Wisdom: the Swordfighter form!
Use it to chop down the shadowy net covering the exit to the boss room and continue onto the rest of the dungeon.
Completing Suthorn Ruins

Climb down the ladder from the boss room, then smash the pots on your right. Drop down to the lower level, then use a Strandtula to clear the gap and grab the chest. This contains your first piece of equipment, which makes useful Hearts appear more frequently.

Drop down to the bottom, then use Tri to move the large boulder into the lower gap in the floor. Climb the ladder behind you and jump over the boulder to advance.
Make your way through the doors at the bottom, then in the last room you find a warp point and a door locked by a golden key.
Activate the warp point, then go through the only open door in the bottom left of the room. Inside, to easily defeat the Deku Baba, cast Tri at them with the X button and pull backwards to yank off their flower tops.

Taking out all three will open the door to the next room. Inside, cast Tri through the gaps in the metal wall and pull off the Deku Baba’s flower. This will make a chest appear with a silver key.

Go back through the last room, making a detour to go into the side room in the bottom left. In here, cast Tri into the treasure chest itself, then walk up the ramp behind you and move the chest onto the button on the far side of the room as shown in the screenshot.

Back in the middle, use the silver key to unlock the door. Cast Tri into the statue on the far right-hand side of the room, then place it on the different coloured square on the floor.

Go down the ladder and towards the moving platforms. As Tri describes, hold R while tethered to the move platform to ride behind it and fly across the gap. Then climb the ladder and ride that same platform across to the ladder on the other side of the room.

Hop onto the next platform, then use the ZL button to target the platform above and hold R to ride it across to the next flat surface.

Climb the next ladder and ride the platform normally again to the other side of the room, then climb the short ladder in front of you. Use R to cling onto the moving platform one last time to ride over and grab the chest, then hop back over to climb the ladder out of the room.

After your ascent, drop a trampoline and a box in front of the raised platform with a button, then cast Tri into the statue on the right-hand side of the room and drag it across to the button, using the objects to lift it high enough onto the button.
This drops the fence, allowing you to open the giant golden chest at the back of the room. What could be in here? Well, the key to the boss room, of course. Now you can either make your way back to the golden door through the rooms you’ve cleared, or warp back using the convenient point you unlocked earlier.
Behind the door, a rock-solid test awaits: the Seismic Talus!


