Silent Hill 2 Wood Side Apartments guide
Here’s how to make your way through the Wood Side Apartments in Silent Hill 2.


You’ve ventured through East South Vale so far in Silent Hill 2, and had your first brush with danger in the form of Lying Figures - lots of them. Though, your journey through Silent Hill to seek out answers for James has only just begun. Before things start to get really perilous, we’ve the Wood Side Apartments to explore.
The Wood Side Apartments consists of three floors and a courtyard, and here, you’ll have a few puzzles to solve and enemies to beat before we can move onto the next area. To help you out with that, here’s our Silent Hill 2 Wood Side Apartments guide.
Silent Hill 2 Wood Side Apartments guide
At the end of our guide to Silent Hill 2’s South Vale, you’ll have acquired the Wood Side Apartments Key and entered the building. First things first, you’ll want to grab the Wood Side Apartments map from the lobby.
After that, enter the reception office. Here, you’ll find a save checkpoint. In the room just behind the office, you can interact with a cloaked cabinet to reveal the Coin Cabinet puzzle. To solve this puzzle, we need to acquire three coins from around the Apartments first, so we’ll return here later.

In the lobby, go to the post boxes beneath the stairs to find a letter that mentions Room 217. Go to 2F, and you will find that Room 202 is open. Mary’s dress will be on display here, with the Flashlight. As you pick the Flashlight up, a Mannequin will then attack.
Once they’re dealt with, interact with the dresser to collect the Chute Courtyard Key from the drawer. Next, go to the Courtyard — unlocking the blue double doors in the lobby — to find a cart you can move to access the other half of 1F.

You will now be in Room 112, where you can read the newspaper on the table. For reasons I will not be elaborating on until later, I recommend taking a screenshot of this newspaper clipping.
Go back into the hall, where you’ll be able to unlock a door to the courtyard for a small shortcut. Make your way towards the end of the hall, where you’ll see a key through a gate. Enjoy the cutscene in which Laura comes along and kicks the key away from you!

If you return to 1F next, you will find that the corridors leading to rooms 101-103 and 105-108 are now accessible. Room 102 will have a Strange Photo collectible that you can grab, while interacting with the wardrobe in Room 108 will reveal a wedding dress and net you the Golden Apple Handle.
In Room 107, you will find some sheet music and some medical supplies. Just outside of the room, however, you will find the 2F Hallway Key on the floor. Guess where we’re going next?
Go up to 2F and unlock the door to the hallway. If you enter the Laundry Room (unlabelled on your map) that is just beside Room 212, you can look down the garbage chute to see a coin. We’ll come back to this shortly.
If you enter Room 213 next, you will find that you can access Room 214-217 via it. In Room 217, you will be able to collect the Handgun from the red trolley, and don’t forget to loot the room for handgun ammo. There’s plenty of it.
If you return to Room 213 now, you’ll find that the TV is on and there’s a Room 212 Key on the table here.
Go ahead and enter Room 212, where you can use the balcony to enter Room 210. In 210, there’s another Mannequin and another Strange Photo.

Exit into the hallway and go to the outdoor stairwell. Use the lever here to lower the stairs to 1F, creating a shortcut to the courtyard and 1F.
With that done, head to Room 207 to loot more supplies, and then enter Room 208. Here, you’ll find a letter on the table, and can use the Golden Apple Handle to unlock another wardrobe.
Peer through the hole in the wardrobe to get a glimpse at our next puzzle. Push the wardrobe out of the way, and you can then enter the puzzle room: Room 206.
Once you enter Room 206, the gap you will have squeezed through will close. Beside the gap, you’ll find a poem that reads as follows (on Standard difficulty):
Right, where the rooftops pierce through the night.
Left are homebound footprints with no owner in sight.
But has he found home, oh, please pray tell.
Or a river of memories leading right to his hell.
Using this poem and drawings on the wall around the room, you need to come up with a safe combination that consists of three numbers. Fortunately, the drawings on the wall that are relevant to this puzzle will only appear when the flashlight is shone on them, so they’re relatively easy to identify.


You then need to use the drawings, and their contents, to establish a correct order for your code. Our keywords here are ‘rooftops’, ‘homebound footprints’, and ‘river’, as these are what each drawing on the wall shows. Don’t neglect the directions given in the poem, either, as these tell us which direction to turn the lock when inputting our code.
If you’re playing on Light or Hard puzzles, the way the puzzle works is exactly the same, but the riddle and drawings you are presented with might be slightly different.
Depending on your puzzle difficulty, the solution you should come to is as follows:
- Light puzzle solution: 12, 11, and 3.
- Standard and Hard puzzle solution: 13 right, 7 left, and 11 right.
You will then receive the Man Coin from the safe, and the Steel Key which will allow you to exit the room.
Enter Room 205 next, where you can collect the 2F Small Staircase Key from the chair in the middle of the room. Make your way to the 2F Small Staircase and unlock the door, then head to 3F.

Go down the hall and through the gap in the wall to reach Room 311. You’ll then be able to walk into Room 309 and 310, where you can use the balcony to then access Room 312.
In the bedroom of Room 312, crawl through the gap at the bottom of the wall to reach the 3F Laundry Room. Grab the Canned Juice on the counter here and interact with the Garbage Chute; you’ll be able to throw the Canned Juice down it, which will send our next coin flying onto the Chute Courtyard floor.
We’ll grab this soon, but first, return to 1F using the Small Staircase. Then, enter Room 116 and interact with the bathroom door to have your first meeting with a rather sickly Eddie Dombrowski.
Climb out of the window in this room to reach the pool outside, and a lot of Lying Figures. You need to collect the third and final Snake Coin from the red pram in the middle of the pool, and then enter the blue door across from the window you came out of.

With the coin grabbed and you now back in the lobby, nip to the Chute Courtyard to collect the Woman Coin from the floor. You can now head to the Coin Cabinet in reception and get to work on the puzzle there.

The Coin Cabinet puzzle is a mixture of riddles you need to solve. Ultimately, each riddle you are presented with will describe what position each coin should go in, and what symbol it should display. Don’t forget that you can rotate the coins to display an alternate symbol, too.
Depending on your puzzle difficulty, the riddles may be simplified, but the way you reach the conclusion is largely the same. Your solution will be as follows:
- Standard Puzzle Solution: Man (1), Woman (3), Flower (5) / Blade (2), Woman (4), Flower (5) / Man (3), Grave (4), Snake (5) / Place the Man in the top slot.
- Light Puzzle Solution: Man, Woman, Flower / Blade, Woman, Snake / Snake, Grave, Man / Place either Man or Snake in top slot.
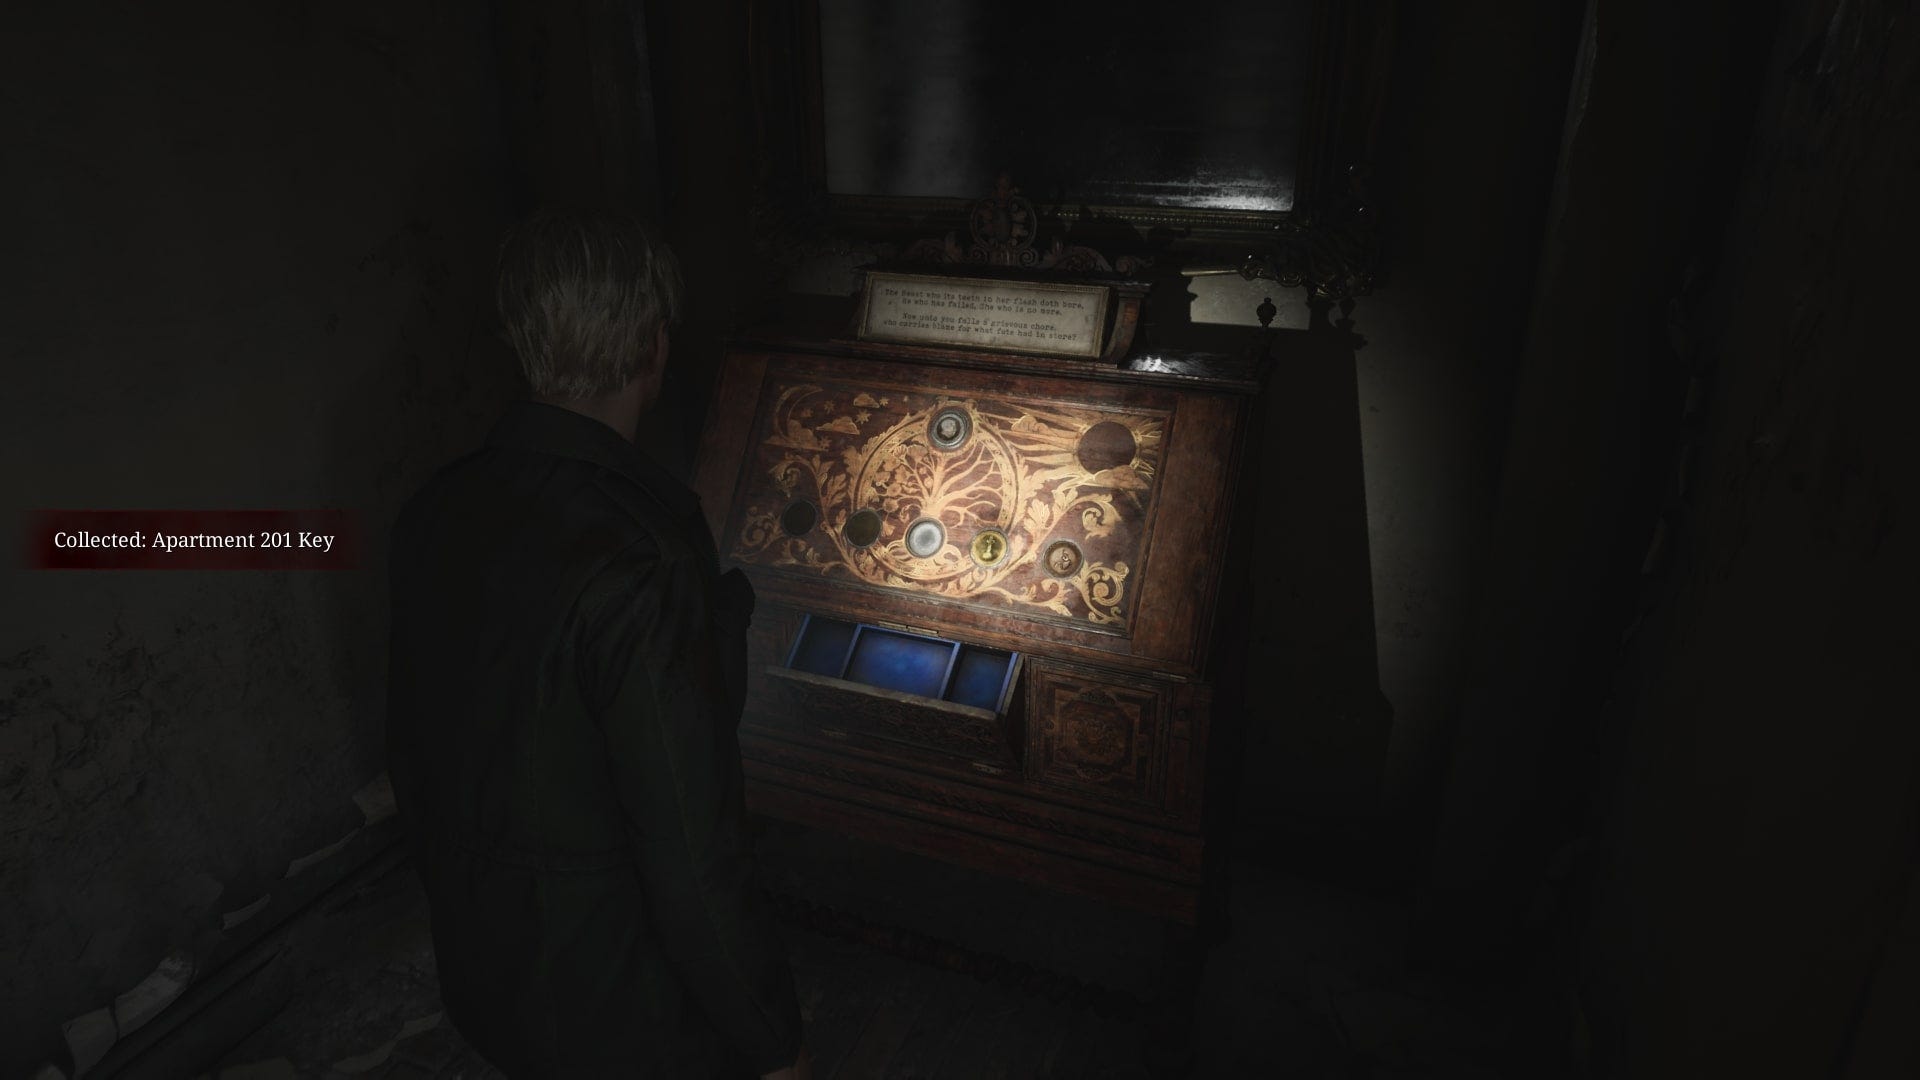
After solving the puzzle, you will be given the Room 201 Key. Head upstairs to the room and interact with the Handkerchief on the desk for a brief cutscene. Afterwards, you can collect the Handkerchief from the floor and exit via the red door in the room.
Another cutscene will ensue, and following it, you will find yourself inside Blue Creek Apartments now. They could definitely do with some decorators here…
To continue our Silent Hill 2 walkthrough, here’s our Blue Creek Apartments guide.
For more on Silent Hill 2, take a look at our spoiler-free review of the remake.