Silent Hill 2 Otherworld Hotel guide
In the Otherworld Hotel of Silent Hill 2 now, it's time to finally bring the game to a close.
You’re not done with Lake View Hotel in Silent Hill 2 just yet, and depending on how you feel about James’ journey so far, you may be overjoyed - or filled with dread - to hear this. While the Otherworld Hotel is dark and scary, it’s fortunately nothing compared to what you will have faced in the Labyrinth, so sit back and enjoy what’s to come.
This is, unfortunately, where Silent Hill 2 comes to an end. So, let’s not mess about and see what ending you wind up with! Here’s our Silent Hill 2 Otherworld Hotel guide.
Silent Hill 2 Otherworld Hotel guide
After having watched the videotape in Room 312 of Silent Hill 2’s Lake View Hotel, you will find that you have been transported to the Otherworld Hotel.
While the environment is run-down now, this are is fortunately not too troublesome, and our path to reach the end of the game is relatively linear.
First things first, enter Room 313 and go through the gap in the wall in the bathroom to enter the hall. Enter Room 311 next, and once again, go through the gap in the bathroom wall to access Room 310. You can then enter Room 309 and access the hallway again.
Up next, enter Room 304 and use the gap in the wall to enter Room 306, and then enter Room 302. You know the drill by now… another gap at the bottom of the wall allows us to enter Room 303, where there is some writing on the wall to interact with.
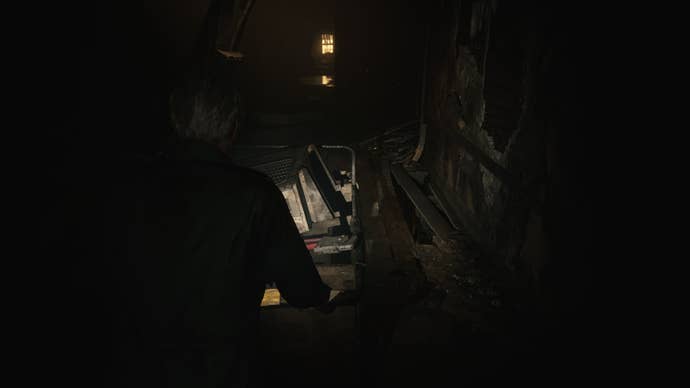
Exit Room 303 via the gap, and just beside it, you’ll find a cart. We need to move this over to the crumbling, wooden flooring outside of Room 304; this is marked by a question mark on your map.

After moving the cart, the floor will collapse and you can jump down to 1F. Use the Restroom down here to enter the Reading Room, where there is a save checkpoint. Exit the room via the double-doors and jump into the Cloakroom, then enter the Hall.
Go to the other end of the Hall — where you can peer through some gaps in the wooden wall to see an elevator — and then turn around to enter the Nurse’s Office. There’s a recording here you can listen to, and a gap in the wall behind the desk that leads us to the hallway.
Follow the hallway round and enter the elevator, then head to the Basement, which is now flooded.
Enter Venus Tears Bar, where there is a save checkpoint, and then enter Liquor Storage using the gap in the wall. On the other side of the room, climb the cart to enter the hallway.
There’ll be a bright, glowing door in front of you now. Enter it and a cutscene with Angela will unfold. Afterwards, you’ll find yourself at the bottom of a staircase.
Go upstairs and you will now be in 1F Employee Section of the hotel, and fortunately, there are no Mandarins here this time around.
- In New Game Plus, if you have the Key of Sorrow, use this and the code 314 on the safe in the Manager's Office to acquire the Toluca Lake Postcard. Finish the game as you would normally with this in your inventory to unlock the Stillness ending.
Enter the Manager’s Office, where you’ll find a Burned Note. Then, go through the red door at the back of the TV Room. Advance along the corridor to eventually come to another save checkpoint, except this one has nine squares rather than just the one… you know what that means.
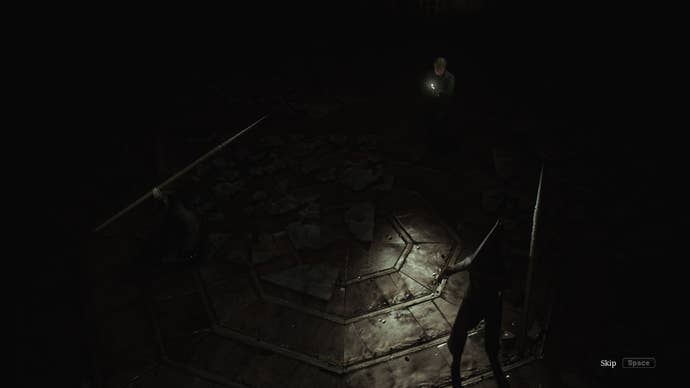
I recommend reloading your Shotgun before entering the following room, where you’ll be facing the iconic Pyramid Head Duo. Now, bear in mind that it doesn’t matter which one you shoot, as once you dish out enough damage, the fight will conclude.

I recommend using the Shotgun here and running to a corner of the room. Fire at either Pyramid Head and when they get close — or you need to reload — run to the opposite corner of the room while reloading. Shoot them again, and then rinse and repeat. The corners of the room will have various supplies for you to collect too.
Once you deal enough damage to the duo, they’ll walk into the center of the room and stand still before finally impaling themselves on their own spears. Once the cutscene ends, interact with both of them to collect the Scarlet Egg and Rust-Coloured Egg from them.
On the other side of the room, there are two doors. Place an Egg in each of them - it doesn’t matter which order - and continue into the next room.

Through the glass double-doors, you will be in a long hallway and Mary’s sick-bed dialogue will begin.
- If you sprint through the long hallway and exit, you will miss the second half of Mary’s sick-bed dialogue. Whether you listen to the dialogue in its entirety, or exit the hallway prematurely, can influence the ending that you receive. If this is your first time playing, I recommend listening to all of it.
When you’re ready, exit the long hallway to find yourself outside. To your right, you can collect some supplies and a Strange Photo. To your left, there’ll be more supplies and some stairs that come to a ladder.
Go up the ladder to finally reunite James with Mary.

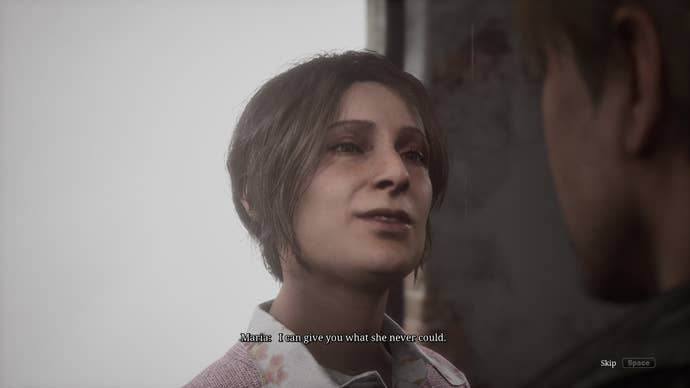
Following the cutscene, you’ll be subject to the final boss fight with Mary/Maria. For the most part, she acts quite similarly to Flesh Lips, using her metal arms to move around the arena and swipe at you, and sometimes lunging a tentacle at you. She’ll also summon swarms of moths you want to shoot or dodge.
Much like the Pyramid Head Duo fight, the best thing to do here is flee to the opposite corner of the room compared to Mary and use the Rifle. She will occasionally disappear into a swarm of moths and spawn on the other side of the room, so be prepared to run if this happens.
Once you deal some damage to Mary, a small cutscene occurs and the fight will then continue in a basement. Use your Shotgun this time, as you’ll be in quite close range to Mary, who now pops out from the ceiling at various intervals.
When she is in the ceiling, make sure to watch out for moth swarms. After you shoot her a few times here, you will be returned to the main boss room where her body is lying on the floor, uttering “James…” over and over again. Conclude the fight with one final shot at her, and then enjoy however your ending plays out.
You can then reload an older save file and try for different endings, or experience the journey all over again in New Game Plus.
For more on Silent Hill 2, take a look at our endings guide, which explains how you can unlock them all.

