Silent Hill 2 Otherworld Hospital guide
Thought you were done with the hospital? Think again. It's now time to try and escape the Otherworld Hospital in Silent Hill 2.
If you thought that Brookhaven Hospital in Silent Hill 2 was terrifying, you’re going to have your work cut out for you when it comes to exploring the Otherworld Hospital. Dilapidated, rusting, and full of foes, we’ll have a few more puzzles to solve here while not becoming food for Red Pyramid Thing.
Fortunately, with a nudge in the right direction, exploring this place isn’t all that bad. To help you with escaping the hospital, here’s our Silent Hill 2 Otherworld Hospital guide.
Silent Hill 2 Otherworld Hospital guide
After having been transported to the Otherworld Hospital following your fight with Flesh Lips in Silent Hill 2, you’ll find that things are wildly different now.
First things first, enter the Dayroom and collect the Evaluation Card from the wheelchair, then exit to find a save checkpoint in the hallway.
There’s not much else to do here aside from grab some supplies, so go down the hall and take the elevator up to 2F.
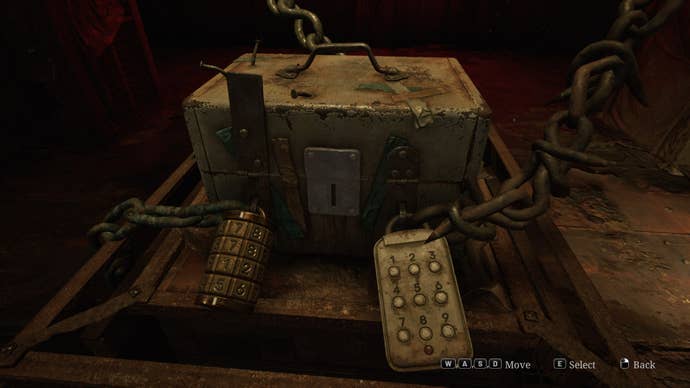
In the cafeteria area of 2F, near the Nurse’s Station, interact with the cloaked box to reveal a lockbox that has three different locks on it. As you can see, we’ve some work to do here. There is also a save checkpoint in this room that I recommend using every time you come back here.
Head up to 3F next. You can access the small stairwell in the northwest by entering the Nurse’s Station, Treatment Room, and then crawling into the Nurse’s Lounge and Women’s Locker Room.
Once you reach 3F, go to the X-Ray Room, where you can read The Procedure poem. Head into Examination Room 4 next to find a mannequin in a surgical chair with the Instrument of Force item on the table next to it.
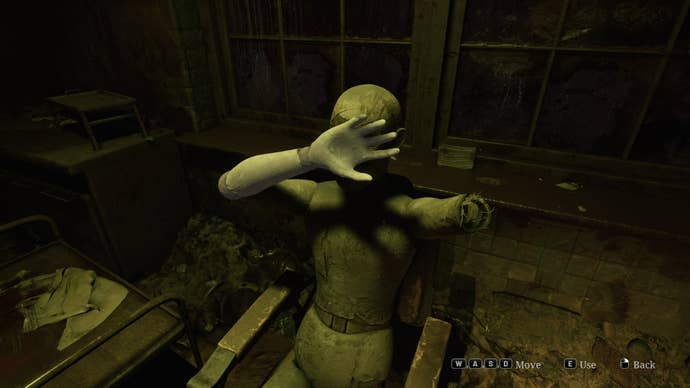
Interact with the mannequin and move its arms, allowing you to then use the Instrument of Force to break one of them. With that done, we need to go and grab another tool. Do a U-turn and hop through the window, and then break the wall on the north side of D2 to enter the room.
In D2, you can use the ladder to go to the Kitchen on 2F. Things can get a little confusing now, but bear with me. Enter Storage and advance into Medical Records, and then enter the small room that is just north of the Restroom on your map.
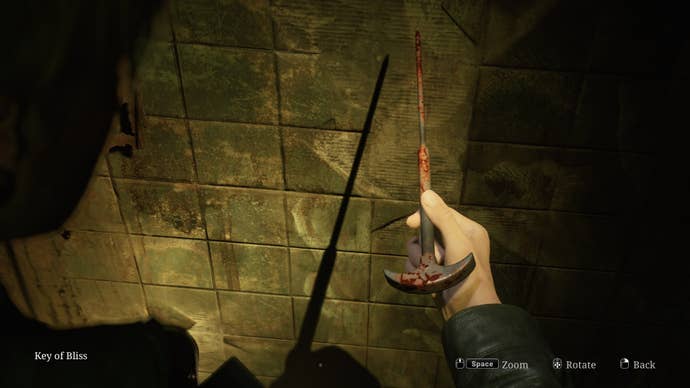
In here, you can collect the Key of Bliss from a small box on the wall, and then exit. Return back to the mannequin and surgical chair on 3F and interact with it again. This time, use the Key of Bliss to smash up its eye and claim the Lapis Eye Key.
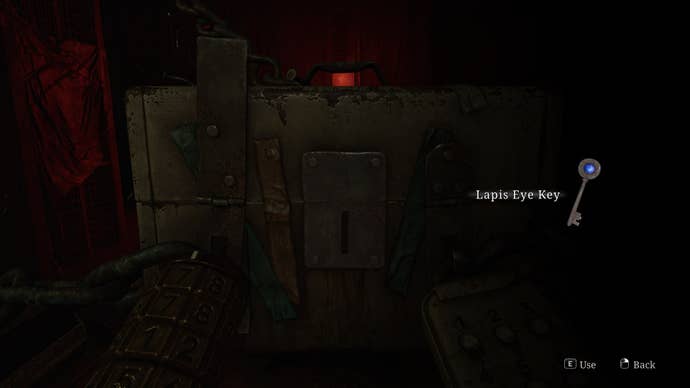
Return to 1F and use the Lapis Eye Key on the middle lock of the chained box. You’ll notice that the environment changes slightly as a result of this.
Follow the now broken chain to the 2F Restroom. In here, climb the cart to access the room just to the west of the Restroom on your map.
You can now enter L1, where you can jump over the window to access the hallway again. Enter M1 next, where you will find a clock. Interact with it and start rotating it; it will stop at 2.
Next, break the wall in M3 to gain access to M2.
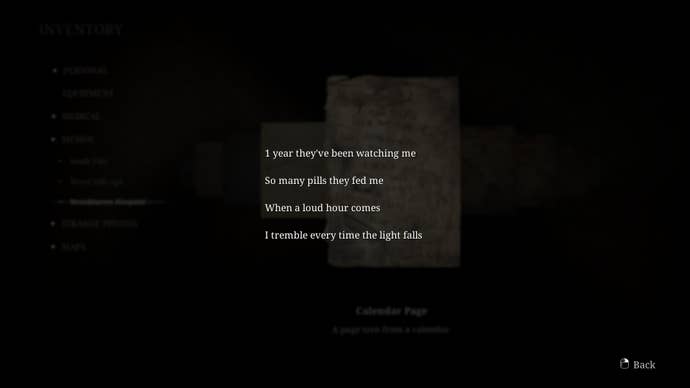
In M2, there’s a lot to take in. First, collect the Calendar Page from underneath the bed. The writing here will detail multiple things that can be found around the room:
1 year they’ve been watching me
So many pills they fed me - refers to the six pills in the sink.
When a loud hour comes - refers to the clock, which is stuck at 2.
I tremble every time the light falls - refers to the flickering light that can be seen through the hole in the wall. It flickers two times.
The Calendar Page, and combination of things around the room, all reveal a code to us when figured out. The code is 1622.
Return to 1F and input the code on the combination lock to the left. Once again, the environment around us will change slightly.
Next, take a look at your map and identify the Laundry Room. You now need to break the wall south of this.
Once in L2, move the shelf away from the door. To the left of the shelf will be a cart that, now the shelf has been moved, can be moved to the ledge leading into L3.
Enter L3 next and anticipate more enemies. Advance into the Observation Room and collect the Director’s Office Key from in front of the TV, as well as the Patient’s Note.
With that key to hand, make your way to the Director’s Office next and head on inside. There’s a recording and a Manic Scribble here, as well as a ladder to go up.
Head into Room 17 and you’ll see a Treatment Stretcher that has no power. To power it, head to the small storage room that is north of the Restroom on your map.
Turn the generator on in the room before crawling into the Restroom, where you can collect the Director’s Note.
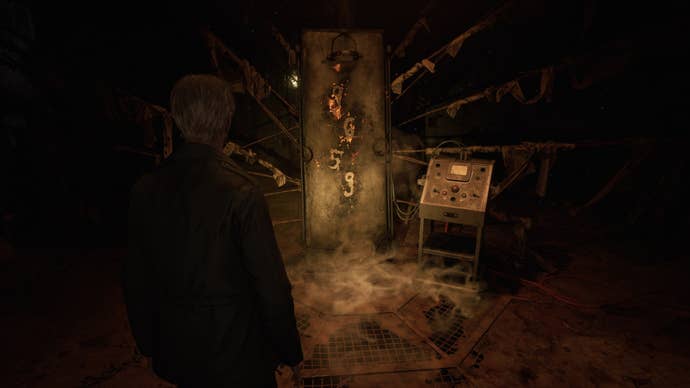
Then, return to Room 17 and turn the Treatment Stretcher on to reveal our third and final code: 9659.
Head back to 1F and input the final code. A small cutscene will play and the Lady in the Door will be revealed. Following the cutscene, you will have the -1 Elevator Button from her mouth and will see that she is missing two rings. There's also a note on the wall beside her.
Attach the button to the elevator next, and make your way down to the basement. While in the elevator, however, a Trick or Treat announcement will begin. This will ask James three questions about Silent Hill, all of which can be answered using bits of lore found throughout the beginning portion of the game.
We won’t get the opportunity to answer them until a little while later, so I’ll provide the answers to the Trick or Treat questions once we get there.
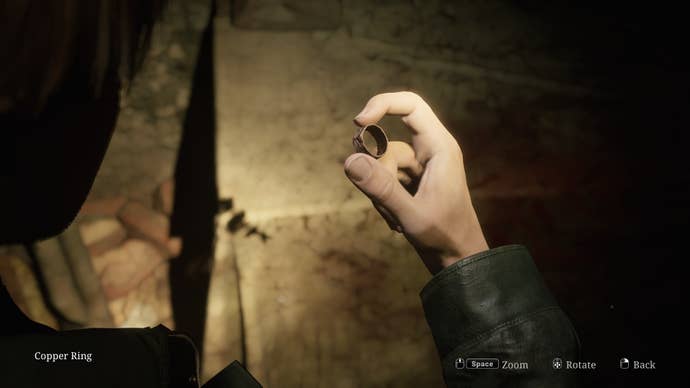
Once you’re in the basement, make your way to the Boiler Room and climb the cart to gain access to the Pump Room. Here, collect the Copper Ring from the table and a cutscene will unfold.
Maria is back! Next, go south of the Pump Room and take the stairwell up to an unexplored part of 1F. As you begin to walk down the hall, sprinklers will start and you’ll have some dialogue with Maria.
Once you’re able to sprint again, make your way to the Doctor’s Lounge and interact with the fridge for a brief cutscene. You will now have the Lead Ring.
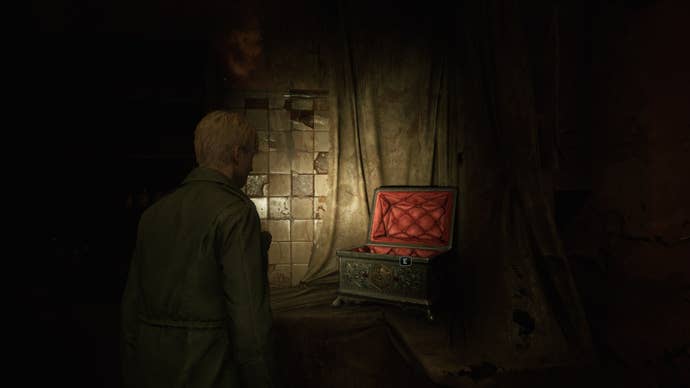
Before we return to the Lady in the Door, make your way to the Pharmacy. There is a decorative box in the corner where we can input our Trick or Treat answers. The questions, answers, and where you find the answers are as follows:
In the early eighteen hundreds, a terrible disease spread across Silent Hill, resulting in the death of many of its inhabitants. Their bodies are thrown into the lake to sleep forever in their watery grave. How many souls were lost during the plague?
- 42
- 67 - found at Rosewater Park Memorial.
- 85
Follow Sanders Street heading East and further on, to the outskirts of town. One - and only one - road will take you towards the lumber yard and the cemetery. What is the name of that road?
- Bachman Road
- Munson Street
- Wiltse Road - Check South Vale map.
Silent Hill witnessed a gruesome murder a few years back. A brother and sister were playing in the road when they were attacked and chopped into pieces with an axe. Torn flesh, smashed bones, splattered blood… What a terrible tragedy. What a gruesome end to such innocent lives. One of the victims was a local boy named Billy Locane. But, what was the name of the other victim, Billy’s sister?
- Miriam - from a newspaper clipping in Room 112 of Wood Side Apartments.
- Heather
- Julia
With those successfully answered, you’ll be able to collect some Shotgun Shells and Syringes.
Now, return upstairs to the Lady in the Door and place both of the rings on her. The door will now open, so head on downstairs!
You will run into an Ominous Note and a save checkpoint along the way, and as you enter the corridor at the bottom, prepare for Pyramid Head to appear once more.
Sprint along the corridor, dodging any obstacles, until the cutscene begins. James will reach the elevator. Maria, on the other hand…
After the elevator, you will be back at 1F of the hospital, but the front door is now locked. Simply head to the Reception Office and investigate the diary here to retrieve the Hospital Entrance Key. You will also then see Laura running off towards Rendell Street.
Save your game before leaving, and then finally make your escape from Brookhaven Hospital.
You’re now back in South Vale, but things are much darker now. To continue our Silent Hill 2 walkthrough, here’s our Dark South Vale guide.
For more on Silent Hill 2, take a look at our spoiler-free review of the remake.

