Silent Hill 2 Labyrinth guide
A maze of corridors infested with rot and God knows what else, here's how to navigate Silent Hill 2's Labyrinth.


If you thought Silent Hill 2’s Toluca Prison was bad, you’ve got your work cut out for you when it comes to the Labyrinth. This place doesn’t have a map to begin with. It’s one that James eventually, somehow, has to sketch up for himself, meaning it’s easy to get lost in the maze of hallways that the area consists of.
The paths here, for the most part, are at least quite linear, but we’ve done our very best to help walk you through the terrifying — and rather gross — place. Here’s our Silent Hill 2 Labyrinth guide.
Silent Hill 2 Labyrinth guide
After leaving Toluca Prison and taking the elevator down into Silent Hill 2’s Labyrinth, you will be met with a save checkpoint.
Continue down the hall until you reach a newspaper covered door, where you’ll hear Angela. Go through the black door that follows and there’ll be a very emotionally-charged cutscene with her, just before Abstract Daddy barges in with other ideas.
You will now need to run through a hallway and away from Abstract Daddy, but turn to shoot him using the Shotgun or Handgun wherever you can. After enough damage is dealt, the lights will go off and he will vanish… for now. He’ll regularly reappear in this section of the Labyrinth now, but there’s usually some sort of crack in the wall or door by him to go through and escape, as a heads up.
After your first meeting with Abstract Daddy concludes, go through the black door in the hall that was previously closed during the fight, but is now open.
Things are quite linear now. Run through the hall until you see Angela again and follow her. You will eventually see her run into a wardrobe. You can enter the wardrobe and look around, but there’s nothing to collect here.
Go through the door beside the wardrobe and you will soon come to a room with a TV emitting static. Smash it up, and Abstract Daddy will appear again. You can flee from him via the gap in the wall to his left, just behind him. You will now be safe again temporarily.
Jump through the window at the end of the next hall. The wardrobe is here again, and you can enter to see a teddy bear and torn photograph.
Providing that you are facing the entrance to the wardrobe (from outside of it), go down the hall to your right.
Abstract Daddy will appear again. Go through the gap in the wall behind him once more. There’ll be a door ahead, and following that, a window to jump through.
When you come to the room with the TV, smash it up again. Now, things get a little confusing, but bear with me.
Go down the hall to your left, jump the window, and go through the gap in the wall on your right. Go left again, through the gap in the wall, and then when you come to a third TV, smash it up.
Once again, go down the hall to your left and jump through the upcoming gap in the wall to reach a large room. Abstract Daddy will come bursting in. This is our fully-fledged boss fight with him, so whip out your shotgun and begin firing.
Fortunately, Abstract Daddy isn’t too formidable of a foe. He’s rather slow and clumsy, but can run at you quickly if you’re not careful. Create a little distance between you both, shoot him a few times, and repeat. If he rushes at you, don’t forget to dodge out of the way.
Once he’s finally dead, a cutscene with Angela will play out.
Exit the room and go through the hallway. In the kitchen/lounge area that you come to, go through the glass double doors to your right.
As you continue down the next hall, you’ll begin forming a map of the main section of the Labyrinth. There will be a save checkpoint just up ahead, as well as a strange wall that we can’t go through just yet.
From the save checkpoint, take a right and go down the stairs ahead. You will come to a cell with Maria in it, and she’s acting strange.
- Following the cutscene, Maria remains in this cell. How often you check on her here now, and later, can influence the ending you unlock.
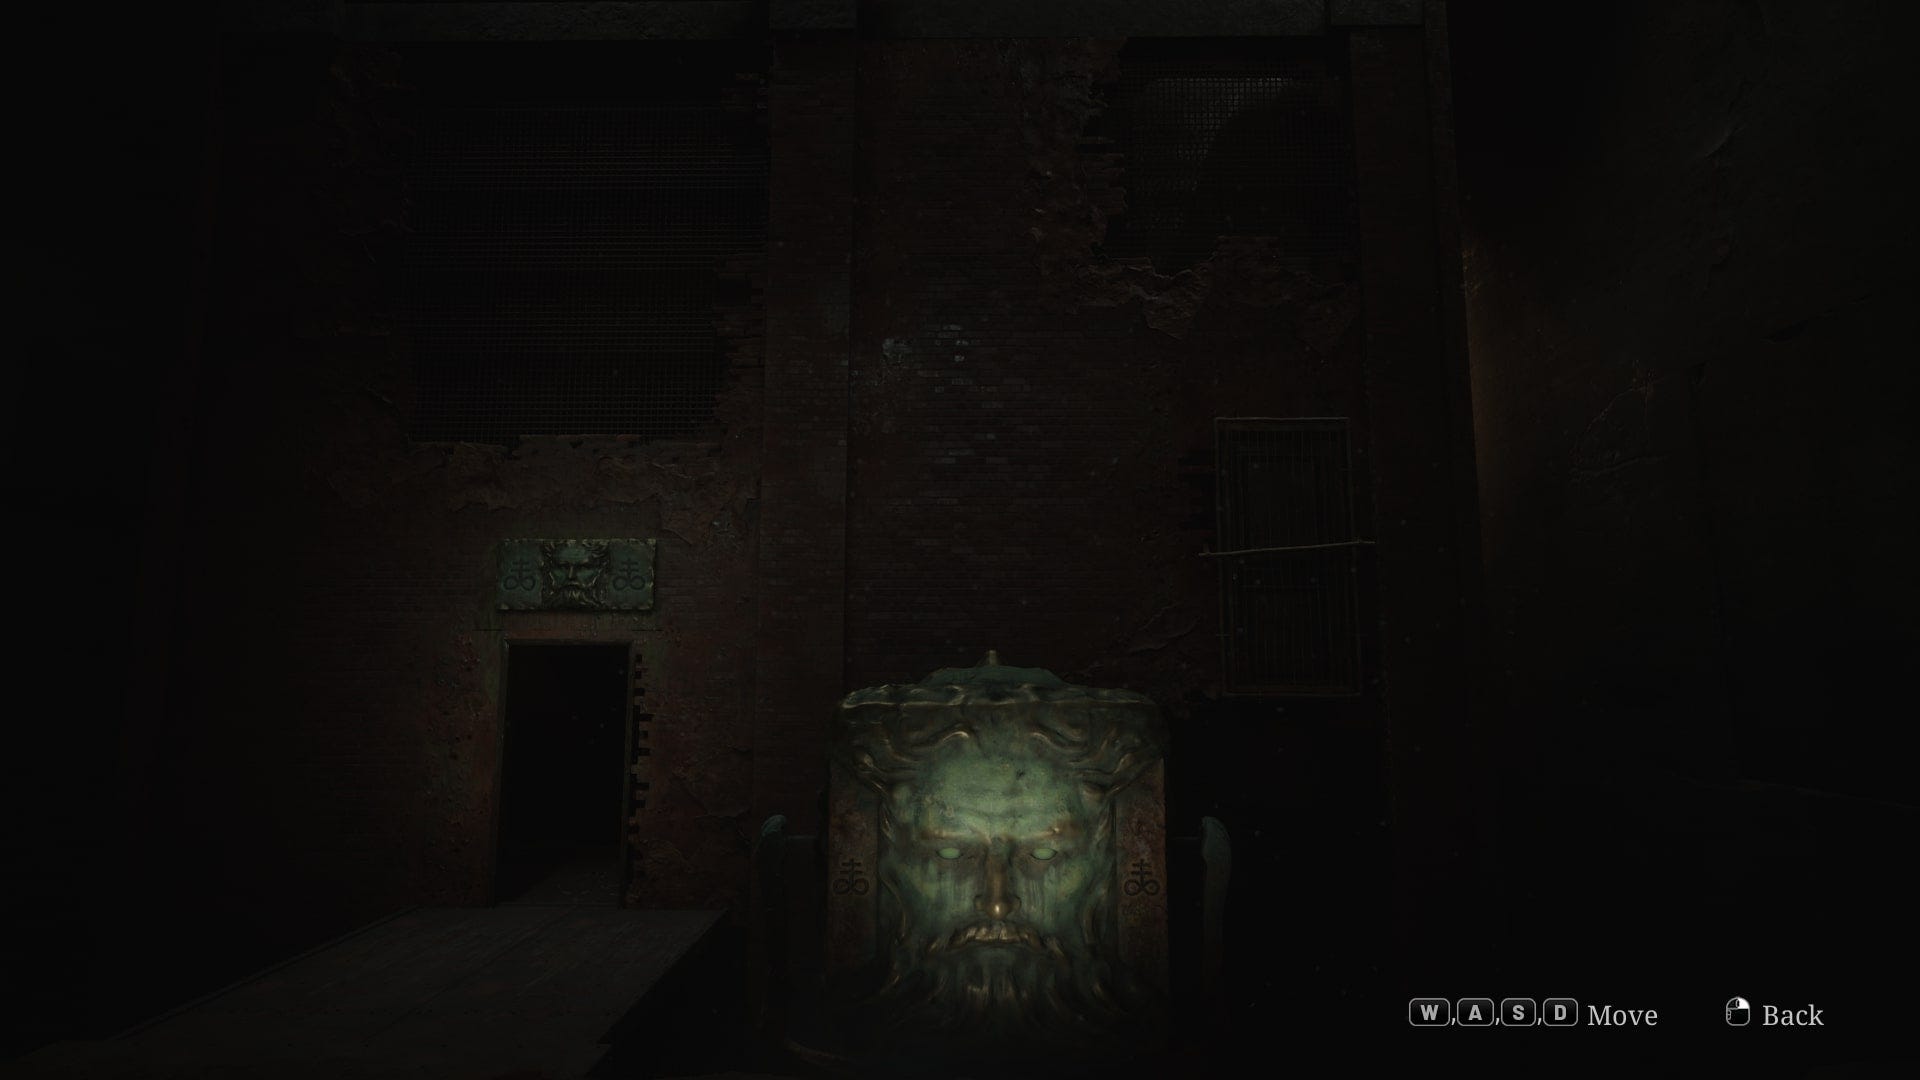
Return upstairs and you will find that a cloaked cube is now present. Interact with it to reveal the rotating cube. Essentially, we can rotate this thing to rotate the huge cube full of doorways and stairs just in front of it.
If you look at the walls surrounding the large cube, you’ll notice an illuminated doorway with a symbol beside it. We want to rotate the cube so that we can access this doorway, and the symbol shown beside it is our clue as to what the rotating cube should land on.

First things first, move the rotating cube so that the crosses with upwards facing triangles are at the front — and upright — on the cube. That said, there are additional faces you can land on that will take you to small corridors with supplies in them, so don’t worry about getting it ‘wrong’ necessarily.
When the rotating cube is positioned correctly, go upstairs and through the hallway. Enter the green door to access the Rotten Area of the Labyrinth.
Silent Hill 2 Labyrinth Rotten Area
In the Rotten Area of the Labyrinth now, you will come to a room with a Suspended Cage and a save checkpoint. We need some sort of fire source to get the Suspended Cage down, so that’s what we’re off to go and do.
Go through any of the doors here to end up in an area full of bugs, with Mandarin enemies on the grates beneath you. I recommend running around mindlessly in an attempt to fill out your map, and then returning to the Suspended Cage. It makes identifying where to go and what to do a little easier. It's also worth noting that the red paint on the walls throughout the Rotten Area can help us identify where we need to go.
On that note, when it comes to Mandarin’s, they’re easy enough to avoid. They typically scream before attacking, so be sure to dodge when that occurs, and you’ll be fine.
When you’re ready to make some progress, return to the Rotten Room with the Suspended Cage, and exit via the eastern door (on your map).
You’ll find a locked door just up ahead. Keep right from here to come to another room. Drag the cart in this room to the north wall that has a ledge, and climb into the following room.
Open the fridge in the following room for a brief cutscene, and James will acquire Lighter Gas. Now, we need a Wick and a Lighter to accompany it…
Exit the room, move the following shelf, and crawl back into the rotting corridors. Return to the Rotten Room with the Suspended Cage and save your game.
This time, exit the Rotten Room via the west door on your map. It can be super easy to get lost here, especially while fighting and avoiding enemies, but you ultimately want to keep going south of your map here where possible. You’ll eventually come to some brown double-doors and a safe hallway.
From this hallway, go through the next door and anticipate enemies. Go through the gap in the wall here, and search the hole in the wall in the following room to retrieve the Lighter Wick.
Exit the room and keep right. You will eventually come to a safe-ish corridor that leads to an office containing a Bubble Head Nurse. Deal with them, and collect the Iron Key from the desk drawer.
Exit via the unused door and go to the hallway from earlier that had the locked door (from before we grabbed the Lighter Fuel). Use the Iron Key on the door, and search the bathtub in the following room; it won’t go well.
Go through the gap in the wall and along the long corridor adjacent to the bathtub. Turn the red valve at the end, and return to the bathtub. You can now collect the Lighter. Combine this with the Lighter and Lighter Wick in your inventory.
Return to the Rotten Room and use the working lighter on the rope that is suspending the cage. The cage will make a large hole; you know the drill, jump in.
You will now have been returned to the rotating cube. I recommend saving your game here before rotating the cube again.
This time, you want the crosses with the infinity symbols at the bottom to be front-facing on the cube. Go through the cube and along the hall, entering the brown door this time. There will be a save checkpoint just ahead, to your right.
Silent Hill 2 Labyrinth Desolate Area
Continue north and enter the room on your right. Go through the gap in the wall (and follow the room around if you want to unlock a shortcut).
When you come to the room with a ladder, go down it. This next section is full of ladders, and it can be hard to keep track of them. Fortunately, all ladders are numbered on the map, so bear that in mind.
After going down the ladder, follow the hall and go up the next ladder you come to. Along the hall, there’s a hole you can peer through, allowing you to view a key.

At the top of the ladder, you’ll find a gate and valve that are handcuffed to one another. This is what the key we just viewed is for. Enter the door beside the gate to come to a third ladder to go down. You will, fortunately, come to the room with the Small Key, and can unlock the door here.

Go up ladder #1 and use the Small Key on the Handcuffed Gate. Turn the valve to open the gate and advance through it. Follow the next hall until you come to a room with a cart; move the cart to access the ledge in here.
Go down ladder #4. You can unlock a shortcut at the bottom here. Crawl through the hole in the wall to your left. You will then be shut into the next room as the wall behind you collapses. There is a wire gate here that we need Wire Cutters for. Head to the right of the gate.
Just up ahead, you’re entering Pyramid Head’s Lair, and he will follow you around it. Flee from him and fill out your map. If you need a break, you can leave the lair for the hallway with the wired fence again, where he won’t pursue you.
In Pyramid Head’s Lair, there’s ladder #6 to the left; go up here to get supplies and a Strange Photo. Go down the ladder and continue around the lair, in whatever direction Pyramid Head ultimately decides, and enter the room with the double-doors. This is where you get the Great Knife in the original game, but it’s not here this time.
Break the wall in here and go through it, but be careful to try and create a decent distance between you and Pyramid Head before doing so. Otherwise, he can catch up and quickly overwhelm you in this corner of the room.
Go up ladder #5. Keep right in the next hall to come to the broken fuse box and collect the Wire Cutters.
Return to the wire fence, but take caution, as Mandarins and other enemies will now have spawned in Pyramid Head’s Lair, alongside Pyramid Head himself. You can run from most of these, though.

Once you reach the wire fence, use the Wire Cutters on the gate and go through it.
Go down ladder #7, and would you look at that? There’s another hole to jump in. Jump!

You will now be back at the rotating cube again; just one more rotation to go. This time, you want the crosses with the downwards-pointing triangles to be front-facing.
Silent Hill 2 Labyrinth Ruined Area
Once again, enter the cube for a third and final time. At the end of the hall, enter the red door this time.
You’ll arrive in a room. Interact with the red door here and enemies will spawn. You need to kill them all for the door to open again, but don’t forget to loot the room for supplies before leaving.
Go along the hall and there’s more of the same; another room with more enemies. Kill them, loot for supplies, and exit into the hall.
In the third room, there’ll be two Mandarin’s to beat. Kill them by shooting their feet. There’ll also be a hidden Mannequin in here. Loot the room and advance through the next door. You’ll arrive at the Ruined Hallway save checkpoint.
In the following hallway, Pyramid Head will appear. Don’t bother wasting your ammo or trying to fight him here. You need to lure him towards the strange wall on the other end of the corridor, dodging his attacks and running from him.
I found that running backwards into the strange wall as Pyramid Head followed me was the quickest way to get out of this corridor safely.
Once you’re past the strange wall, you can enter a room labeled 208, where a cutscene with Maria ensues.
- Checking on Maria in this cell following the cutscene can influence the ending you unlock.

Return to the main room to find that the rotating cube is gone, but beside it, James can retrieve and wield Pyramid Head’s Great Knife. Drag this over to the strange wall from earlier, which will slowly disintegrate as you pull the knife through it.
At the end of the hall is a ladder, where James sadly dumps the Great Knife and leaves it behind. Go up the ladder to find yourself in the Cemetery.

There are grave stones here for Walter Sullivan and Miriam to check out, as well as three open graves for Angela, Eddie, and James. Save your game at the save checkpoint here, and then jump into James’ grave.
At the end of the following hallway, you will meet with Eddie. After the cutscene, go through the double doors to begin the iconic Eddie boss fight, now completely revamped compared to the original game.
Start by using the Handgun. You can use the meat to avoid Eddie’s bullets and then shoot him when possible. After a few shots, he shoots one of the pipes and makes James’ vision even poorer.
When that happens, switch to using a close range weapon, either the Steel Pipe or Shotgun depending on your confidence with combat; you’ll wind up attacking Eddie at close range while visibility is minimised, so I recommend saving your Shotgun Shells for later.
After a bit, Eddie then starts making the hanging meat move, but your visibility returns. Use the Handgun again at this point, and while dodging Eddie’s bullets, continue to track him down and shoot him. Soon enough, he’s dead, and James doesn’t look too pleased about what he has done.
When you’re ready to continue, exit via the double doors to come to the Shore save point. We’re now in Toluca Lake.
Silent Hill 2 Toluca Lake
The Toluca Lake portion of Silent Hill 2 is fortunately brief and easy.

Go to the end of the pier and interact with the boat. After a brief cutscene, you then need to paddle the boat to the other side of the lake; follow the light in the sky, and you’ll soon arrive at Lake View Hotel. There’s also a hidden achievement here if you stay on the lake for a minimum of ten minutes.
- In New Game Plus, a sci-fi sound effect will play as you arrive at Lake View Hotel's pier. You can use the Blue Gem here to become one step closer to unlocking the UFO ending.
To continue our Silent Hill 2 walkthrough, check out our Lake View Hotel guide.
For more on Silent Hill 2, take a look at our spoiler-free review of the remake.