Silent Hill 2 East South Vale guide
“The door that wakes in darkness, opening into nightmares.” Here’s how to navigate South Vale, one of Silent Hill 2’s first areas.
James’ journey in Silent Hill 2 begins at the Observation Deck, where he eventually meanders into the foggy streets of South Vale, only to slowly uncover the bizarre goings-on in the town. James isn’t fazed by any of the strange occurrences or creatures he runs into though, with the only thing on his mind being his wife, Mary.
While the map is your best friend in Silent Hill 2, and will often help you figure out where to go next, here’s our guide to getting through Silent Hill 2’s South Vale to help you out and ensure you don’t miss anything of importance!
Silent Hill 2 East South Vale guide
First things first, Silent Hill 2 is all about exploration, and I highly recommend doing that as much as possible. This means smashing storefront and car windows for additional supplies, and taking a closer look at any buildings that catch your eye; you never know what you might find.
This walkthrough intends to provide the optimal path through Silent Hill 2, but by no means contains every single collectible, and this is why your own exploration will be important. That said, I have made mention to any hidden achievements or memos you can grab, as well as any of the pivotal moments throughout the game that can influence your ending.
That said, if this is your first playthrough, I recommend you play as naturally as possible and see what you end up with. You can easily come back and access the other endings on later runs or using your manual save files! Without further ado, let’s get going. Silent Hill awaits!
Observation Deck
James’ first location in Silent Hill 2 is the bathrooms of the Observation Deck. Once the cutscene finishes and you find yourself outside, interact with the green car beside you to get a map of the area.
If you head down the road that ultimately exits Silent Hill, you will obviously find that there’s no going back, and will get a hidden achievement for doing so!
With that out of the way, head down the stairs near the white van and follow the path into the Graveyard. Sit back and enjoy your first meeting with Angela Orosco.
- In New Game Plus, the Book: Crimson Ceremony required for the Rebirth ending will be on a gravestone to the right of the Graveyard.
Continue through the upcoming Ranch until you arrive at a locked gate, with Best Auto Parts to the left.
- In New Game Plus, you can grab the Chainsaw weapon from the Ranch. Listen out for it and you will find it stuck in a nearby pile of logs.
Approach Best Auto Parts and you’ll find a note beside the door. Enter the small building via the open window to the left of it.
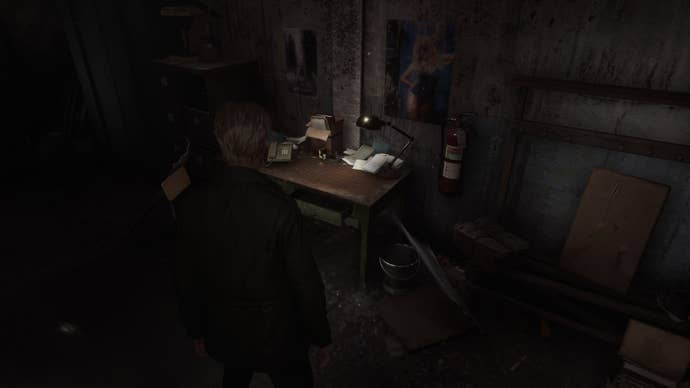
Inside, you’ll be able to collect the Best Auto Parts Key from the desk drawer. You can now exit, unlock the gate, and continue ahead along Wiltse Road.
- In New Game Plus (and if you have previously unlocked the In Water ending), there is a car between Nathan Ave. and Wiltse Road that you can smash to acquire the Key of Sorrow. This is just past the gate where James would acquire the Wooden Plank and Radio in the original game. It can be used to unlock the Stillness ending.
You will eventually reach Sanders Street, and there will be a brief cutscene as you collect the map of South Vale.
East South Vale
Once in South Vale, go straight ahead to enter the flower shop. Collect the letter from the counter here and exit via the other door here, where James will see a bloody mess on the ground that he can interact with.
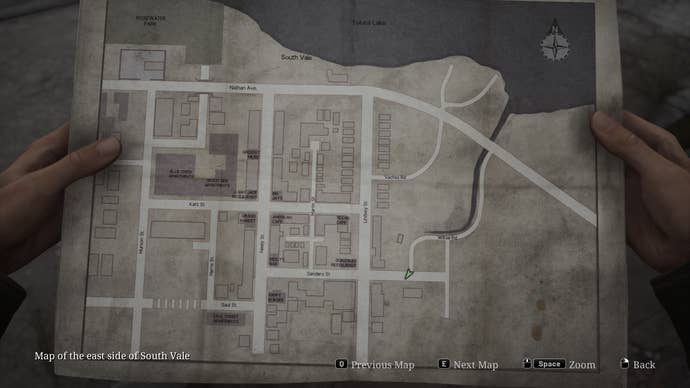
Go north on Lindsay Street. Most roads here are blocked off. You can peer into the Texan Cafe if you fancy, but that and Gonzalez Restaurant are both inaccessible.
- In New Game Plus, there are a few items to be found in East South Vale. North of Big Jay’s, a Pet Store will be open where you can retrieve a Broken Dog Key Part from the backroom, which is needed for the Dog ending. Just north of the Pet Store is a Jeweller’s too, where you can smash the window to retrieve the Blue Gem needed for the UFO ending.
As you advance along Lindsay Street, you’ll soon come to a cutscene of a Lying Figure. Follow the bloody trail left by the figure, but be sure to explore any shops here for additional supplies and memos, if you haven’t already.
You’ll eventually follow the Lying Figure down an alley and into a garage. Shimmy through the wall just ahead of you to reach the House on Martin Street save checkpoint.
While you’re here, don’t forget to check any drawers, cupboards, and lockers whenever you’re inside a building. These often contain medical supplies or ammunition you can use.
Enter the hall of the house and follow the static sound, where you’ll come to the radio finally. As you interact with it, a Lying Figure will appear, and James will retrieve a Wooden Plank. Kill the thing!
- The radio can be turned off in your inventory, if you’d rather not use it. There is an achievement for finishing the game without using it.
Next, break the window and exit the house. Advance down Martin Street and you’ll eventually come to another save checkpoint. From here, you’ll also be able to enter the Texan Cafe.
Interact with the till in the cafe. Turn the key first, and then press the Enter button. You’ll retrieve the Neely’s Bar Coin, which we will need later.
On Martin Street, there are also two windows beside one another that you can smash and enter. One of them leads to a bookstore with some books you can interact with, and the other leads to a launderette. There are no supplies here, so don’t bother with them unless you fancy checking out some additional locations.
The American Cafe and Lucky Jade Restaurant in the area remain inaccessible, but you can enter Big Jay’s to read the Big Jay’s Note and retrieve some more supplies. You can also enter the alley beside the Grand Market to find a Keypad.
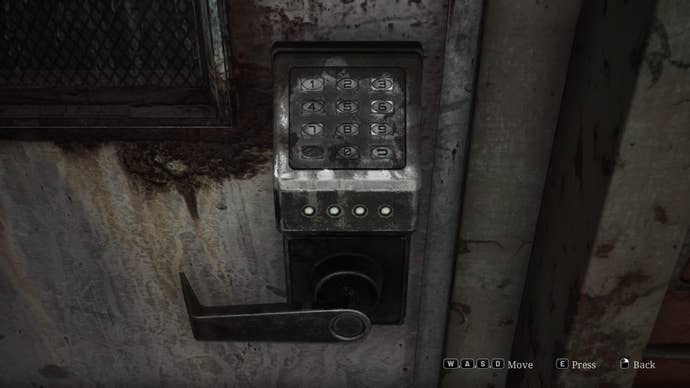
To find the code for the Grand Market Keypad, you’ll need to head to the very bottom of Sanders Street, where there is a Motor Home. Here, you’ll also find a corpse with two notes explaining that he has tried every number combination up to 4439, and he knows he was close.
Return to the Keypad and enter numbers from 4440 and upwards to eventually come to your solution.
- Light Puzzle Solution: 4442
- Standard Puzzle Solution: 4444
- Hard puzzle solution: 4446
The building acts as a resource stash more than anything, with it containing some ammo and medical supplies.
Next, make your way to Groovy Music and read the Record Store Note on the counter. Smash the window at the back of the store to enter the backroom, and collect the Broken Record and Glue.
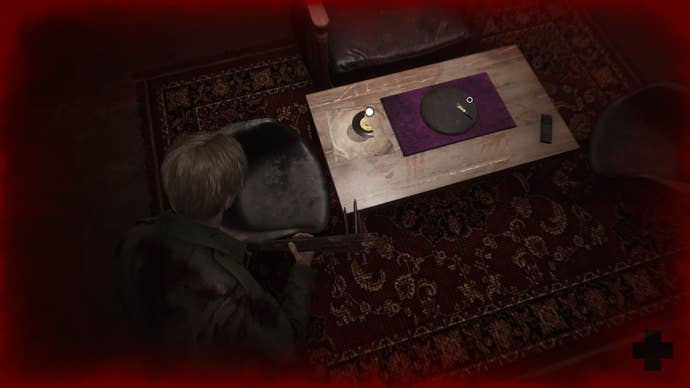
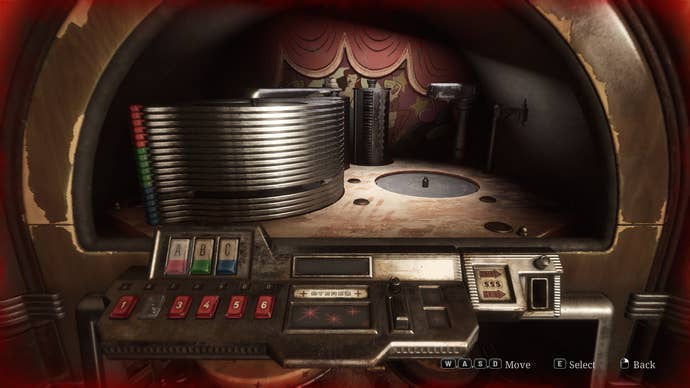
Then, head to Neely’s Bar, where there is another save checkpoint. Interact with the Jukebox to get the second half of the Broken Record. Combine the two Broken Records and Glue in your inventory to get a semi-functional record that we can place in the Jukebox.
You’ll then need to fiddle with the mechanisms inside the Jukebox so the record can be lifted. If you find yourself stuck, take a look at our Neely's Bar Jukebox guide.
Once that’s done, input the Neely’s Bar Coin into the Jukebox. Leave the puzzle there for now, as we’ll return later with another item needed to complete it.
Read the letter on the counter and interact with the writing on the wall, if you fancy. Then, make your way to Saul Street Apartments. By all means, smash your way into Happy Burger along the way to grab some more medical supplies.
Once inside the Saul Street Apartments, move the shelf blocking the doorway to access the office. Here, there’s a small note to read, and you can collect the Apartment 5 Key.
On the first floor, you can visit the Pharmacy to acquire some medical supplies and read a receipt. The receipt happens to be for a bunch of cancer and anxiety medication, giving us a small glimpse as to the illness James’ wife may have had.
Go to Apartment 5 next, where you’ll be able to head outside to the balcony, upstairs, and through the window to reach another apartment. Interact with a locked door beside the bathroom for a brief cutscene.
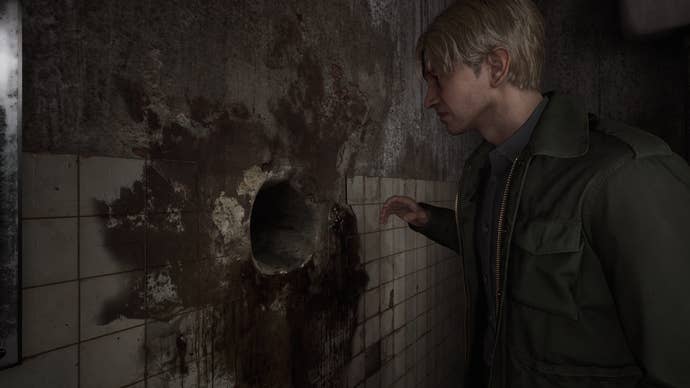
With that done, enter the bathroom and shove James’ hand into the rather gross-looking hole in the wall. He will collect the Jukebox Button.
Now, head outside and return to Neely’s Bar. Place the Jukebox Button in its rightful place. You then need to flip the C button, and then the 2 button, and provided the Neely’s Bar Coin has already been used on the Jukebox, a small cutscene ensues.
You will now have the Neely’s Bar Key, and can unlock the door at the back of the bar. Don’t forget to save your game here before continuing!
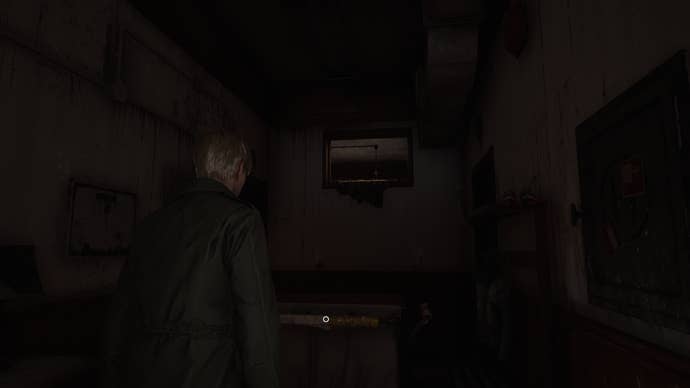
Move the cart in the next room, and climb over into the back room of the bar. You can collect the Back Room Letter here, which mentions a blue-green car nearby.
Head outside and through the alleyways to eventually come to a bloody mess by a blue-green car. Interact with it to receive the Wood Side Apartments Key, and prepare for a bunch of Lying Figures to come at you.
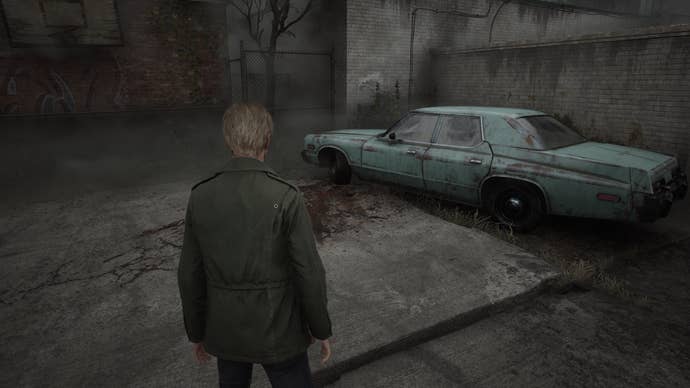
Exit the alleyway and head to Wood Side Apartments, using the key to enter.
To continue our Silent Hill 2 walkthrough, here’s our Wood Side Apartments guide.
For more on Silent Hill 2, take a look at our spoiler-free review of the remake.

