Resident Evil 2 Remake Walkthrough Part 8 – Claire B - Alternate Underground
After escaping the Police Station through the passage under the Main Hall, Claire finds herself safe - for now - in a richly decorated secret room. But with nowhere else to go, she has no choice to press on into the underground complex below.
Into the Underground Facility
Make use of the item box and save typewriter in the Secret Room, and collect all of the supplies dotted around the shelves.
Put the STARS Badge in your pouch since it’s used soon, then stock up your inventory so you’ve got your best weapons and a pile of ammo - you’re going to need it.
When you’re ready, head off down the elevator to the right of the room.
You’ll come out on a set of industrial stairs. Follow them all the way to the bottom and you’ll find the “Special Weapons Case” at the far end of the room. Use the STARS Badge - which you get back in your inventory by examining and retracting the USB from the Dongle - on the case, and you’ll get the Suppressor for your MQ11.
This is a very useful and powerful attachment - now you can kill zombies without alerting others or tipping Mr X off to your location.
Combine it with your SMG, then head back up the stairs one level and go through the door next to the hydrant.
Follow the galley around until you get to the large open room, then bear right.
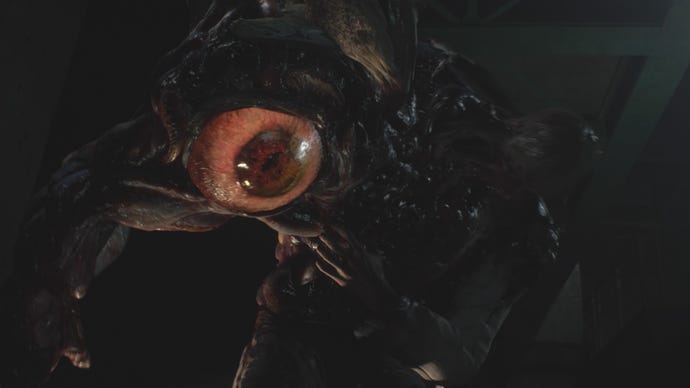
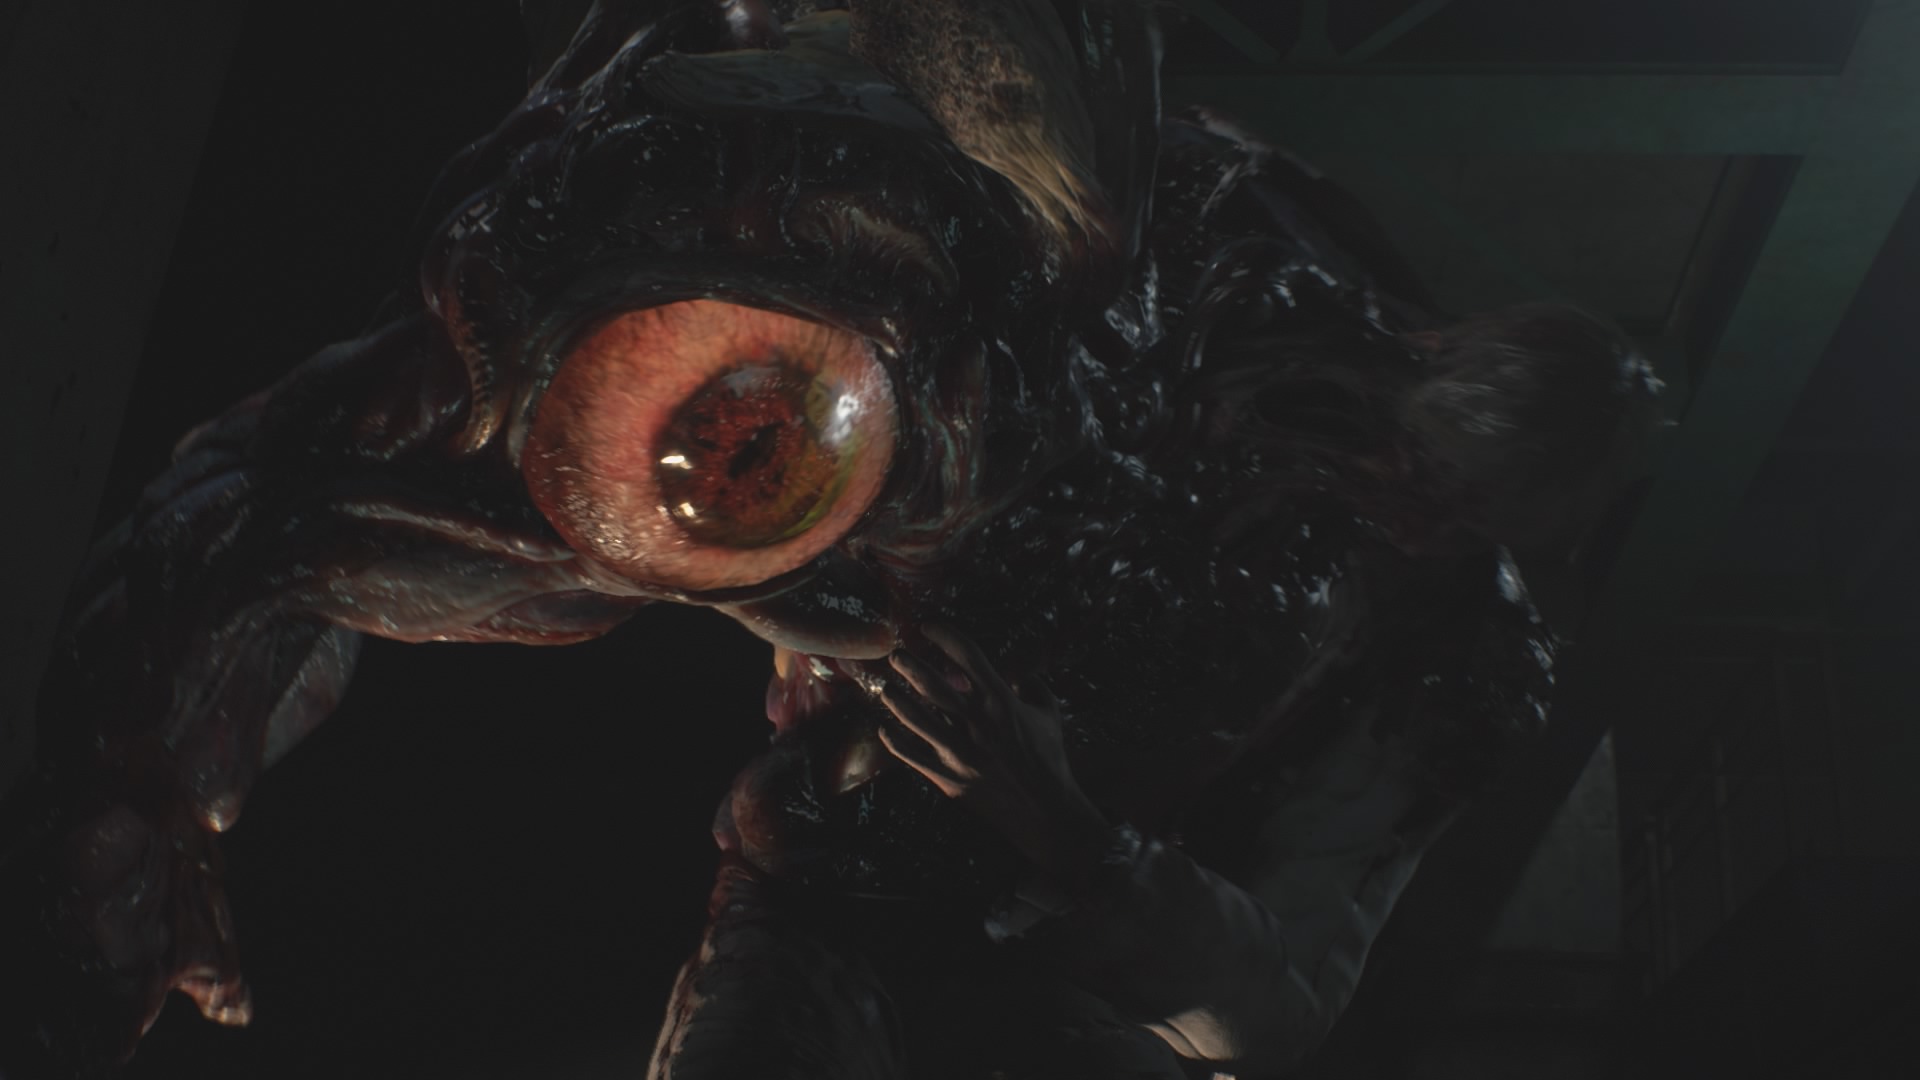
Try to lift the locker and you’ll trigger a cutscene, which on conclusion triggers the first William boss fight.
This plays out just like your first run: shoot him in the head to stun him - or blast him with your launcher - then shoot the eye on his arm.
After a couple of repetitions, he’ll fall off the side of the railings and the little girl will throw a ladder down for you.
Before you continue, scout around the boss fight area. There are lots of supplies littered around the corners of the room.
Next, go up the ladder. Turn right at the top to gather some supplies in the office there, then accompany Sherry around to the left. Now pull the lever to move the access bridge.
Go across the bridge you opened up, and follow the path to the end. There’s a safe room and item box here, so store anything that’s gumming up your inventory.
Make sure to grab the hip pouch that’s in the locker on your right to free up some more space too.
When you’re done, go up the ladder behind you on the right and you’ll get another cutscene.
Follow Sherry to the gate, then try and interact with the ticket machine to the right.
After the cutscene, head over to the open door on the right.
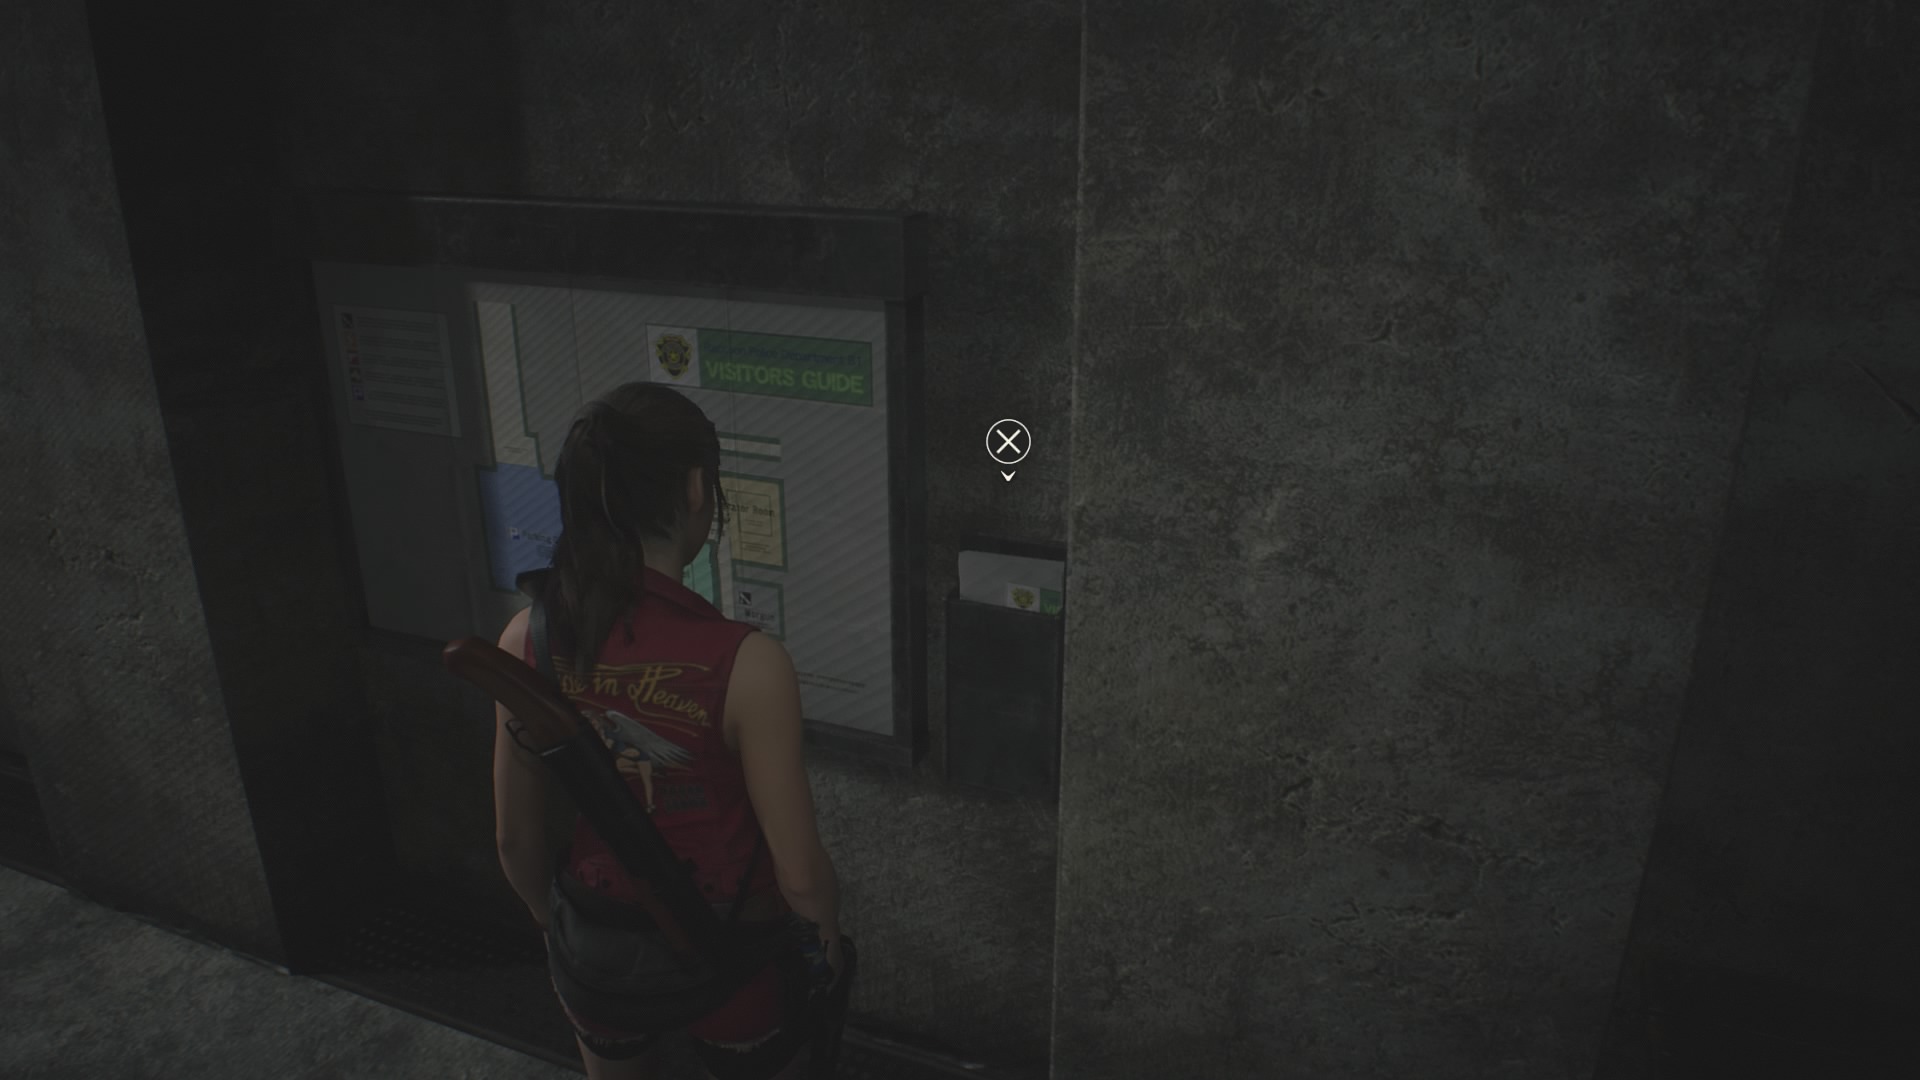
Follow the corridor around and take the map out of the holder on your right.
You can’t get into the room behind you yet, so go back out to the garage.
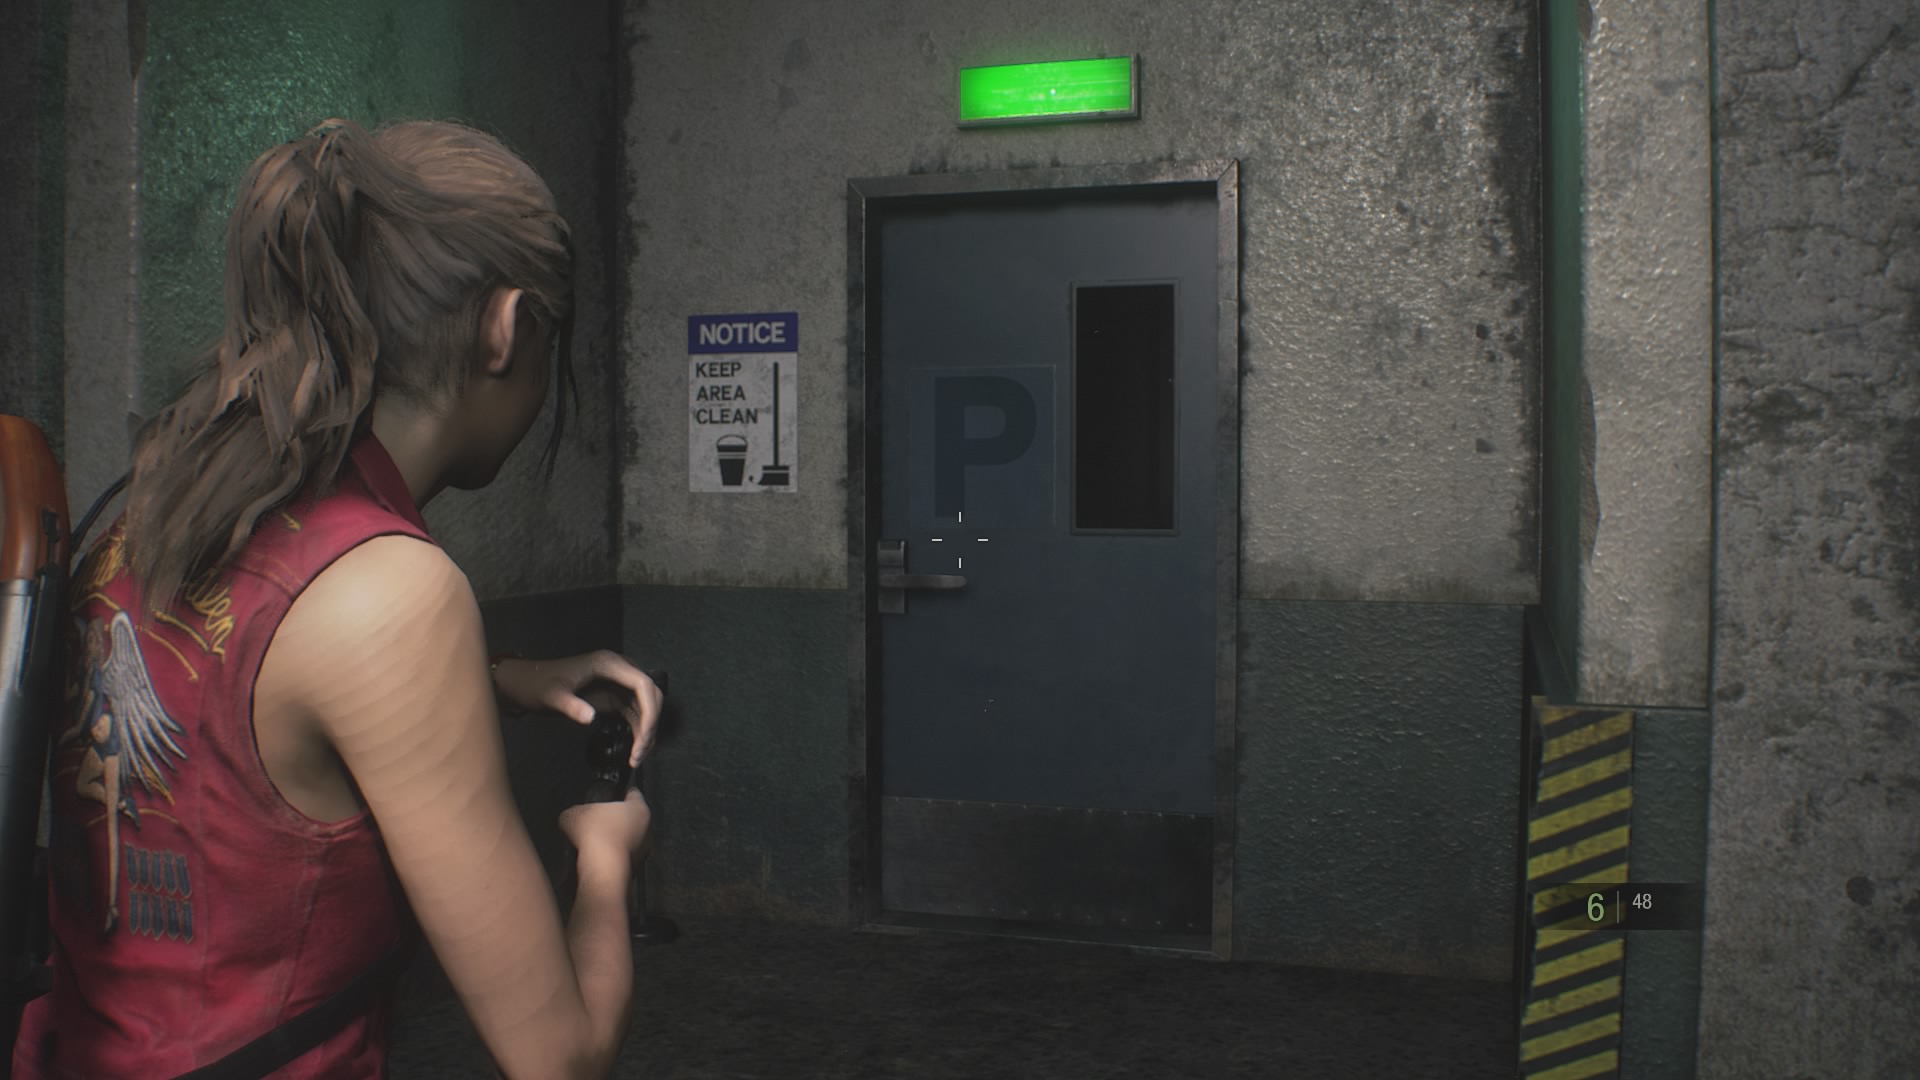
Head over to the door on your left, which leads to the Firing Range, Kennel, and Morgue.
As you come into this dark and spooky new area, turn right and follow the corridor. Yes, that is a Licker on the wall again.
Keep walking forward, turn left, and you’ll come to the Kennel door. During your Leon playthrough this was full of zombie dogs, this time it’s full of Lickers. Get your Grenade Launcher ready for action, then open the door.
There’s one Licker feasting on a dog corpse in front of you.
A good strategy here is to shoot it with a fire round, reload as it rolls around, then finish it off with bursts from your SMG.
The racket will alert another Licker around the corner. When it comes to join the party, shoot it with another fire round then finish it with your small arms.
If you’ve got any stun grenades, now’s a good time to use them. It’ll stun the Lickers and you’ll get a Trophy for it too.
After that ordeal, walk through the kennel around to the right and go through the door.
Turn left, and go through the door in front of you. This is the Morgue.
In here, go over to the left side of the room and open the gurney that’s second from the left.
Kill the zombie that you’ve just released, then take the Diamond Key off the gurney.
This wakes a zombie up that’s slumped by the door, so sit him back down.
Retrace your steps back through the kennel, but beware of the Licker that’s appeared in the corridor. Kill it like you did the others, then keep walking back around to the Firing Range.
Inside the Firing Range, take the yellow box that’s on the side table. Open it up and you’ll get a key for a squad car in the garage.
Keep walking forward in the Firing Range and you’ll see a diamond door. Use your key to open it, and inside you’ll find a roll of film that gives you the combo for a locker and a blue herb which you’ll need in a bit.
Retrace your steps back out to the Parking Garage and examine the car key in your inventory. On the back of it you can interact to open the trunk of a squad car.
Discard the car key, then interact with the truck - this gets you a gun that takes regular handgun bullets. It even comes loaded with 13 rounds - very useful.
Now head back to the diamond door you couldn’t open earlier through the open door on the north wall.
Inside the office you’ll find an upgrade for your Grenade Launcher and a blue herb.
Don’t worry if your inventory is getting full, there’s an item box coming up. So leave anything you can’t carry for now.
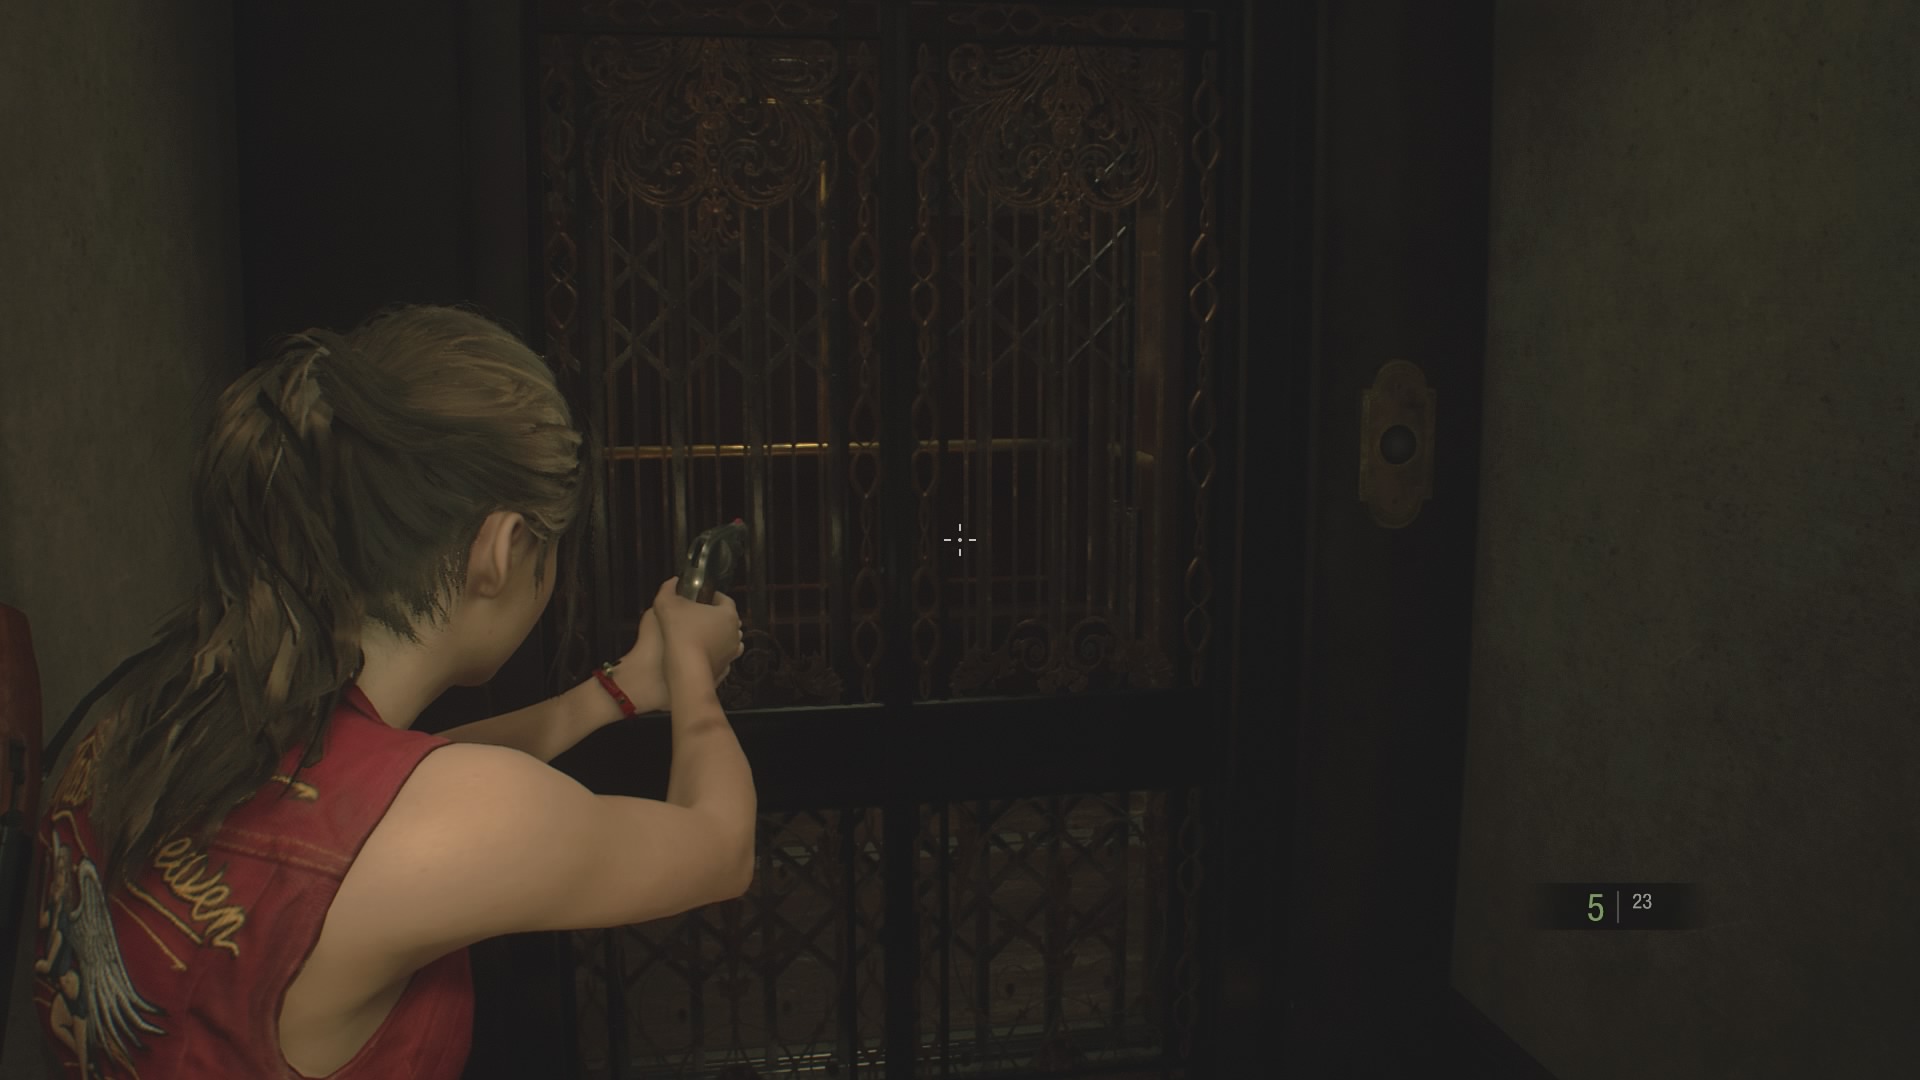
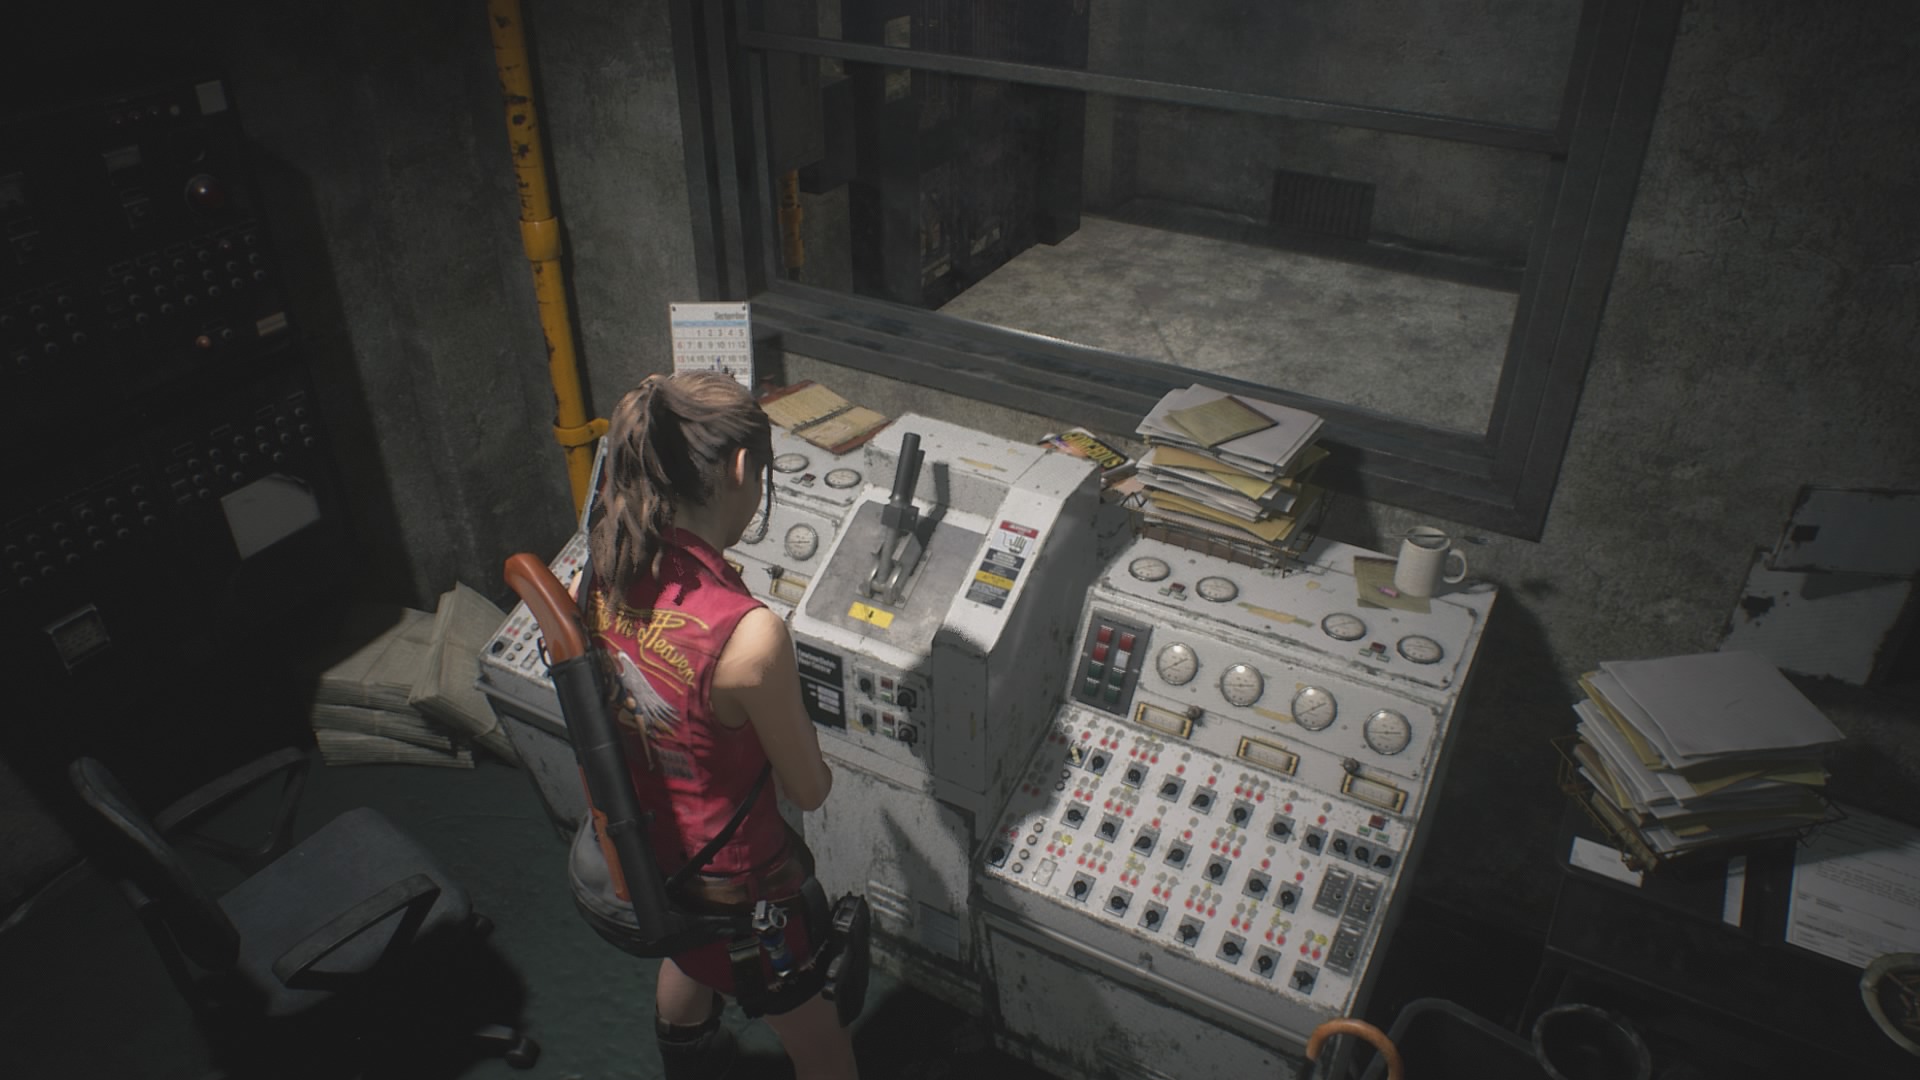
To advance pull the lever on the console, then interact with the elevator outside.
The Chief’s Office
The elevator takes you an unsettling new area: The Chief’s office. Store anything you don’t need in the item box on your left, then go back down the elevator to grab anything you needed to leave behind in the garage area.
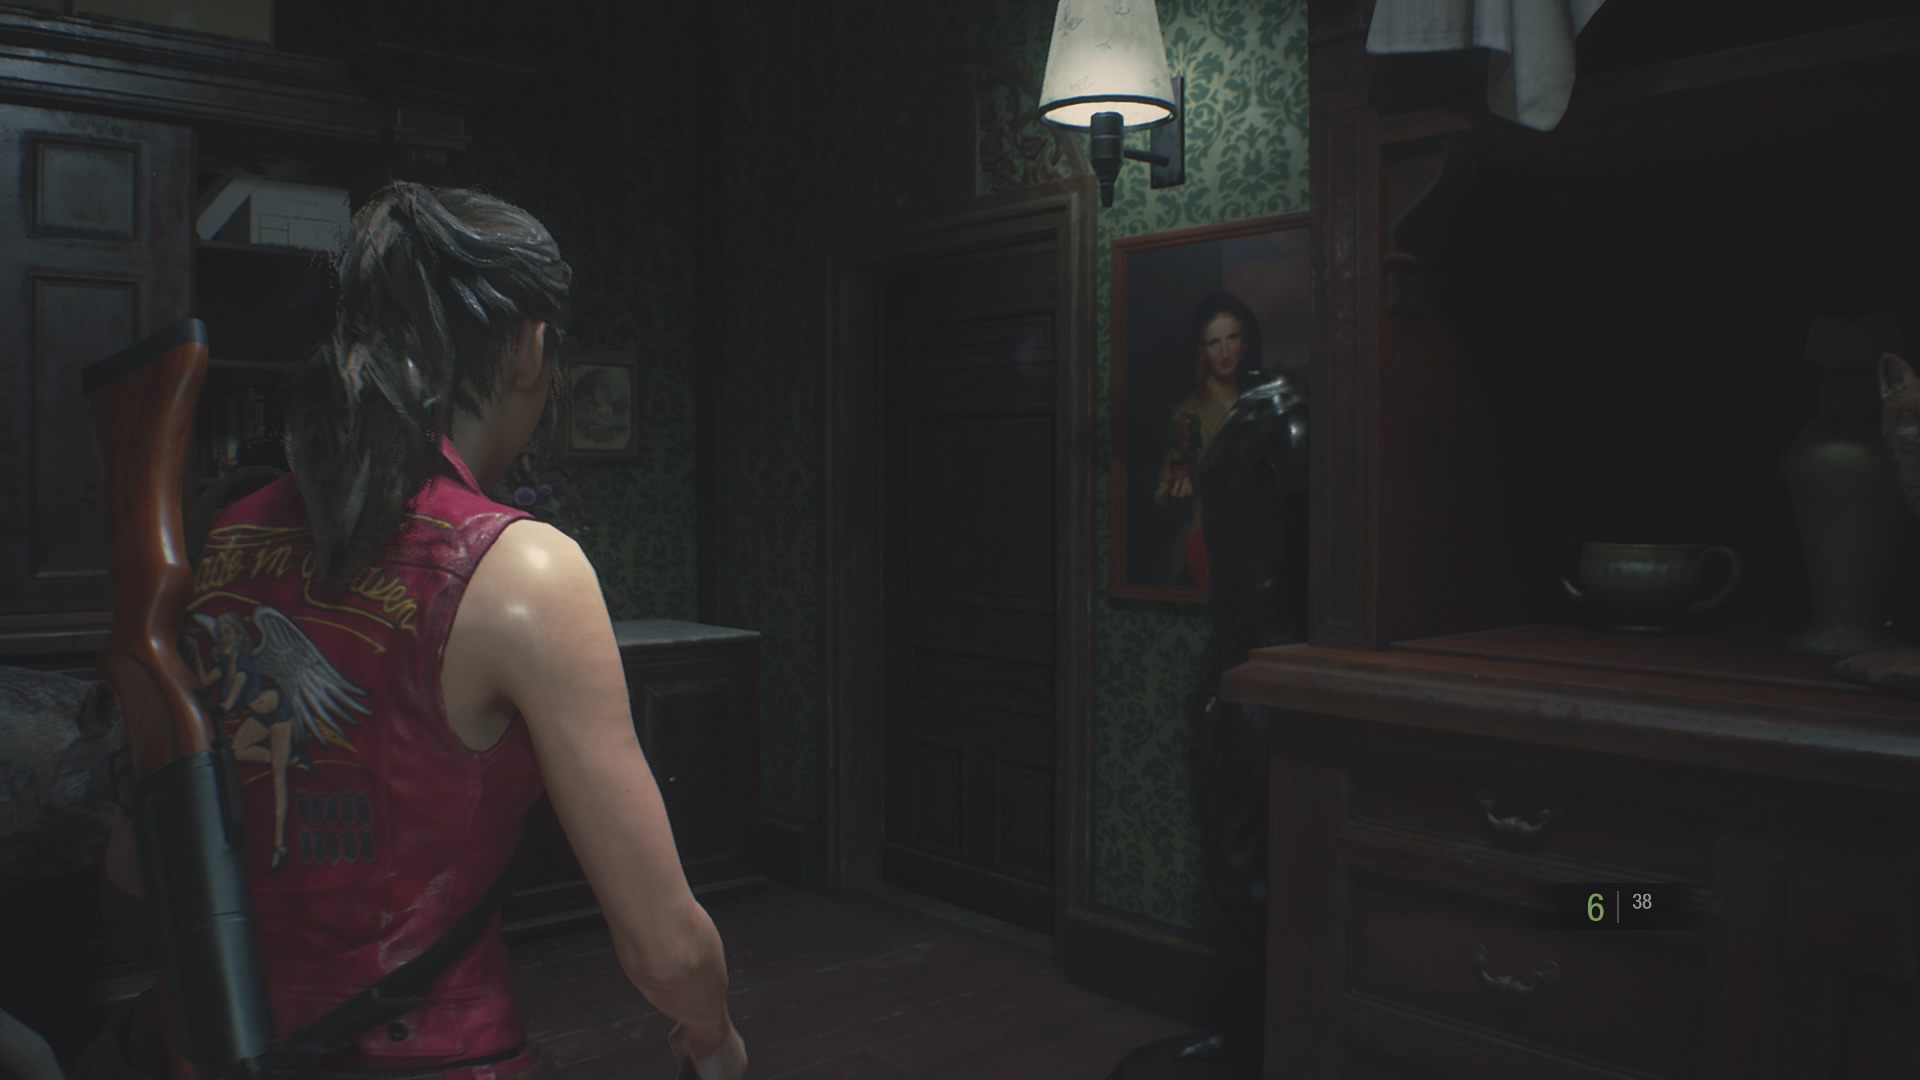
To advance, go through the door to the right of the wolf and next to the portrait of a lady. Follow the corridor around and you’ll find yourself in the Private Collection Room.
Interact with the circuit board on your left, and your primary mission will change. Your new task is to track down two electronic parts to open the gate and escape with the car park keycard. That's this part done.
