Final Fantasy XIV Guide: Surviving the Crystal Tower
The 24-player Labyrinth of the Ancients is one of the most popular new dungeons in FFXIV's 2.1 patch. Here's how to make it through safely.
This article first appeared on USgamer, a partner publication of VG247. Some content, such as this article, has been migrated to VG247 for posterity after USgamer's closure - but it has not been edited or further vetted by the VG247 team.
Final Fantasy XIV's "A Realm Awoken" update brought with it a selection of excellent new content for level 50 characters to undertake, including the brand new Pharos Sirius dungeon plus totally revamped "hard mode" versions of Copperbell Mines and Haukke Manor that differ significantly from their original incarnations.
Aside from these, however, one of the more challenging new dungeons is the first step in what looks set to be a multi-part, episodic quest to explore the Crystal Tower in Mor Dhona, however. Intended to act as something of a stopgap between the entry-level endgame dungeons such as Wanderer's Palace and the very difficult Binding Coil of Bahamut, Labyrinth of the Ancients is also the first of Final Fantasy XIV's dungeons to support more than eight players simultaneously, which brings its own set of challenges.
Tackling the Tower can be a daunting prospect, but never fear: here's everything you need to know from start to finish.
Unlocking the Crystal Tower
Much like the rest of the content in Final Fantasy XIV, you can't just saunter in when you meet the level requirements. No, you have to unlock it first. Here's how.
Head to Revenant's Toll in Mor Dhona and speak with the Outlandish Man who is around X 21, Y 8. You must have already completed the main scenario quest "The Ultimate Weapon" in order for the quest to trigger -- in other words, you must have already completed the Praetorium dungeon and felled Ultima Weapon.
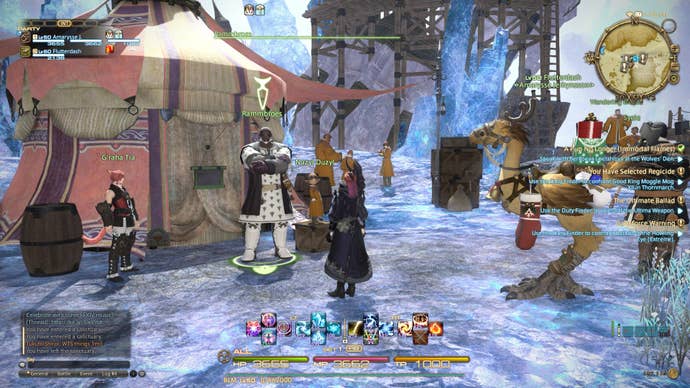
The Outlandish Man will send you to Saint Coinach's Find, a small encampment to the east of Revenant's Toll. Chat with the camp's supervisor Rammbroes to find out what's going on and be reunited with Cid. After the reunion, chat with Rammbroes again to discover a flaw in the Sons of Saint Coinach's plans to explore the crystal tower: elemental defenses that disintegrate anything attempting to even approach the tower, let alone enter it.
Cid to the rescue, though. The engineer postulates that you'll be able to counter the effects of these defenses by gathering crystals of sufficient clarity to reflect the powerful magic. Unfortunately, such crystals are very rare, and are more than likely in the hands of the various beastman tribes of Eorzea, who intend to use them to summon their respective Primals.
When did a problem like that ever stop an adventurer like you, though? That's right, never.
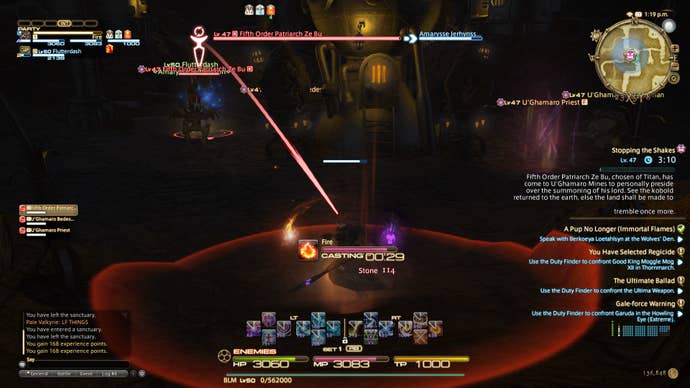
Your first stops are either U'Ghamaro Mines in Outer La Noscea (teleport to Camp Overlook and head north-east) or the Sapsa Spawning Grounds in Western La Noscea (teleport to Aleport and head west over the Sahagin-infested beach, into the cave and through the gate on the right as you enter). In both cases, you'll need to participate in a boss fight FATE to acquire the crystal -- in U'Ghamaro Mines, the FATE in question is called Stopping the Shakes, while in the Sapsa Spawning Grounds it's called Making Waves.
These FATEs spawn fairly often but are not soloable, so you may wish to gather a group of at least three or four people before heading out there. The fights themselves are extremely straightforward, but the boss' high HP means you'll need several people working together to survive. Don't worry about acquiring a Gold medal, though; you only need to have participated in the FATE to receive the crystal.
When you're done, head back to Saint Coinach's Find to deliver the crystals to Rammbroes, who will promptly send you off on another mission, this time to Zahar'ak in Southern Thanalan and Natalan in the Coerthas Central Highlands.
Once again, you'll be participating in two boss fight FATEs to acquire the crystals you need. In Zahar'ak, the FATE in question is not far inside the entrance of the lair and is called He's a Firestarter; in Natalan, the FATE is again not far inside the entrance, and is known as The Storm Caller. Take a few friends with you to help, but again, you don't need a Gold medal to receive the crystal.
Return the crystals to Rammbroes and you're done, right? Wrong. The crystals need to be cut and polished to extremely exacting specifications. For this, you'll need aethersand of several different varieties.
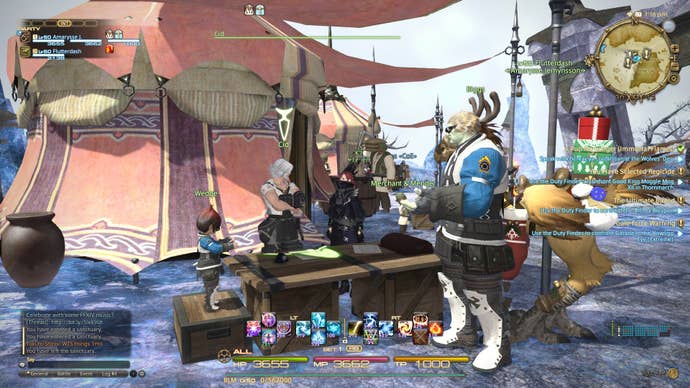
First up, head to the Goldsmiths' Guild in Ul'Dah and deliver payment to Serendipity the guildmaster. Then speak with Biggs, who will eventually hand over your first batch of aethersand.
Next, head to Camp Bluefog in Northern Thanalan and speak with the Experienced Adventurer, who will inform you that Wedge may just still be trapped in the abandoned mythril mine. Head over there, defeating any enemies in your path, and rescue Wedge from his ordeal, then search outside for the aethersand he dropped -- it shouldn't take you long to find. Then head back to Saint Coinach's Find and return the Fire and Earth aethersand to Rammbroes.
In your absence, Rammbroes has made arrangements to procure the other two varieties of aethersand, and of course, it's up to you to retrieve them on his behalf.
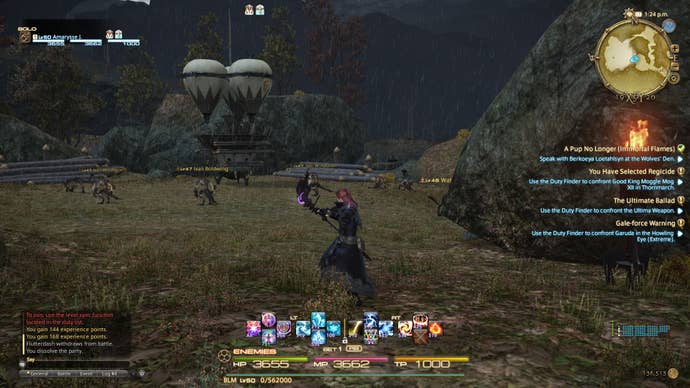
Head to the Gridanian markets and speak with Parsemontret, who will inform you that aethersand has not been sold in the markets for years. How inconvenient! Fortunately, Parsemontret does know where you might be able to find the ore from which the water-aspected variety is refined: Urth's Gift in the South Shroud.
Head to Urth's Gift and search the large boar carcass you find there. You'll be addressed by an unseen observer whom, it seems, has already absconded with the aethersand. He'll propose a race to obtain the final, wind-aspected aethersand, however. Teleport to Fallgourd Float in the North Shroud, then head north-east from the hamlet into the Ixal Logging Grounds. Battle your way through the feathered beastmen to claim your spoils, whereupon the mysterious voice will commend your efforts and offer you a prize.
Head to the clearing in Proud Creek to discover your prize is exactly what you were looking for: water-aspected aethersand. After a chat with the disembodied voice, head back to Saint Coinach's Find in Mor Dhona, and deliver the two bags of aethersand to Rammbroes. We're nearly there!
Upon returning, you'll discover the owner of the mysterious voice, and witness the creation of the NOAH fellowship. After that, it's time to open the doors of the Crystal Tower.
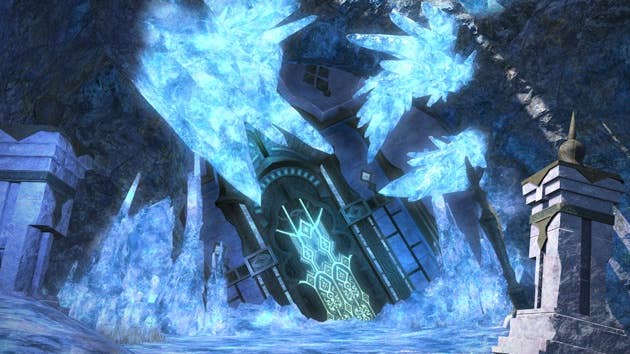
Head south-east from Saint Coinach's Find into what looks like a dead end and pass through the large gate. Fortunately, the cut crystal fangs make short work of the magical defenses, and before long you're standing at the entrance to the tower. Cid volunteers you for the task of securing the Labyrinth of the Ancients at the base of the tower before the rest of the survey team follows you -- and to mark the occasion, the dungeon is finally unlocked in your Duty Finder.
Labyrinth of the Ancients
Okay, here we go: the main event.
Before we start, a few important things to note:
- Labyrinth of the Ancients requires 24 players split into three "alliances" of eight people each -- two tanks, two healers and four DPS. To make your life easier, make sure you have at least one or two melee DPS in the party such as Monks or Dragoons.
- You can only queue in a party of up to eight people, so there's presently no easy way of guaranteeing you'll be with 23 friends aside from gathering your respective parties and all queueing simultaneously.
- To chat to the entire group of 24 players rather than just your party of eight, type /a before your message.
- By default, the chat filters will spam your General chat window with notifications about cures and the like. You may wish to set up a new chat tab just for party and alliance chat to ensure you don't miss anything.
- Loot in the Labyrinth of the Ancients is item level 80, which is better than Darklight gear but worse than items acquired through Tomestones of Mythology or from the Binding Coil of Bahamut.
- You can only acquire one piece of loot per week in the Labyrinth of the Ancients, so make sure you really want or need something before rolling on it.
- A single run through Labyrinth of the Ancients will score you 200 Tomestones of Philosophy and 50 Tomestones of Mythology, making it an efficient means of endgame grinding if you have a particular piece of Tomestone equipment you have your eye on.
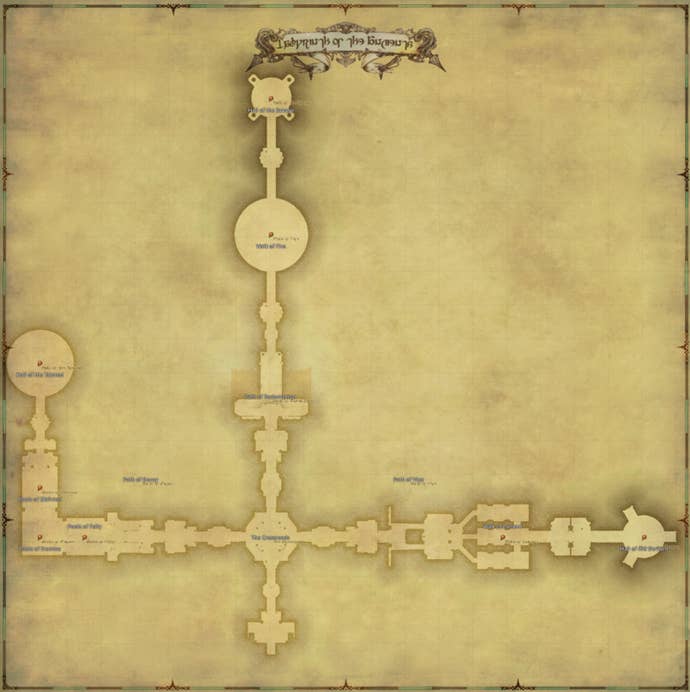
Labyrinth of the Ancients is pretty simple to find your way around once you know what you're doing. If you're ever in doubt, follow the herd; if you happen to lose them, first of all you'll need to go left from the entrance, then right, then straight up the middle.
The Three Pools
Your first challenge is to clear the three Pools of enemies. Each pool has its own lockout, so if you're leading the raid, be sure everyone is inside the barrier before you start the fight. Once inside, be sure to stand on the green platforms -- poisonous water will rise from the floor once the battle's underway, and the green platforms will keep you safe.
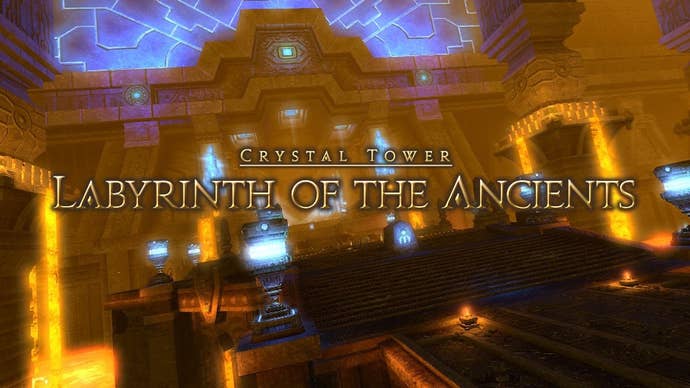
Begin by taking down the weaker enemies such as the various types of Homunculus and then move on to the two Valefors. Like other similar dragon-type enemies -- such as Amdapor Keep's boss Anantaboga -- the tanks should ideally try and ensure that Valefor presents his side aspect to the more squishy members of the party. This way, they can avoid both frontal attacks such as "the Look" and being whipped by Valefor's tail, which covers a large arc behind him.
Repeat the process in the two other Pools, again taking down the smaller, weaker enemies such as Valar and Cursed Eye first, and then moving on to stronger opponents such as Dira and Greater Demons. These battles are, to put it politely, somewhat confusing and chaotic to newcomers, so the best approach is to stick with your alliance -- they'll have blue nameplates above their heads -- and focus on one target at a time. If you're really struggling to keep track of what's going on, turn off other party members' special effects in the game options.
The Bone Dragon
After clearing the three Pools, you'll enter the Hall of the Tainted and face the Bone Dragon. Again, you'll want to stay on the green platforms in this hall as much as possible.
The main tank should begin by dragging the Bone Dragon to the far end of the room, where DPS classes should begin pelting it with whatever they have to hand. When the Platinal skeletons appear, other tanks should pull them to the outside edges of the room away from the Bone Dragon, with nearby DPS characters taking them down as quickly as possible. Kill the Platinals on different platforms and do not allow them to die close to each other, since this will give them a speed boost in the next phase and make them harder to kill.
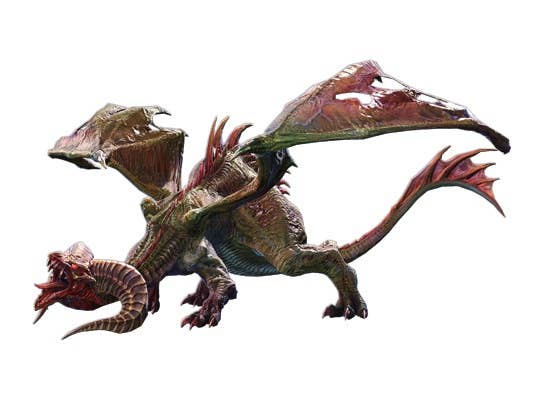
When the dragon goes down, the Platinals will respawn and move towards the dragon. Each one that reaches it will trigger an attack on the entire raid -- you can survive a few of these, but try to minimize the damage as much as possible.
The process will then repeat exactly as before. When the dragon comes back to life for the second time, it will spawn floating eyes instead. Tanks should lure these to the central platform while DPS classes should throw everything they have at the bone dragon -- ignore the floating eyes unless they are causing trouble for the party.
When the dragon is down, you'll receive your first loot. After deciding whether or not to take it, jump into the Shortcut to return to the entrance.
Atomos
After heading right from the entrance, you'll come to a room with three pathways. Alliance A should take the left path, Alliance B the center and Alliance C the far right. When everyone's in position, enter the rooms.
The main tank for each alliance should maintain the attention of Atomos, the large immobile creature at the far end of the room. The other tank should lure any additional enemies that show up towards the platform in the middle of the room to ensure they are in range of spells and arrows, but keep them to the side to minimize the monsters' abilities to use area-of-effect spells.
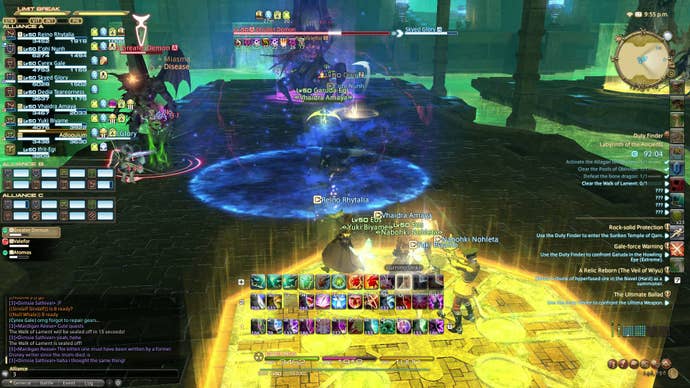
Ranged DPS and healers should be standing on the platform. Melee DPS should join the main tank in punching and/or poking Atomos, while ranged DPS should concentrate on dealing with the additional enemies that show up. These will include Dira, Greater Demons and Valefor.
At least four characters must stay on the platform at all times for the other alliances to be able to damage Atomos. Failure to do so will eventually result in an undefeatable Iron Giant showing up to wipe out the party, so try not to let that happen!
Thanatos
There are three Magic Pots around the outside of the room which need to be defended. Each of the three Alliances should take one to begin with, but be prepared to move.
Thanatos cannot be harmed unless you are in the "Astral Realignment" state. This is marked by one of the Magic Pots shooting out green lightning to an entire Alliance, at which point they should stop what they are doing and hurl everything they have at Thanatos. Tanks should ideally face Thanatos away from the rest of the group, since he has a nasty cleave attack.
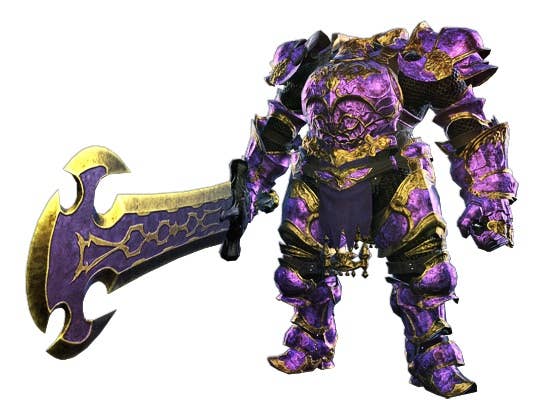
When you're not in the Astral Realignment state, it's your job to keep the three Magic Pots safe. Healers can cast Stoneskin, Cure and Regen spells on the pots to keep their health up, while DPS classes should deal with the "Sandman" enemies as a priority, followed by the Nemesis enemies. If you see a red line running to a pot, kill the enemy it connects to immediately as Thanatos will begin pulling the pot to himself and will destroy it if it reaches him. If all three pots fall, you lose; if you kill Thanatos, you win, obviously.
After beating Thanatos, there's another round of loot. Hop through the shortcut to return to the entrance.
Allagan Bomb
This time, head straight ahead from the entrance, jump down and head through the zone boundary. You'll come to a large, lava-surrounded arena with a bomb in the middle connected by magic to three Vassago demons. Each Alliance will need to take one of these -- again, A on the left, B in the middle and C on the right is easiest to organize. B may run straight under the bomb without attracting the attention of the enemies in order to get to their Vassago.
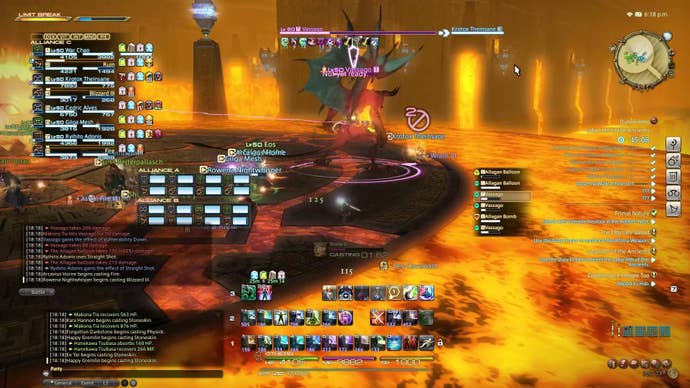
In this fight, each Alliance will need to kill their Vassago as quickly as they can while taking down additional bomb-type enemies that spawn in the area. These will include Allagan Balloons and Allagan Napalms. If both types are in the arena, kill the Napalms first as they are more dangerous -- if they explode, things will get nasty very quickly.
Once the three Vassago demons are down, turn your attention to the bomb itself, which should fall quickly with 24 people dogpiling on it simultaneously.
King Behemoth
This is the most difficult fight in the Crystal Tower; once you're done here, it's a relatively smooth ride to the end.
The King Behemoth fight takes place on an unavoidable electrified stage, so healers should keep on top of the entire party's HP as much as possible. If possible, Alliances should stick together to allow for area-effect healing as necessary.
Begin by sending off-tanks to the towers around the outside of the arena while everyone else begins pelting King Behemoth with everything they have. The tanks on the towers should interact with them any time they start glowing in order to discharge them, and take out any enemies that get too close. If you're a DPS class, you may wish to Focus Target King Behemoth to keep track of him, since you'll be switching targets quite often.
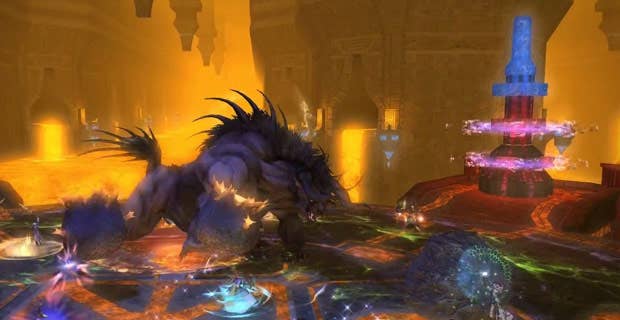
If a green mark appears above your head, run towards the center of the area since a comet's about to fall on you. These will become cover when King Behemoth uses his Ecliptic Meteor move, and must be protected at all costs from the Iron Giants that spawn and try to destroy them.
Defeat the Puroborous bomb-type enemies heading for the towers first since they have low HP, then the Iron Giants, then turn your attention back to the King Behemoth. When he stands on his hind legs and goes "GRAAAARRRRGH" (or words to that effect) he's beginning to charge Ecliptic Meteor -- put a comet between you and him before he finishes casting otherwise you will die horribly.
Once King Behemoth falls, claim your loot and jump in the shortcut back to the entrance. Then head for the center and the final confrontation with Acheron.
Acheron
The final boss of Labyrinth of the Ancients is a relative cakewalk after King Behemoth, but you still need to be paying attention. Again, each Alliance should stick together, this time in the vicinity of the plinths around the outside of the room.
This fight is largely about footwork. If you see something suspicious on the ground, do not stand in it. Said suspicious things will include, at various points in the fight, black-and-red curved areas, green "windy" areas, a glowing red criss-cross pattern on the floor and a straight line of flaming death. Step out of all of these as soon as you see them, since they all hurt to varying degrees. Otherwise, keep hurling damage at Acheron.

Three times during the fight, Acheron will summon Iron Claws that will put a party member in a Death Grip, preventing them from acting and gradually draining their HP. Kill these as quickly as possible, then head back to the platform you started the fight on. At least four players must step on each platform to activate it and put up a shield, which you'll need in order to protect against Acheron's Ancient Flare ability.
While you're shielding against Ancient Flare, an Iron Giant will spawn for each Alliance, but fortunately they're not too hard to kill. As usual, though, tanks should try to face them away from the rest of the party to minimize damage from the Iron Giant's Great Sword cleave ability.
After each cast of Ancient Flare, the attack patterns on the floor will become more complex, but the basic strategy remains the same, so simply pay attention and be prepared to move -- casters, remember staying safe always takes priority over finishing a spell -- and before long you'll have cleared the Labyrinth of the Ancients. Claim your loot and give yourself a pat on the back.
