Final Fantasy 15 Crestholm Channels Dungeon Walkthrough
Here's how you get through one of Final Fantasy 15's more frustrating optional dungeons, Crestholm Channels. We'll give you the correct path to take and the locations of all the panels.
Crestholm Channels is one of the most confusing optional dungeons in Final Fantasy 15. With a locked gate that requires you to track down four panels scattered throughout the winding, branching tunnels. This Final Fantasy 15 Crestholm Channels Dungeon guide will show you how to navigate Crestholm, as well as the locations of the panels and final door.
Crestholm Channels - Correct Path to Find Panels
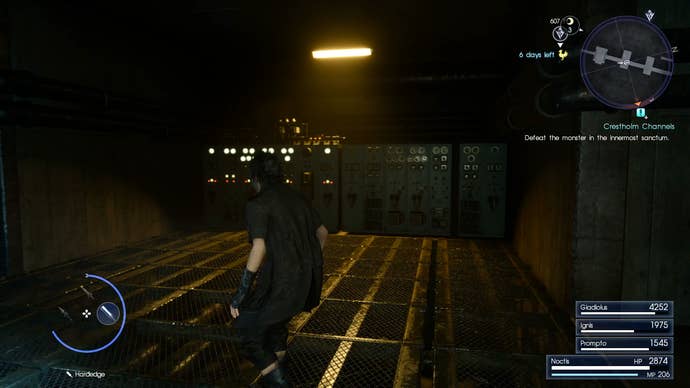
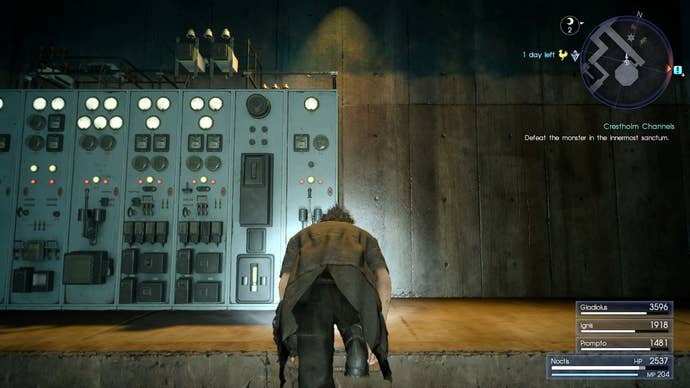
Once you you descend the entrance ladder, continue forward until you find a stairway on the left side of a tunnel leading up to a walkway with water flowing on the lower level to the right. Climb the stairs and look for the first panel between two alcoves. The panel looks like a silver cabinet with a bunch of switches on it.
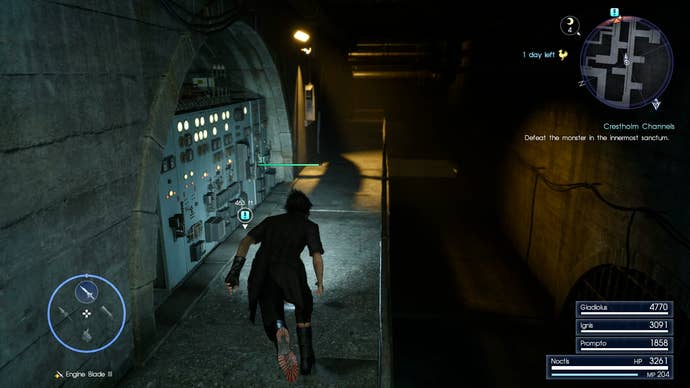
Go to the end of the walkway and make a right. Follow the tunnel all the way until you come to another large tunnel. Make a right here and then make the first right past that. Make yet another right and follow the large waterway to its end point. You'll see four tunnels in front of you across a guard rail. Jump the rail and take the third one from the left. Follow the path until you see the panel on your right.

Continue down the walkway and lower the ladder you find there. Climb down and make a right and walk all the way until you can't anymore, then take a left. Climb the stairs by the waterfall and follow the path until you can come out to a medium-sized, water-filled room on the left. A panel is on the walkway just outside where you come out.

Go back out of the room the way you came and keep going down the narrow path until you come to a large hole. Fall down this hole. Head out of the chamber you land in and continue until you come to large octagonal room with no way through but to fall to the bottom. Do so, but be prepared to face the Nagarani at the bottom. She's much harder than the other enemies in the dungeon, and worse, she can turn your party members to toads. Make sure you're prepared with Maiden's Kisses or, better still, by equipping Moon Pendants.
From here, follow the path until you come to the same chamber again on a different level. Climb out and enter a large room with a sluice gate closed along the wall. Remember the location of this gate, as that's what will open when you hit all the switches – it will be marked with a set of lock icons, so it shouldn't be too hard to remember. Keep going until you come out in the octagonal room again and climb the ladder to find the last switch and a door that acts as a shortcut to the entrance. Once you've hit all four switches, go back to the sluice gate and enter.

How to Beat Jormungand
At the bottom, you'll find Jormungand, a fire-breathing dragon that you'll have to defeat. Jormungand is one of the few enemies in the game that you can't Analyze with Libra, so know that it's weak to ice, so use ice spells and Ignis's Enhancement to maximize your damage. Equipping fire-resistant accessories is also a good idea here, as one of its attacks causes a rain of fire to descend on your party, which is so powerful that it could instantly wound or kill your entire party in one swoop. One good strategy here is to Point-Warp away when you see the shower coming, then get back into the fray and heal everyone. Once Jormungand falls, your exploration of Crestholm Channels is completed.

Elsewhere we've got guides on how to earn experience fast and rack up AP quickly.


