Fallout 4: Build the Weapon Forge
Craft your own guns with a Weapon Forge.
This guide will show players how to build a Weapon Forge, part of the Contraptions DLC just released in Fallout 4.

Most players won’t need to build a Weapon Forge to craft weapons they’ll use personally, but the mass production of arms at one of your settlements can help you equip the settlers who you are trying to recruit to the Minutemen. For example, we currently have a factory running that features the Ammunition Plant, Weapon Forge and Armor Forge. Our goal is to provide our settlers with a standard set of gear that we don’t have to scavenge for out in the Commonwealth.
Weapon Forge
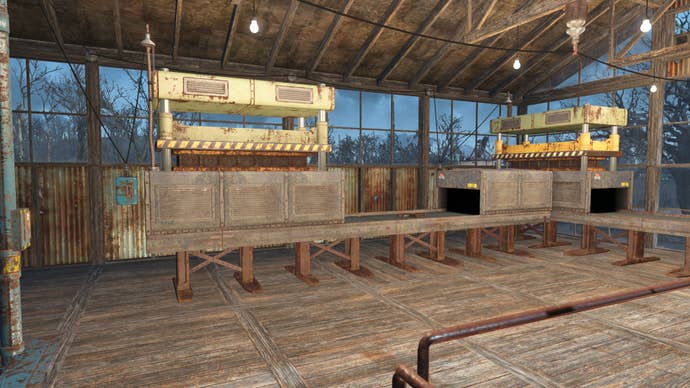
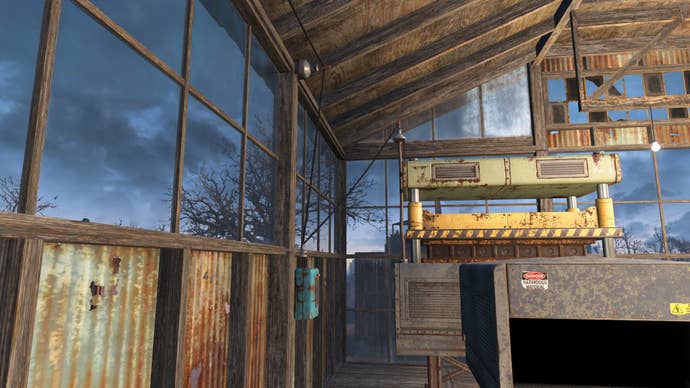
To build the Weapon Forge, open the Workbench view at one of your settlements. You’ll want to browse to Power > Manufacturing > Weapon Forge, and then place it where you want it. To build a Weapon Forge, you’ll need the Gun Nut Rank 1 perk, as well as the required building materials. Make sure you have at least Circuitry x 2, Gear x 3, Rubber x 4 and Steel x 10.
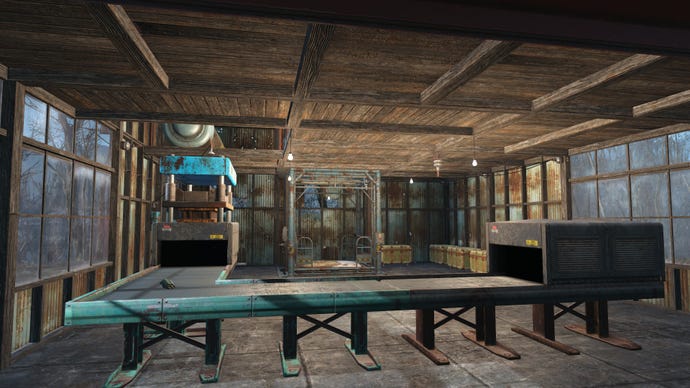
With your Weapon Forge placed, you can either create a complex system of Conveyor Belts to connect to your Conveyor Storage (hold tight for details on that), or you can connect your Conveyor Storage directly to the Weapon Forge. You’ll either place them as Weapon Forge > Conveyor Belts > Conveyor Storage, or you can simply connect them from Weapon Forge > Conveyor Storage. There are a wide variety of Conveyor Belts to choose from, and they typically use some combination of Steel, Screws, Rubber and Gears.
To complete the machine, build yourself a Conveyor Storage using Steel x 8, Screw x 1, Rubber x 2 and Gear x 1. You don’t need any perks unlocked, and it can be found under Power > Manufacturing > Miscellaneous. Players will connect this piece to either the Conveyor Belts running out of their Weapon Forge, or directly to the Weapon Forge itself.

Once you have the pieces of your machine snapped together and placed somewhere that you’re happy with, you’ll want to also build yourself Generator that can produce at least 13 Power, as well as a Terminal and a Switch.
Run a wire from your Generator to your Terminal (Power > Miscellaneous), and then from your Terminal to the Switch. Run one more wire from the Switch to the Weapon Forge, and you should have all the power needed to run this machine. Again, wires should run as follows; Generator > Terminal > Switch > Weapon Forge. The Conveyor Storage also needs power, but it gets it by being connected to the Weapon Forge, so you don’t need to do anything extra once it’s built and placed properly.

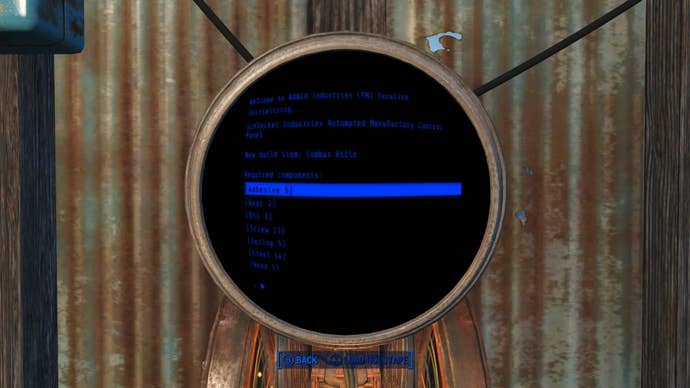
You’re almost ready to start building some weapons, but first you’ll need to decide on what type of weapon you wish to build, and then collect the components. All weapons that you can make in the Weapon Forge use some combination of Adhesive, Gears, Oil, Screws, Springs, Steel, Wood, Asbestos and Plastic, but none of them use all. Open up your Terminal and select the option for the Weapon Forge, then select the type of weapon you want to make. Assuming the Weapon Forge is properly connected to the power grid, and you have the necessary components placed into the Weapon Forge, it should start to spit guns out very shortly. You can collect any goods that a machine produces by accessing the Conveyor Storage the same as you would any other container.
The Switch that we had you put in is optional, but placing it between the Terminal and the Weapon Forge allows you to turn the Weapon Forge on and off quite easily. This is useful if you have multiple machines running, but are connecting them all to the same Terminal (advanced level technique confirmed).
That’s all there is to it. Go get busy equipping the Commonwealth with your favorite gun using your brand new Weapon Forge.


.png?width=291&height=164&fit=crop&quality=80&format=jpg&auto=webp)

