Everquest Next Landmark Alpha: Tips & Tricks for the New Explorer
Just starting out in Everquest Next Landmark? These helpful tips will help you stake your claim.
This article first appeared on USgamer, a partner publication of VG247. Some content, such as this article, has been migrated to VG247 for posterity after USgamer's closure - but it has not been edited or further vetted by the VG247 team.
So, you've paid your $60 to $100 to join the Everquest Next Landmark alpha. You've created your SOE account and installed the game. You've logged in, created your character, chosen a name, and picked a server. Now what?
Here's a few tips to help you get started on your journey into the world of Landmark. The game is still in alpha, so we'll be updating this article with new tips as the game continues to morph into a complete experience.
Handy Keyboard Commands
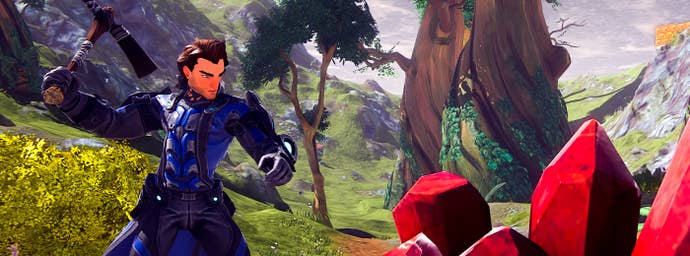
If you hold down SHIFT while running, you sprint. It's not a huge speed boost, but it's better than nothing. Your jump also becomes a cool flip while sprinting.
Scrolling the mouse wheel doesn't control the camera zoom in Landmark. Instead, you have to hold down SHIFT and then scroll the Mouse Wheel to control your camera.
ALT + F10 toggles the User Interface, so you can get some great screenshots of Landmark's vistas. How do you take screenshots? CTRL + F12. You'll find all your swank pictures in C:\Users\[username]\Pictures\EQNext on Windows 7 and 8.
You open the map with M and you can move your view from the basic overhead view by holding down the Right Mouse Button.
Autorun in Landmark bound to the Numlock key.
Handy Console Commands
/camp & /exit - Leaves the game. Pretty self-explanatory.
/who - Shows all players in your current zone. Warning, this will slow down your client while it's loading.
/loc - Gives your current X, Y, Z coordinates. We currently do not have a "Teleport to Claim" option, so use this command and write down your claims coordinates to get home after some harvesting.
/emote [text] - Allows you to send any text emote to nearby players.
/join [channel] - Allows you to create or join a new chat channel. In the current version of the alpha, there is no friends list and you can't group, so this is the only way to talk with your friends.
/leave [channel] - When your friends p**s you off, this leaves the channel.
/yell & /shout - This command yells your profound statement to everyone in the current area.
The global chat channels are below:
- /1 – General
- /2 – Trade
- /3 – Crafting
- /4 – Newbie
General Tips
Move quickly my child! Claims are going very quick in alpha, so if you find a good, unclaimed parcel of land, make it yours!
You'll begin the game with Stone Pick, Stone Axe, Claim Flag, and Add Tool. Depending on the level of Founder's Pack you purchased, you'll also get a little extra, but these are the bare minimum items. You'll have to craft everything else.
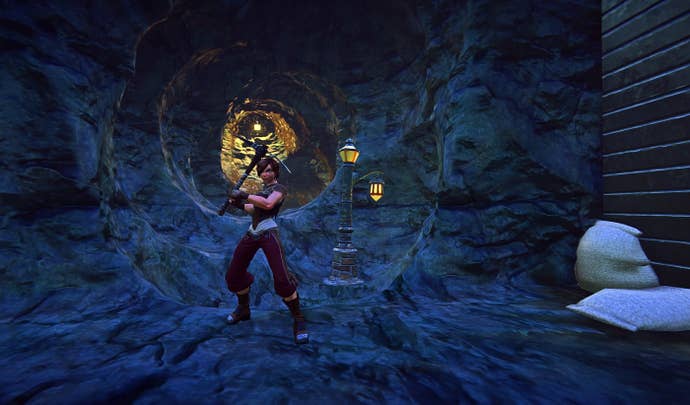
You'll start your journey in the Hub, which contains the Portal Spire (that ziggurat with the big blue crystal in the center). There's a Portal Spire on every island. You can't dig within the immediate Hub area, so you shouldn't try to.
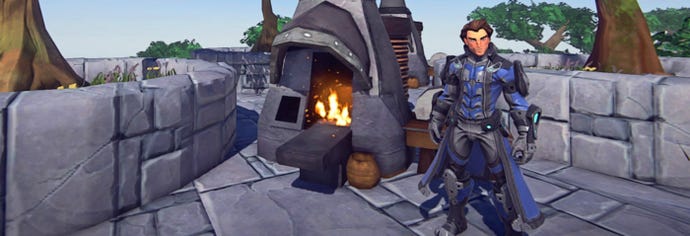
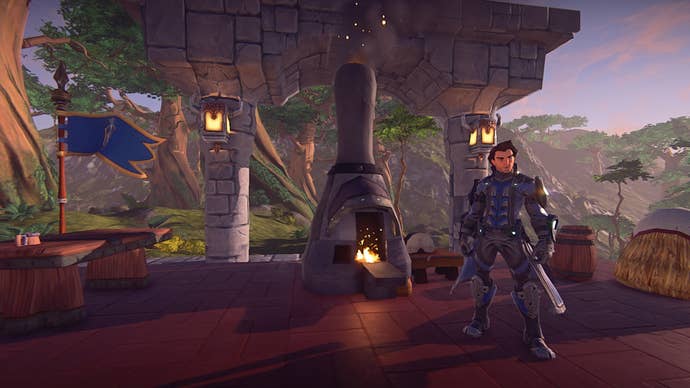
At the Hub, theres a crafting station called the Stone Forge. You can interact with that to learn how to make the other crafting stations. You'll also find the recipe for creating your own Stone Forge and crafting your own means you won't have to come back to the Hub as much. If you're lazy, here's the Stone Forge recipe: 10 Elemental Copper, 15 Copper Ingots, and 2000 Stone.
Mining and harvesting is pretty simple. Your Stone Axe and Stone Pick should already be in your hotbar. Hit the corresponding number key to equip each item and then click on what you want to harvest.
Veins of ore and gems are found on the ground all over the world. They're pretty easy to spot because they come in bright colors, unlike the stone, grass, and dirt you'll see most of the time.
When you mine, mine all the way to the end of an ore vein. (This does not apply to gem veins.) If you do so, you'll run into a tiny bit of the rare material counterpart to the whatever was in the vein. Mining Copper Vein? You'll find a bit of Tin at the end. If you're mining Iron, there'll be a bit of Silver waiting. In fact, here's all ore and gems found in each tier available in the alpha, and their rare counterparts:
Tier 1: Copper > Tin, Agate > Tourmaline
Tier 2: Iron > Silver, Aquamarine > Topaz
Tier 3: Tungsten > Gold, Amethyst > Emerald
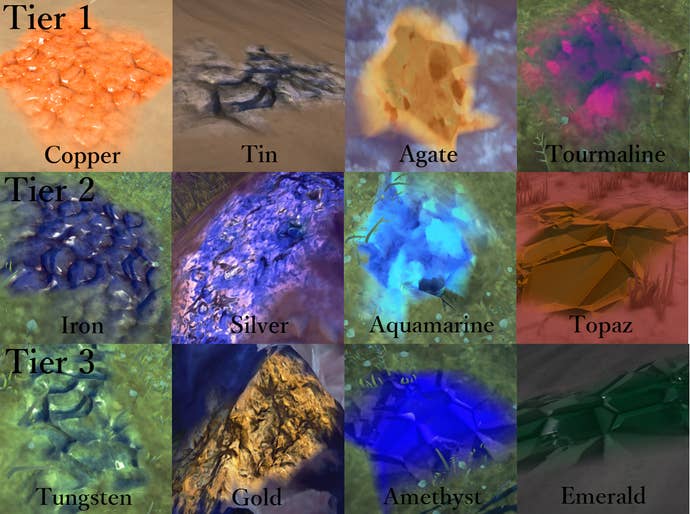
Hunting for Agate early in the game? You'll find more of the gem in desert areas than you will in forest areas.
Ingots are versions of each ore refined at a crafting station, and Elemental Ore drops randomly from each vein. Want Elemental Copper? You'll have to mine Copper veins and try your luck.
If you dig yourself into a hole you can't get out of choose the "Respawn to Ground" option in the Escape menu. I recommend not digging straight down.
Make yourself a grappling hook soon rather than later. It looks awesome and eventually players won't be able to walk up almost any steep incline.
While you start with certain Building Tools like Add, others have to be crafted. You'll find the recipes in the crafting stations like everything else.
Chests allow you to put items in storage, but you can only access those items from that same chest. Vaults store items, but you can access your Vault from any claim that you've added a vault to.
Steel your nerves. This is alpha. Things will get wiped because of bugs or outright resets. Be strong.
Here's a tip straight from SOE for players trying to find all the Burled Wood needed for later crafting recipes:
- To greatly increase the speed of Burled Wood harvesting: Put on your Mastercraft Bracer, craft yourself a pair of +2 Discovery (Blue) Keen Eye Bands, then craft Copper Axes until you get a blue or legendary with high (99?) speed and decent damage. Yes it takes some copper and wood to pull this off, but it is WELL worth the effort as you climb the tool progression.
These are just a few tips, but if you're really lost, SOE put a few tutorial videos in your Landmark install! They can be found at: C:\Users\Public\Sony Online Entertainment\Installed Games\EverQuest Next Landmark\Tutorial
