Elden Ring Shadow of the Erdtree Abyssal Woods Walkthrough
You've heard of a poison swamp in Elden Ring, but what about the Abyssal Woods in Shadow of the Erdtree? Just don't get lost!
Lurking deep in the east of the Shadow Realm in Elden Ring’s Shadow of the Erdtree DLC, the Abyssal Woods is one of the most horrendous areas the Tarnished has ever had to face on their journey to becoming Elden Lord.
Cloaked in inky dark and plagued by madness, the Abyssal Woods features something new for Elden Ring: pure stealth sections where combat isn’t an option.
This is a whole new experience for the Tarnished, who up to now has never met an enemy they can’t eventually best or an obstacle they can’t overcome. But to make it out of the Abyssal Woods alive with the great riches it offers, they’ll have to use their brain as well as brawn.
But don’t worry too much. Really, while it’s definitely a different emphasis, getting through the Abyssal Woods is not actually that much different to how a lot of people play Souls games: running past most of the enemies as quickly as possible to try and reach the next Site of Grace and break their aggro. It’s just in the Abyssal Woods that you have to slow things down a little.
The Abyssal Woods is a unique area and a ton of fun, dripping with atmosphere and hiding great rewards including one of the best sub-areas in the whole of Elden Ring!
Abyssal Woods Walkthrough
To get to the Abyssal Woods, you first need to make your way to the Main Plaza of the Black Keep and deal with the fallout of the Great Rune breaking, then the boss at the main gate, before venturing further into the castle.
Continue through the Messmer Knights and Black Knights, then you’ll reach an area on the battlements filled with distinctive glowing boats. Instead of turning left into the castle here, go straight forward and to the end of the rampart.
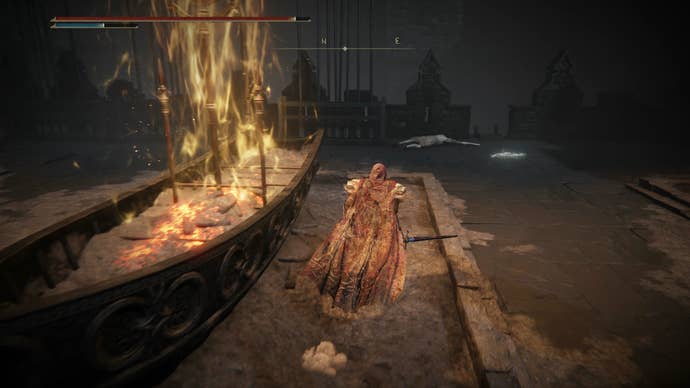
On your left there’s a ladder down which leads to a basement. From here, you can ride a stone coffin into a new area, the Castle Watering Hole.
Ride through the Ruins of Unte and turn south, travelling along the Recluses’ River.

Drop down at the bottom, then continue south and use the protruding, giant headstones in the cliff wall to drop down even further. Continue south and ride past the Village of Flies, then the path will turn east, eventually leading to the Darklight Catacombs.
Make your way through the multi-leveled Catacombs, which ends with the fog gate of Jori, Elder Inquisitor. With her defeated, you’re free to venture into the Abyssal Woods. Lucky you…
Forsaken Graveyard Site of Grace
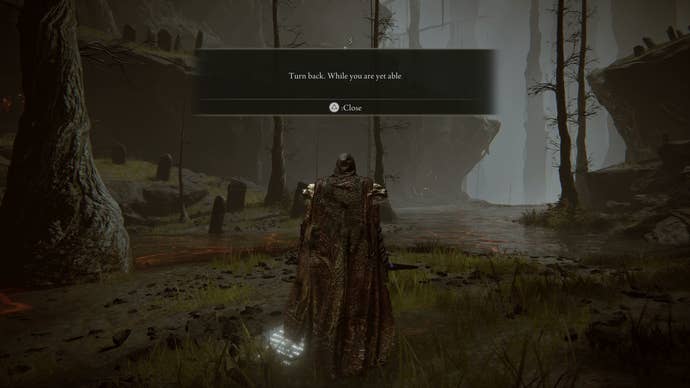
As you tread your first steps into the gloomy Abyssal Woods, read the spooky notes left for you along the ground and try to unclench at least some of your body parts.
While it’s as open as the rest of Elden Ring, the Abyssal Woods is best played in a linear fashion so you don’t get lost. And, as you might have already noticed, it’s also plagued with everyone’s most hated status condition (possibly tied with Scarlet Rot): Madness.
Madness is the only status condition in Elden Ring that also affects your real life body in the same way as your character’s. It’s so annoying that you too will fall to your knees, clutching at your hair and eyes in agony, as the frenzied mania overwhelms your very being.
But, if you’re happy to take things very slowly, which suits the survival horror vibe to be fair, you can just crouch walk past most of the enemies bypassing a lot of the Madness build-up. Which is a helpful tip if you keep getting rushed down by massive rats.
From the start of the woods, continue down the worn path in front of you, past the Woodland Trail Site of Grace, until you come face-to-face with the Madness Hand invader.
In case you’d forgotten, Madness decimates your health bar if you let it build up. This means the Madness Hand’s main threat isn’t necessarily the damage their attacks deal, but the Madness build-up itself.
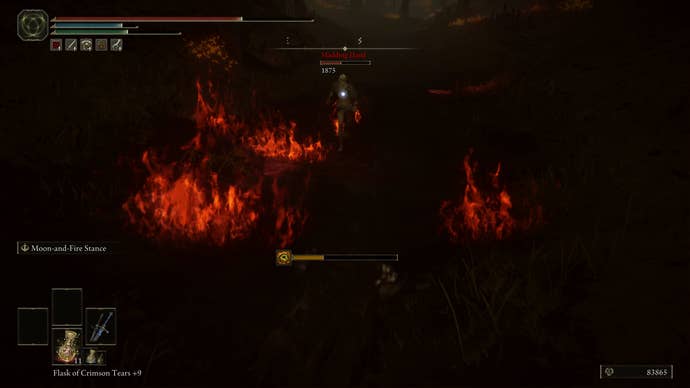
However, like all NPC invaders, the Madness Hand is vulnerable to being rushed down by relentless aggression. If you give them too much time, space and respect, they’ll just whip out whatever overpowered Ash of War FromSoftware has dreamed up to mess with you.
Instead, use the element of surprise to your advantage and rush in to get the first hit. The Madness Hand is dressed for the beach rather than the forest, so they don’t have a lot of Poise to shrug off your hits without getting interrupted. This means you can spam them down at close range, draining their HP before they can get their own offence running.
If you do this right, when you eventually run out of stamina and they panic roll away, they’ll heal themselves rather than retaliate. This allows you to reset, restart your combo and probably take them out.
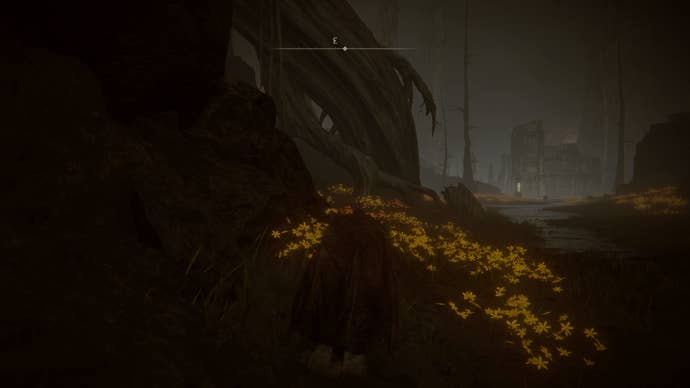
Continue down the road, this time crouching/sneaking to avoid the aggro of madness-inflicting rats if you wish, and you’ll come to the Abandoned Church. Here you find the map for the Woods, as well as a Site of Grace, Scadutree Fragment and a Madness perfumer bottle. A great haul.
Church Ruins Site of Grace
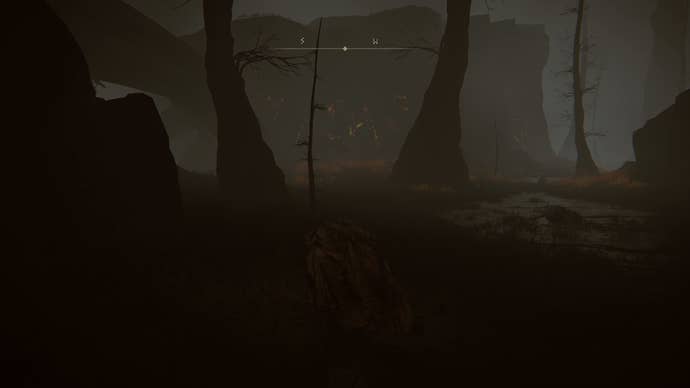
Leave the church and keep walking the path southwest, now with a map to guide you. Keep sneaking to keep the rats off your tail, but this more a time to enjoy the creepy atmosphere that anything else. There are a few side paths, teeming with rats, obviously, with some items to collect but they’re nothing mind-blowing (unlike the amount of Madness the giant rats can quickly inflict).
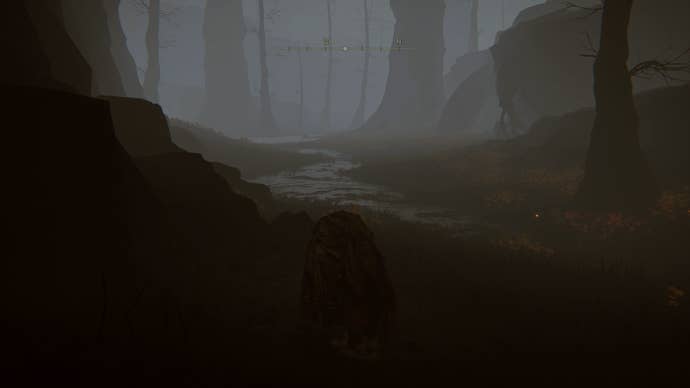
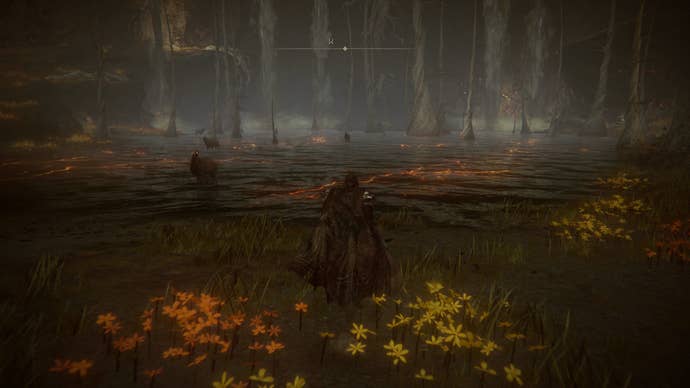
At the end of this section, in the field of yellow flowers, you come to another set of messages left for you on the floor with an ominous figure pacing through a pool of water to the west.
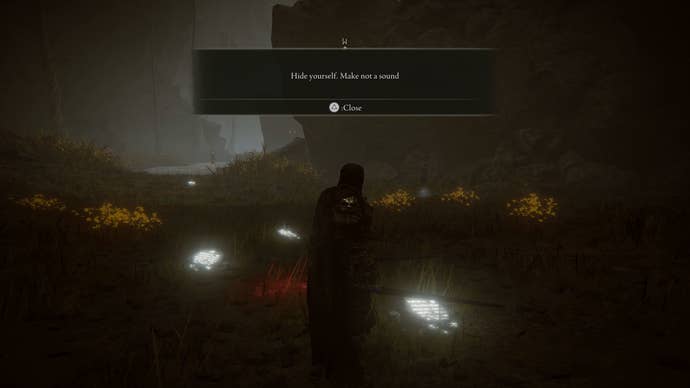
These are some of the only unkillable enemies in all of Elden Ring. Seriously, as the message says, combat is pointless and you’ll have to rely on stealth to proceed.
These sections aren’t technically insta-fail, but it’s simple enough to complete them “properly” once you know what you’re doing - not to mention some good atmospheric fun. If you find skulking for your life away from an invulnerable monster “fun”.
Press in the left-stick to crouch, then slip into the bushes in front of the creature. While its back is turned, dart between cover to move to the next area.
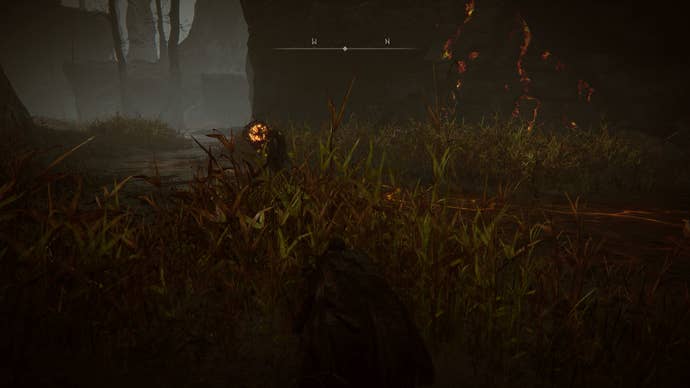
Be patient and wait until it’s definitely looking the other way, and remember you can hold Circle/B while crouching to move faster.
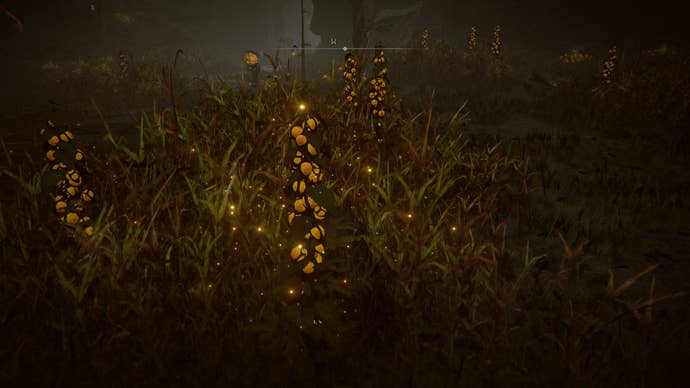
The only things you need to watch out for are the protruding, orb-like flowers sticking out of the bushes. These will tingle and attract the ire of the monsters if you touch them, so steer clear.
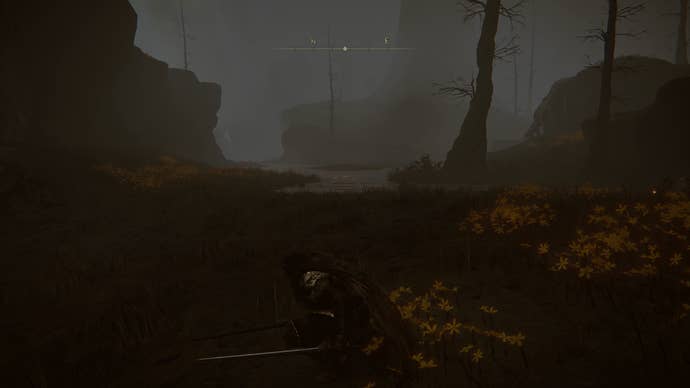
On the other side you find yourself in a wider clearing with a large tree in the middle. On the other side of the tree take a right, to the northeast, then you should spy a Site of Grace where you can rest on the left.
Abyssal Woods Site of Grace
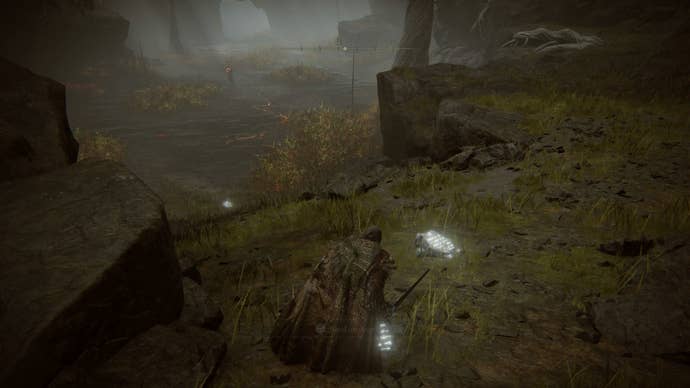
From the Site of Grace, you find another set of messages, again leading up to conspicuous areas of tall grass to the west.
Wandering between the thickets you find more of the horrible glowing Wormfaces.
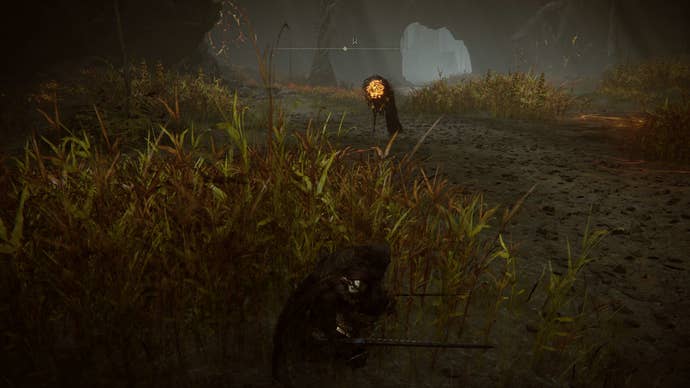
Creep through the grass, which is slightly tougher this time because there are more jingling reeds.
On the other side of this second stealth zone, you come out into a large clearing with a waterfall at one end. Rest at the Divided Site of Grace next to the waterfall, before grabbing the cookbook on the hill to the left of the cascading water.
Divided Falls Site of Grace
Next, it’s really to get lost in this Divided Falls area and think you’re at a dead end. However, turn around so your back is facing the waterfall and bear right, which will be southeast on your compass.
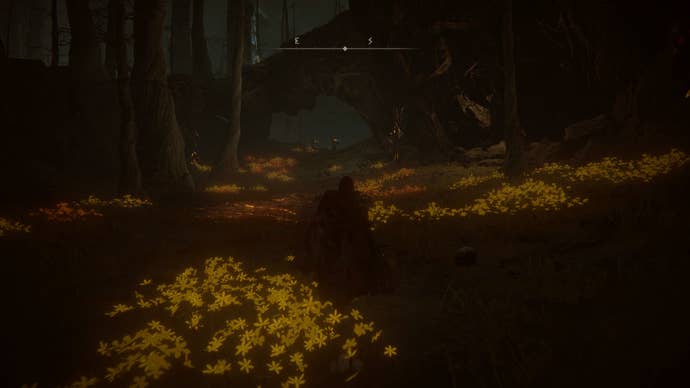
The two glowing creatures to your right aren’t actually the Wormfaces you just passed, but witches in the same vein as Jori. Defeat them and follow the path around to a new part of the forest.
To your left there’s another coven of witches, this time plotting double double, boil and trouble around a tempting crafting cookbook. Stuff it into your pack after sending them ragdolling down the slope, then continue around the corner from the lower level.
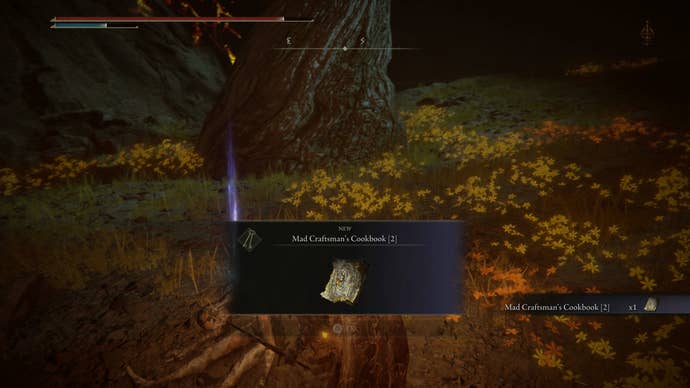
In the gloom, more witches patrol the forest floor. However, you can easily thin their ranks if you focus on rushing down each spellcaster one at a time. If you get caught splitting the damage between them, it’s just as easy to get overwhelmed, so make sure you stick to the task.
Next, keep trudging further into the dark and you’ll pass a row of bodies with glowing worms protruding from their necks. An interesting tidbit of lore about the wormfaces for sure, but also truly horrendous to think about too much. Between that and the living jar stuff in Bonny Village, Shadow of the Erdtree really doesn’t let up with the grim backstories, does it?
Finally, at the back of the Abyssal Woods, you find something unexpected: an abandoned manor house.
Approach the manor and you can push open the front door, which leads into a new and unsettling sub-area, Midra’s Manse!
- Back to Shadow of the Erdtree Walkthrough Main Page
- Belurat, Tower Settlement Walkthrough
- Castle Ensis Walkthrough
- Dragon’s Pit Walkthrough
- Black Keep Church District Walkthrough
- Specimen Storehouse Walkthrough
- Abyssal Woods Walkthrough
- Ancient Ruins of Rauh Walkthrough


