Elden Ring DLC spells: Best Sorceries and Incantations
Magic builds have plenty of high-powered options to choose from.


The best Elden Ring DLC spells give your build a big step up and add new ways to play, but not all of Shadow of the Erdtree’s spells are worth respeccing for. A handful of sorceries and incantations have much more to offer than the likes of Crucible: Bloom or whatever the heck the finger shield spell is supposed to do, though some of them are also tougher to find.
Our Elden Ring DLC best spells list lays out the top sorceries and incantations in Shadow of the Erdtree, including where to find them and what stats you need to get started.
Elden Ring DLC: Best Sorceries
It’s safe to say Elden Ring's sorcery had its finest moment in the base game, as FromSoft added few new spells and some of rather questionable value. There’s still a small handful worth building around, though, including one that even makes the final boss a much simpler challenge.
Impenetrable Thorns
- Faith: 24
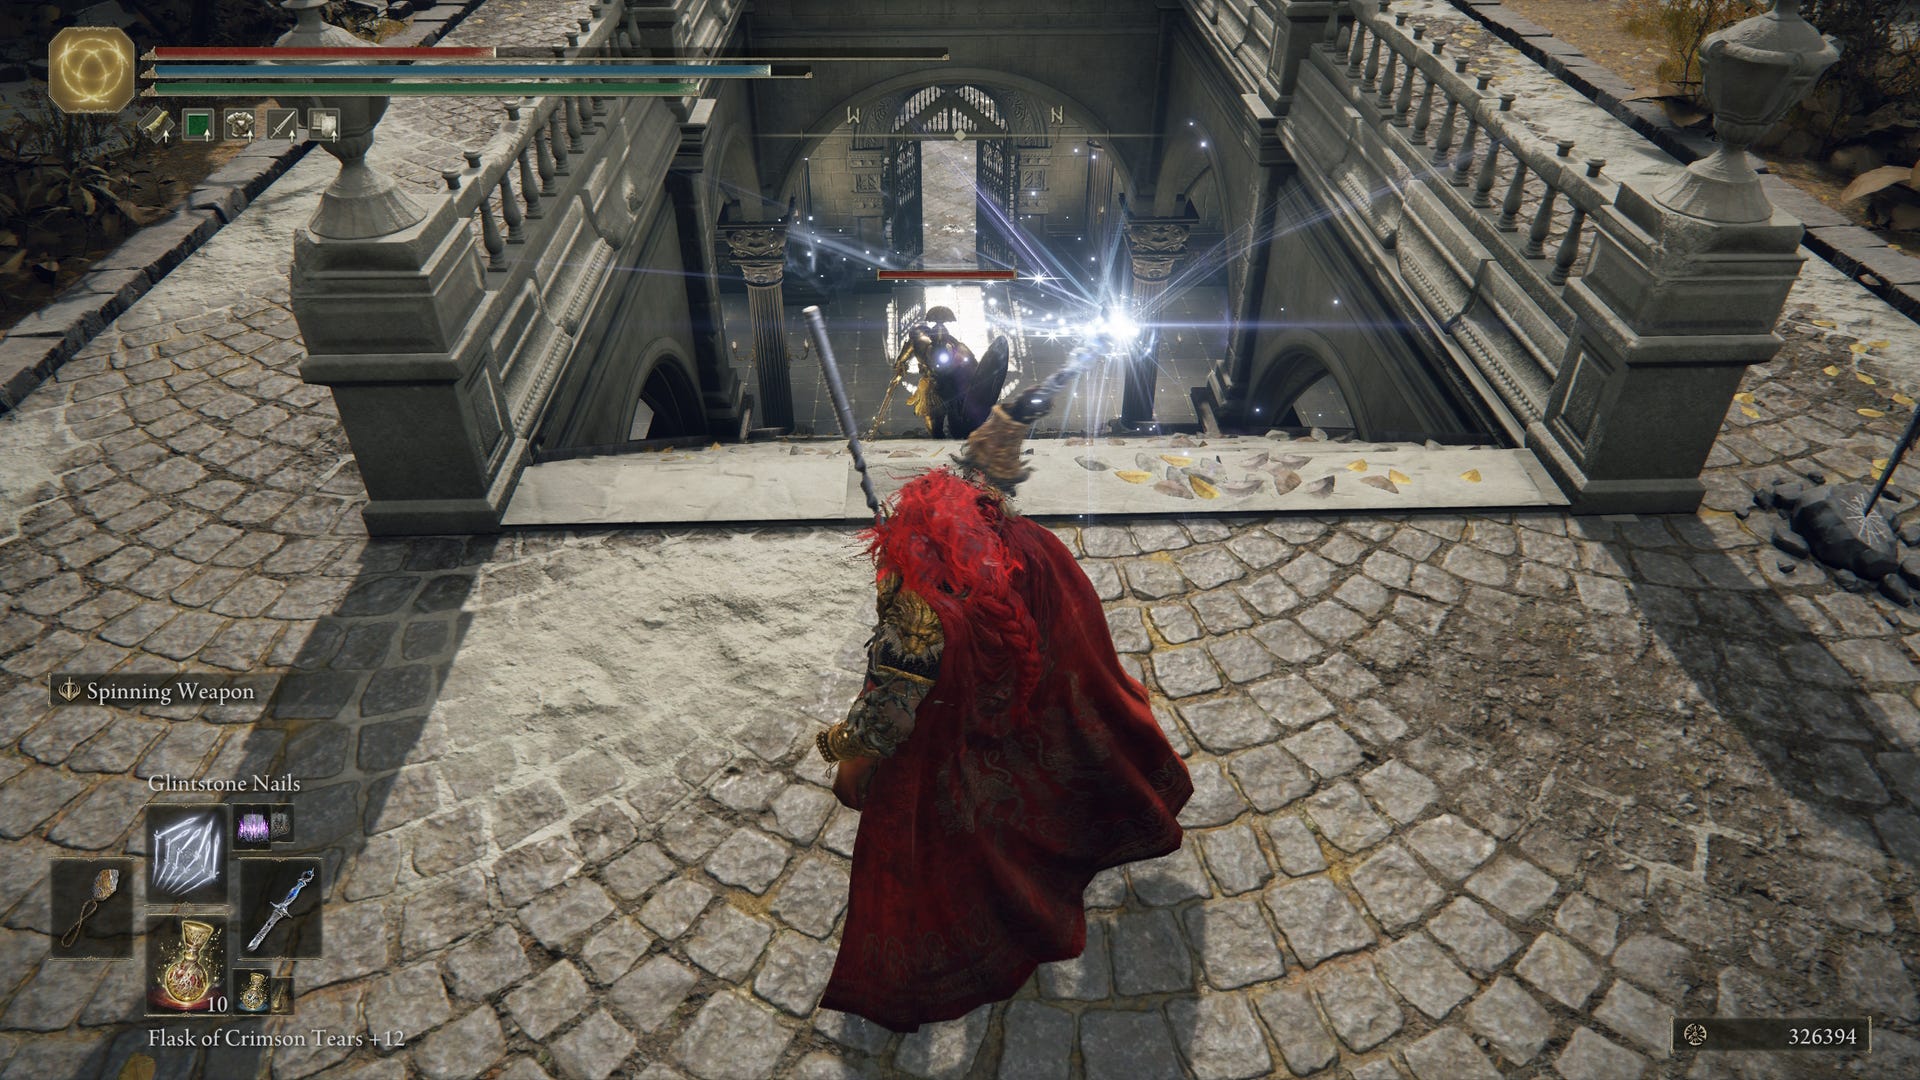
Impenetrable Thorns is one of Shadow of the Erdtree’s most broken spells, so much so that we even made a whole Impenetrable Thorns build. Like other thorn sorceries, this one scales on faith and uses some of your HP to summon thorns. Unlike the other two thorn sorceries, Impenetrable Thorns actually targets a foe or spreads in a fan-shape if you don’t target lock. It deals several instances of damage and quickly builds the blood loss meter. Most enemies are weak to hemorrhage in Shadow of the Erdtree, even the final boss, so this is an excellent sorcery to keep around even if you aren’t running a bleed build.
Imepenetrable Thorns is on a corpse near the top of Shadow Keep. Take the flight of stairs down from Messmer’s chamber, drop to the balcony below where there’s a bat perched on the edge, and you’ll see the corpse behind you against the wall.
Fleeting Microcosm
- Intelligence: 42
Fleeting Microcosm flings a ball of energy at a target that lingers for a second and explodes, dealing two instances of damage. The targeting and ball placement can be a little finicky, but that’s less of an issue if you’re dealing with mobs. You can also cast Gravity Well or Gravitational Missile to hold targets in place before using this, though the setup time is a bit lengthy..
Count Ymir sells you Fleeting Microcosm after you progress his quest.
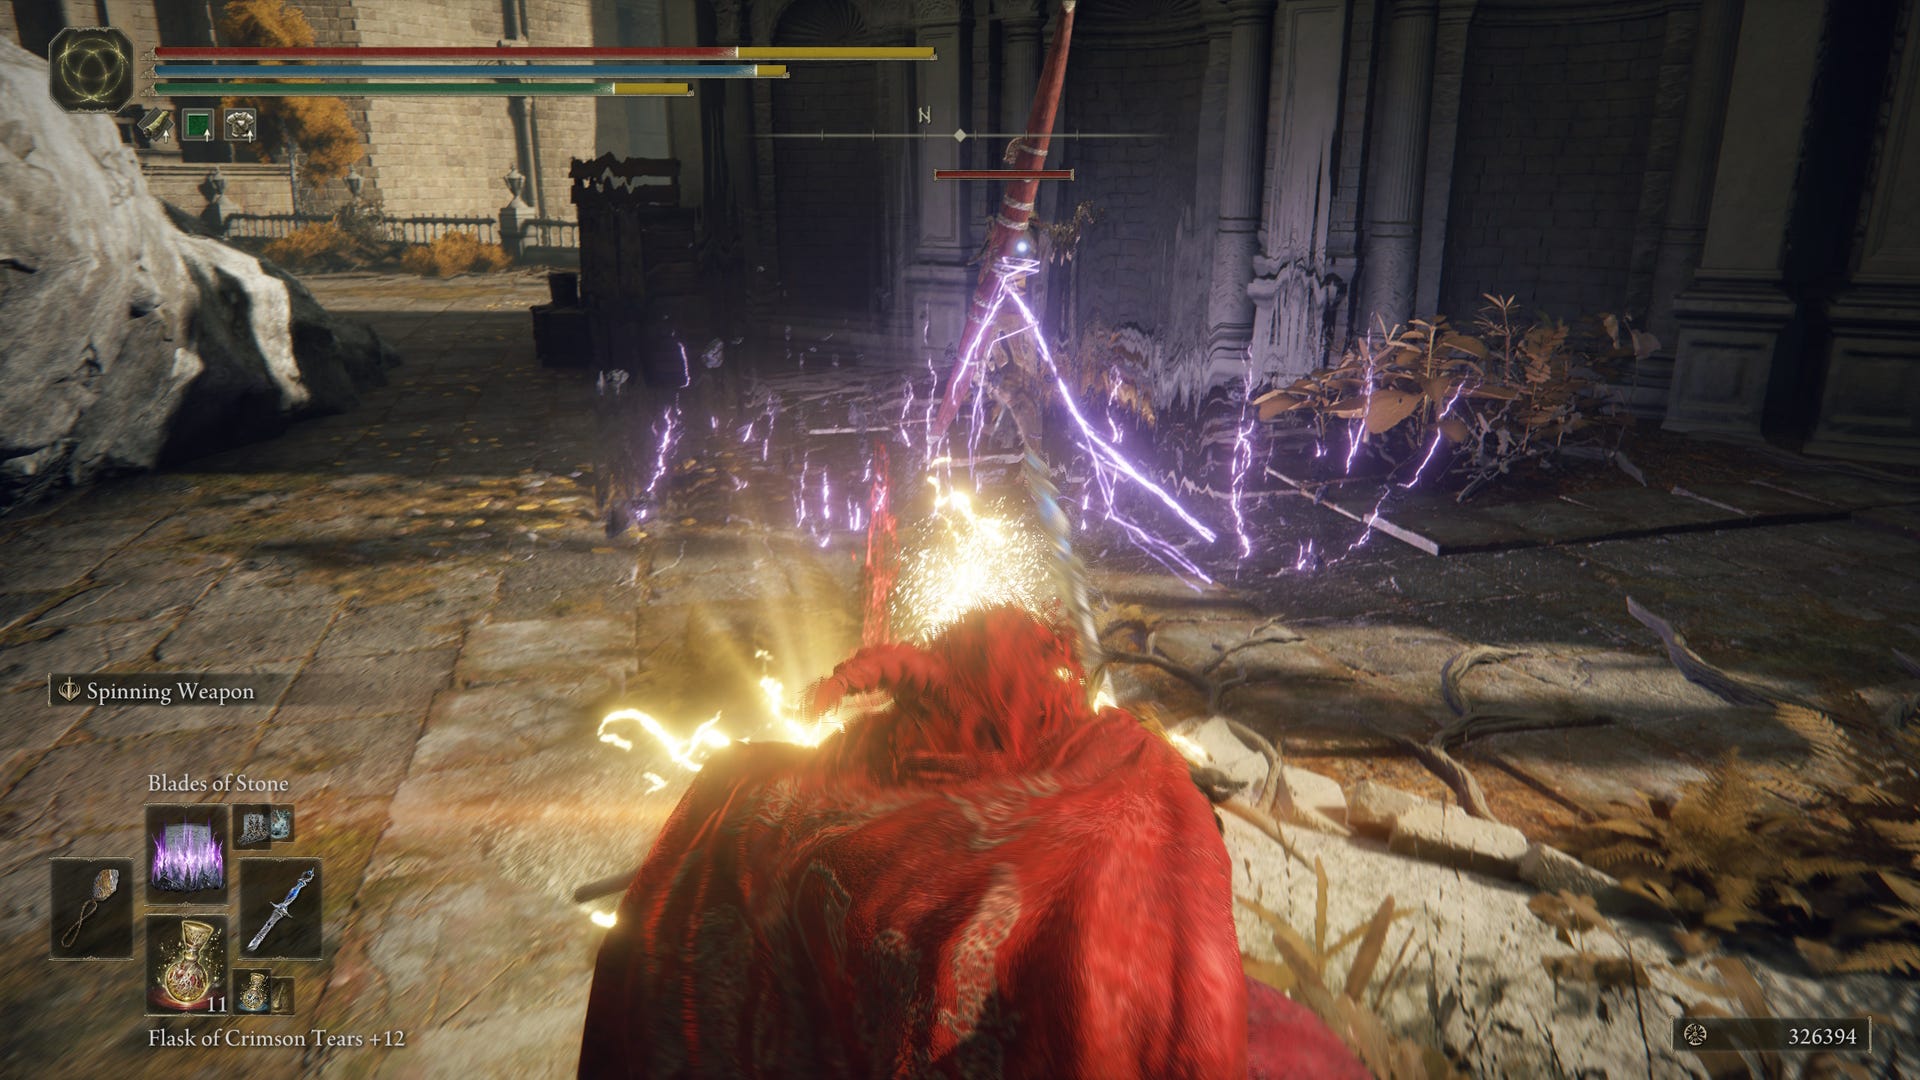
Blades of Stone
- Intelligence: 48
Blade of Stones summons multiple jagged rocks from the ground in a circle, and it deals several instances of high damage with a good chance of staggering your target for a second. Pair it with the Meteorite Staff for the best results.
Blade of Stones comes from Commander Gaius’ Remembrance. Gaius is behind Shadow Keep, so you’ll need the Prayer Room key to get through the keep’s church district and out the back entrance.
Mass of Putrescence
- Intelligence: 28
- Faith: 22
Mass of Putrescence flings a giant ball of sludge at a foe, and that ball explodes and sets the ground on fire. The initial sludge ball deals a respectable amount of damage and is helpful against large enemies in particular. The flame aftereffect is a bit weaker, but it’s useful for catching groups of enemies.
Mass of Putrescence is tucked away in Stone Coffin Fissure, north of the Fissure Waypoint Site of Grace.
Rings of Spectral Light
- Intelligence: 24
- Faith: 18
Rings of Spectral Light is lowkey one of Shadow of the Erdtree’s best spells period. It builds an enemy’s Frostbite meter and usually triggers it after a couple of hits – more, if they have high resistance – and while it takes a bit longer than Glintstone Icecrag, it has two big advantages over the Glintstone spell. You can charge it, and Spectral Light’s range is much longer. It also tracks foes pretty aggressively, which pairs nicely with the spell’s longer range.
Rings of Spectral Light is near a giant gravestone protected by Grave Birds in the Charo’s Hidden Grave location, before you reach the Death Rite Bird.
Glintstone Nails
- Intelligence: 32
Glintstone Nails doesn’t do as much damage as you might expect from flinging a handful of sharp objects at high speeds, but it does have a pretty quick casting animation. Repeated hits will break the stance even of sturdy foes, so as long as you’ve got distance between you and your target or someone to watch your back while you cast, it’s a straightforward way to bring down tough enemies quickly.
You can buy this from the Cathedral of Manus Metyr after completing one part of Count Ymir’s quest.
Rellana’s Twin Moons
Intelligence: 72
This one does what it says on the label and gives you Rellana’s ultimate spell. The downside is that it comes with drastically reduced range compared to the version she uses against you in the Rellana boss fight, so you need to be pretty close to your target for it to work well. The three hits take a big chunk of HP out of any enemy’s health bar, though, so it’s worth the risk.
You’ll need to trade Rellana’s Remembrance to get the Twin Moons spell. Make sure to run it with the Carian Regal Scepter, since that staff has excellent sorcery scaling and boosts full moon sorcery power.
Elden Ring DLC: Best Incantations
FromSoftware definitely prioritized Elden Ring's incantations in Shadow of the Erdtree, likely for thematic reasons, so you’ve got no shortage to choose from. These are our favorites, though.
Ghostflame Breath
- Faith: 23
- Arcane: 15
Ghostflame Breath is one of the better Dragon Incantations thanks to its multiple hits and quick casting time. It spews ghostlfame from a conjured dragon head, and the breath attack deals damage at least twice, depending on your target’s position in relation to yourself, and it’s almost guaranteed to inflict Frostbite if the enemy is weak to it. The damage it deals is pretty hefty anyway, so the two combined makes it one of the more potent spells on our list.
Ghostflame Breath comes from the Grand Altar of Dragon Communion outside Dragon Pit and costs three Dragon Hearts.
Golden Arcs
- Faith: 22
Golden Arcs flings three arcs of golden light at a single target, which sounds pretty basic, but they deal a surprisingly high amount of damage. They also tend to stagger enemies and interrupt their attacks, assuming they aren’t highly armored, so it’s a solid option to have on you to keep mobs under control. It might not have the area-of-effect range of Giant Golden Arc, but it casts more quickly and ends up dealing greater damage.
Golden Arcs is in a building at the bottom of Moorth Ruins.
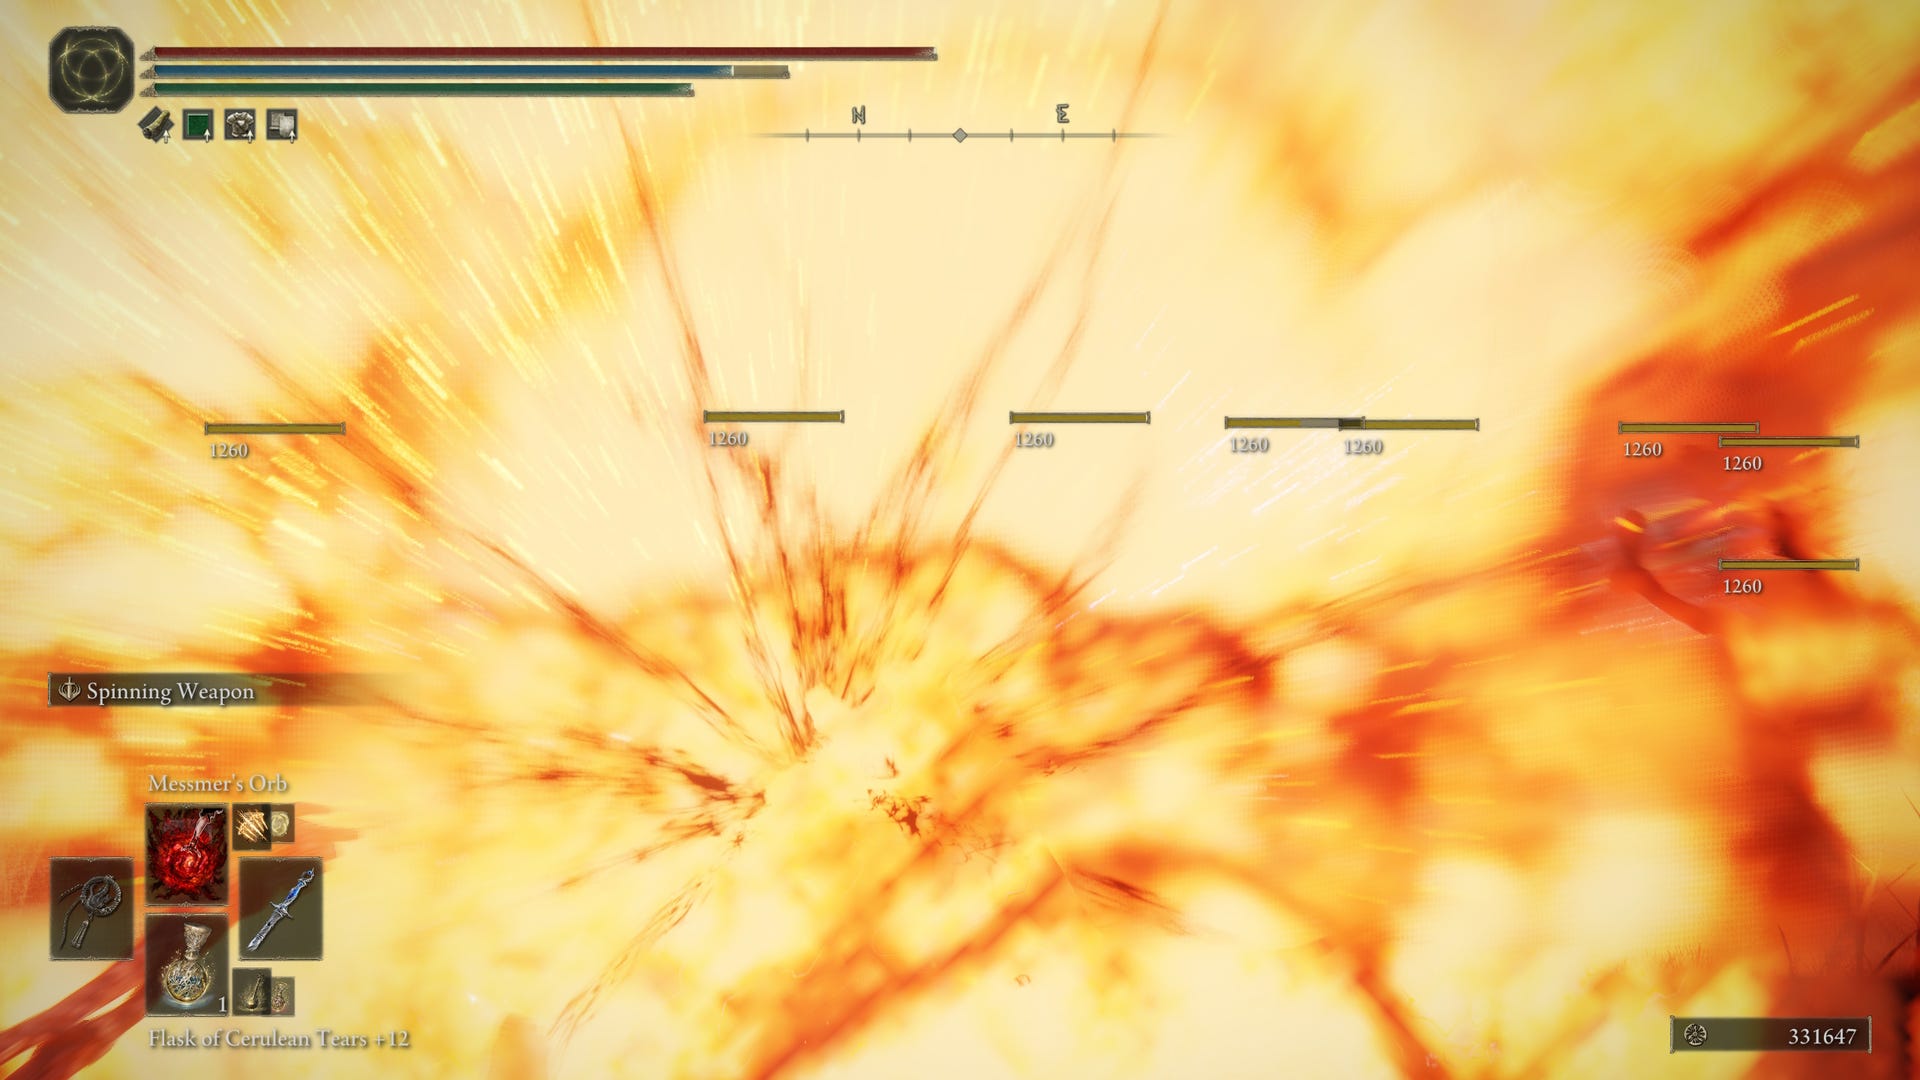
Messmer's Orb
- Faith: 60
Messmer’s Orb lets you pull off Messmer’s opening attack. You generate a sphere of fire, fly forward, and crash onto the ground with an explosion, and then the orb explodes and deals damage in a broader area. Its wide coverage area and the fact that the initial strike doesn’t even have to land next to a foe for the explosion to damage them, makes up for the spell’s slow casting time.
You can exchange Messmer's Remembrance for this spell.
Fire Serpent
- Faith: 16
Fire Serpent is a less flashy, but still effective Incantation that tracks foes and deals a fair bit of damage. It’s the same spell the Fire Knights and shades in Shadow Keep use against you at every turn. Its range is a bit short, but its much more effective than the base game’s fire Incantations.
Fire Serpent is on a corpse on a balcony in the lower levels of the Specimen Storehouse.
Pest-Thread Spears
- Faith: 26
Pest-Thread Spears finally lets you use those rot pest spears on your enemies, and they work just as effectively. After a short casting animation, you send sticky spears – just don’t think about it – flying into your foes. The range is exceptional, the damage scaling is high, and they melt enemy HP bars.
Pest-Thread Spears is in the rot caverns under the Church of the Bud in Rauh Ruins.
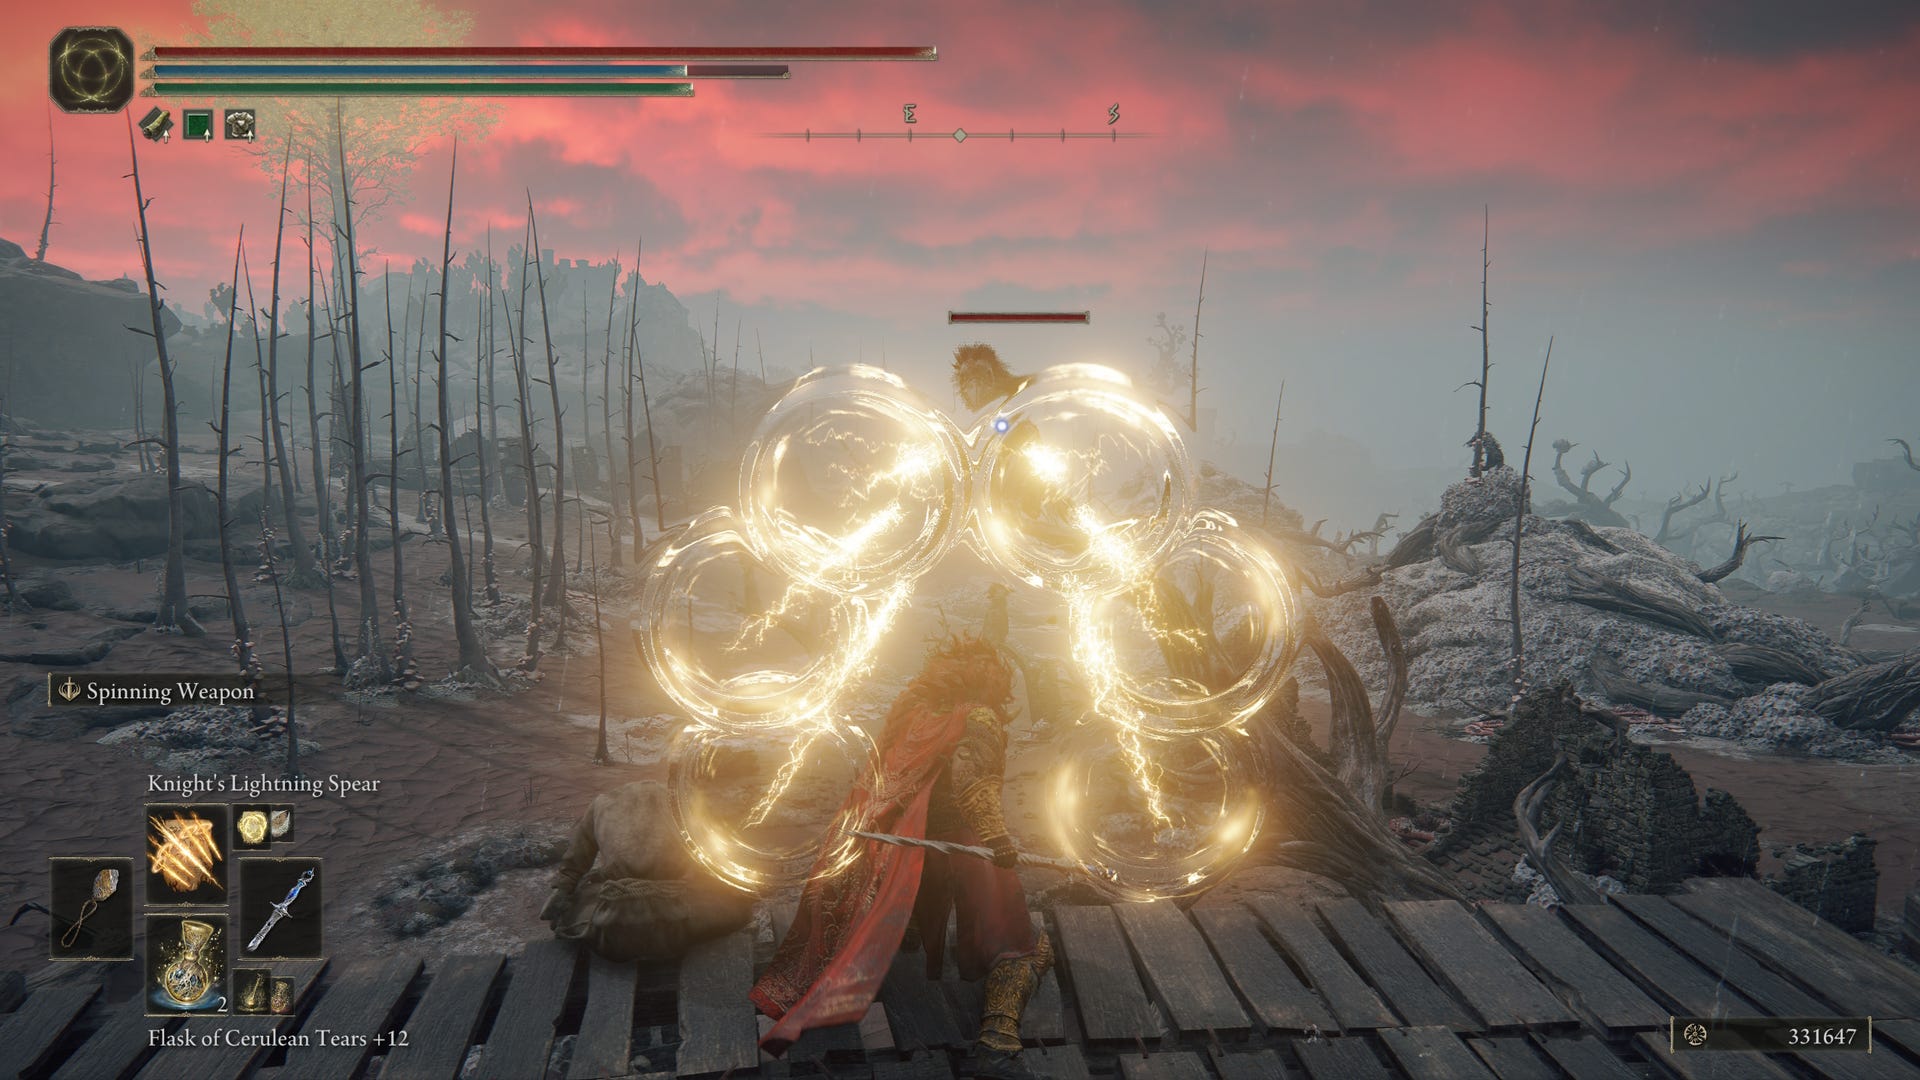
Knight’s Lightning Spear
- Faith: 36
Knight’s Lightning Spear has a big advantage over the base game’s Lightning Spear, as it flings several bolts at a target – and with speed. The damage scaling is high, and if the target dodges the main bolt, they’ll probably get hit with the follow-up attacks, making it excellent in PvP and against bosses. Just bear in mind that you have to actually be facing the target you want to hit for the follow-up bolts to work. Otherwise, they just fly off in whatever direction you’re facing.
Knight’s Lightning Spear is in the Scorpion River Catacombs.
Midra's Flame of Frenzy
- Faith: 41
Midra’s Flame of Frenzy is the one good Frenzy spell. It essentially just sends bolts of frenzied flame out in haphazard patterns, but since the area of effect is pretty small, you’re almost guaranteed to hit your mark – especially if the target is large. It builds your madness meter, so make sure you’ve got plenty of focus, but it also deals heavy fire damage and benefits from a few madness-specific pieces of gear.
You can get this by exchanging Midra’s Remembrance after you make it through the Abyssal Woods and defeat him.
Multilayered Ring of Light
- Faith: 36
Multilayered Ring of Light is a big step up from the base game’s Discus of Light. It hurls a big, well, multilayered ring of light that lingers in place for a few seconds and deals repeated instances of damage. Smaller foes and those with lower poise get stuck, you can throw multiple discs at a time, and the range is fantastic. This one is essential for any faith build.
Multilayered Ring of Light drops from the Misbegotten Crusader in Stone Coffin Fissure.
If you're after more help, check out our guides for the Hornsent quest, Redmane Freyja's quest, and Ansbach's quest to make sure you don't miss a thing.