Diablo 4: How to unlock the best Spirit Hall and The Sacred Hunt
In Diablo 4, the Spiritborn must attune their inner power and unlock their specialization. Here's how to unlock the best Spirit Hall for your character!

Very early on in your journey in Diablo 4’s Vessel of Hated expansion, a specialization quest will pop up. The quest is named The Sacred Hunt, and it’s the one that sets you on the path to unlocking the first specialization for your Spiritborn in the Spirit Hall.
In this guide, we’re going to cover how to initiate the quest, interact with the braziers (it’ll make sense later), solve the puzzle, and eventually earn your first Spirit Hall specialization as a Spiritborn.
How to start The Sacred Hunt Priority Quest in Diablo 4
The Sacred Hunt is the specialization quest of the new Spiritborn class which unlocks the Spirit Hall, so you won’t be able to play it without owning the Vessel of Hatred expansion. The quest becomes available on its own once you reach level 15.
When that happens, it will appear in your Journal, and the game will notify you that it’s available to play. We recommend finishing The Sacred Hunt quest as soon as it becomes available, because you don’t want to miss out on the powerful abilities it’s going to grant you.
Your next task is to speak to Tarka, the Emissary, whom you’ll find in the city of Gea Kul in Kehjistan. Doing so will mark an area on your map with a purple outline, and you should immediately head there.
The Sacred Hunt quest walkthrough
Your first objective is to investigate the Strange Smashed Ceramics you’ll find when you arrive at the quest location. Speak to Tarka after doing so to progress the quest. You’ll then be asked to go to a different part of the map - again, marked with a purple outline.
There, you’ll find a different NPC, Ito, who’s going to tell you to go to yet another location to meet up with Tarka. Your next task is to follow some footsteps, which will lead you to Tarka, who’s going to be on a tiny island surrounded by dead bodies.
Once you get there, a portal will open up and monsters will start spewing out of it. After eliminating all invaders, you’ll need to head through the portal to start the more difficult/tricky part of the quest.
How to solve the ritual brazier puzzle in the Spirit Realm
The portal will take you to the Spirit Realm, and your first task will be to call for help. This is done through the Emote Wheel; simply bring it up (E/up on the dpad) and find the Help emote to unlock the gate. Remember this interaction because you’ll be repeating it again in this dungeon.
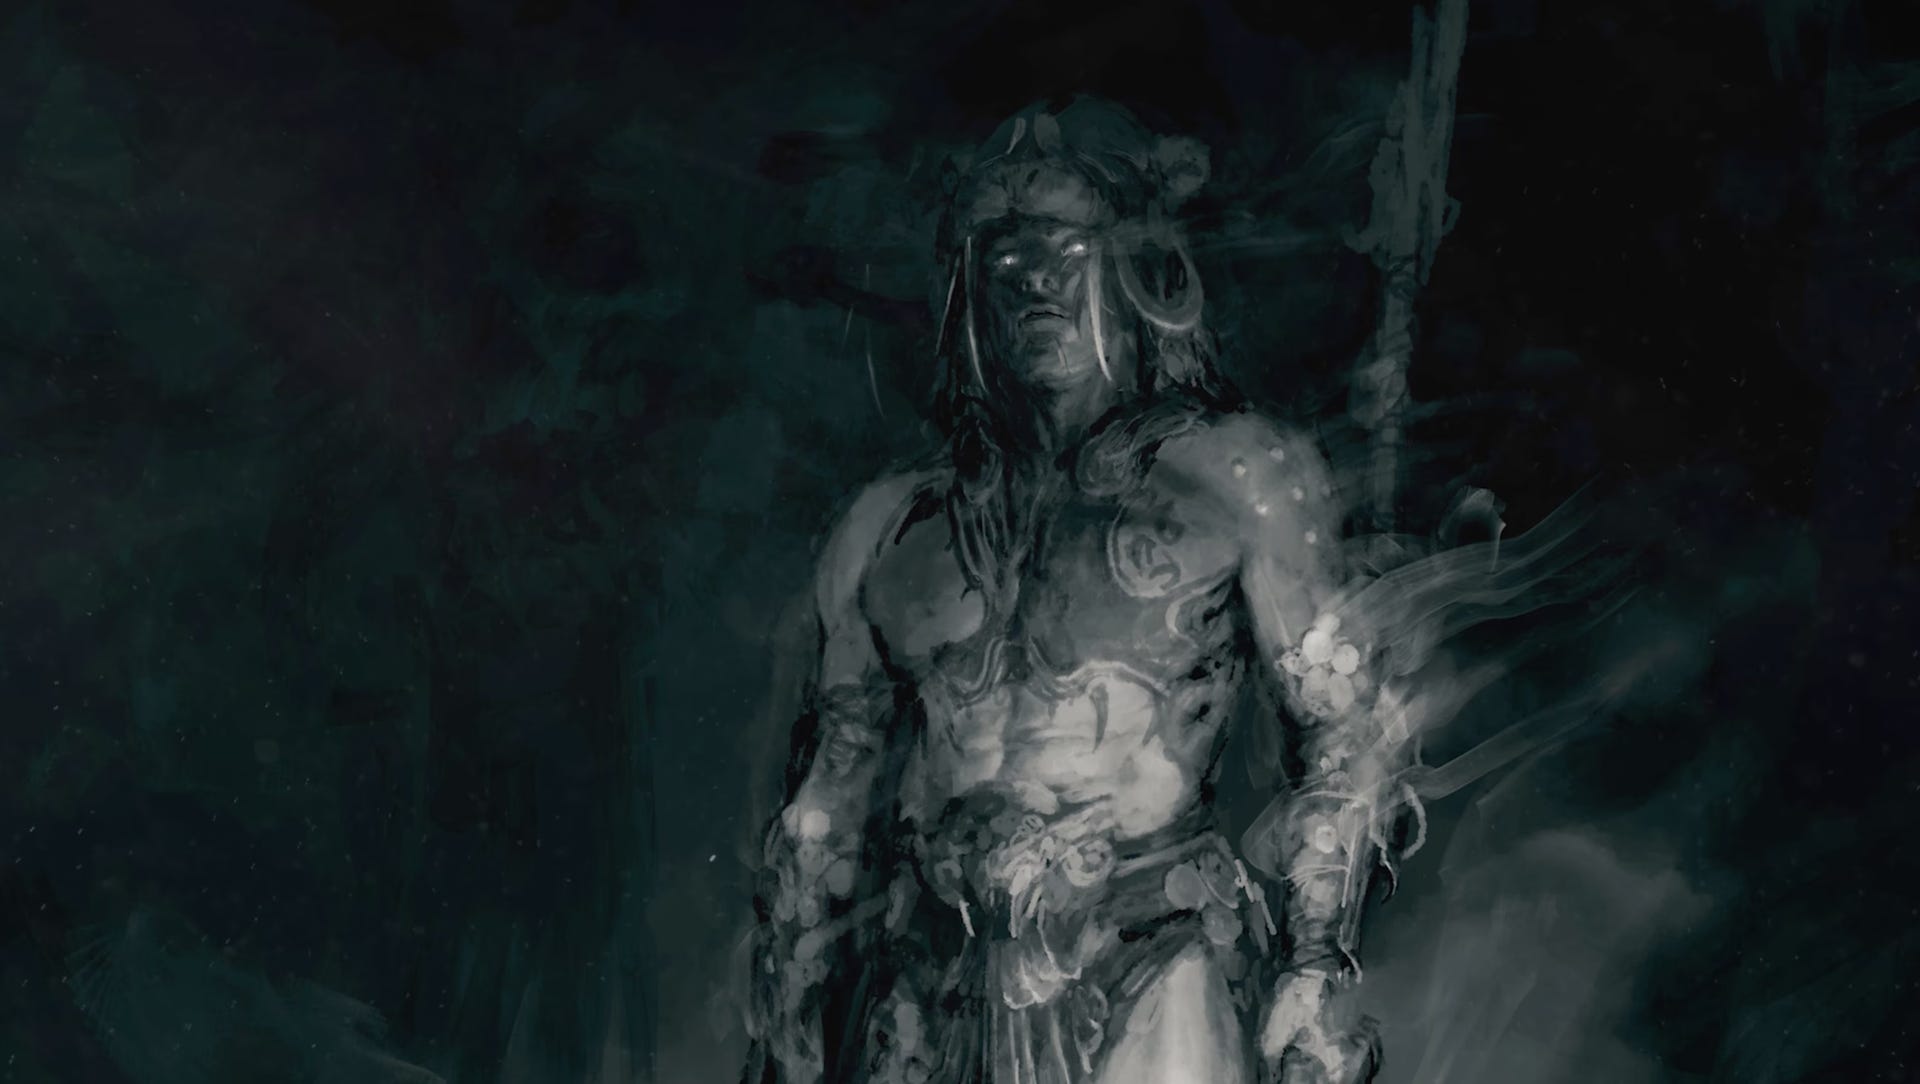
Tarka will light the brazier and the barrier will be dispelled, allowing you to continue through. You’ll encounter The Beast, Nature’s Wrath, and though you’ll be able to damage it, you won’t get to kill it just yet. Nature’s Wrath will show up again throughout this dungeon.
Once you’ve survived the ambush, Tarka will light another brazier and ask you to give thanks. This time, bring up the Emote Wheel, and select Thanks. You’ll now be allowed to go through, fight a few mobs and encounter Nature’s Wrath once more to start the final stage of the quest.

How to tether to the spirits and defeat The Beast, Nature’s Wrath
This is the most tricky part of the quest, but it’s fairly straightforward once you know what you need to do. Inside the arena is where you’ll face The Beast, Nature’s Wrath for the final time, but you’ll need to call upon the spirits to help you defeat it.
After damaging the boss, it’s going to encase itself into a dome that prevents you from dealing damage to it. In order to open it up, you’ll need to tether the boss to the Spirit Totems you see all around the arena.
There are four Spirit Totems around you, representing the four Spirits. Interact with one (doesn’t matter which) and clear out all enemies until you see your skill bar has entirely changed to reflect the Spirit guarding the totem. Step into the boss’ defensive bubble and start spamming all your skills to break its defence, allowing you to damage it.
The Beast, Nature’s Wrath will repeat the same tactic again, and you’ll need to tether it to another of the Spirit Totems in the arena, clear the mobs until your skill bar is transformed and attack the beast to break its bubble.
You’ll need to do this up to four times, one for each of the Spirits/Totems: Sky Guardian (Eagle), Forest Guardian (Gorilla), Plains Guardian (Jaguar), and Soil Guardian (Centipede). With each subsequent tether, the boss’ health will get lower, but it’s also going to get more desperate. Its attacks will have wider and wider arcs, so make sure you dodge out of the red zones to survive the fight.
Try not to use your Healing Potions unless you really need to heal, and watch out for the mobs towards the latter stages of the fight as they’re going to distract you from the boss. Your first priority - assuming it’s open for attack - is to damage the boss.
Which Spirit Hall specialization should you choose?
Congratulations! You’ve now earned your first specialization in the Spirit Hall. Collect your loot and open your character page, where you’ll find the Spirit Hall tab. The top half is available to you now; pick one of the four Spirits to use as a passive skill. You can come back after reaching level 30 to select another, secondary Spirit for the bottom half.
Though you’ll be able to change both of them at will, we recommend taking a moment to read each of their descriptions to see how they affect your gameplay. In short, each Spirit Animal will give you a passive buff and make every Skill you choose be treated as if it belonged to your chosen Animal.
Basically, the main purpose of the Spirit Hall is to allow your character to use Skills from all of the different animals without diluting your overall build.
For example, the Jaguar Skill, Ravager, is extremely good and fits perfectly into the most powerful Spiritborn archetypes. So if you're mainly choosing Eagle Skills and choose the Eagle in your Spirit Hall then you can add Ravager to your kit and it will still benefit from any passives which power up your Eagle Skills.
Therefore, you should choose whichever Spirit Animal matches the main theme of your character. If you mainly want Centipede Skills, choose the Centipede. If you main want Eagle Skills, choose the Eagle - and so on.
If you’re looking for some more hints on how to craft your character, see our Spiritborn build guide for an idea of what you could aim for.
While you’re checking that out, you may also be interested in our guide to help you pick a Mercenary companion that complements your build. And, in case you haven’t already, here’s how to quickly and efficiently reach the new level cap of 60 (and beyond).