Destiny guide: Venus Dead Ghost locations
Destiny guide: Venus Dead Ghost locations
Destiny offers collectors the chance to score extra Grimoire Points by tracking down Dead Ghosts. Our guide makes it easy.
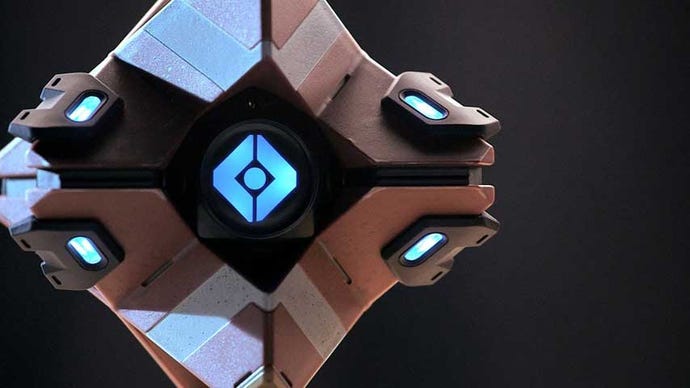
Destiny’s Dead Ghosts are found scattered around the environment in out of the way places. They’re easily spotted in the dark by their distinctive pale blue glow.
Should you stumble across a Dead Ghost, you can revive it by holding Square (PlayStation) or X (Xbox) when prompted. Doing so will reward you with a Grimoire Card and the accompanying Grimoire Points. Visit Bungie.net or the Destiny Companion app to peruse your unlocked lore and show off your amazing collection of points.
Note that you can only collect Ghosts once per account, so if you’ve picked one up with one character, you won’t find it with another.
There are a number of Ghosts to be found on Venus. The numbering here matches our Destiny Walkthrough.
- Dead Ghost #1
In the backseat of a car in the Shattered Coast, next to the Guardian Outpost you activate during the first Venus mission. It's a pale car with red doors; two of them are missing. - Dead Ghost #2
On the third story of bookshelves in the Ishtar Academy library. Entering from the Shattered Coast, it's on your left, at the far end. You can reach the top balcony by leaping off the head of the statue, among other routes, or come back with a fully upgraded mobility ability. - Dead Ghost #3
From the spawn point for Patrol missions, turn left and walk until you reach a large pool. There's a clump of coral or rocks or something sticking out of the water, closer to the opposite side. The Ghost is sitting on it, on the far side. - Dead Ghost #4
Immediately after entering the Ishtar Cliffs from the Shattered Coast, jump climb onto the wall on the left. The Ghost is on this rocky shelf, near a tree trunk. If you have walked to the swamp, you've gone too far. - Dead Ghost #5
Enter the Waking Ruins from the Citadel, and jump climb the wall on your right as soon as possible. Avoid the Minotaur and turn left, heading for the rusted, broken gate and nearby concrete pillar. The Ghost is on top of the pillar. - Dead Ghost #6
Look for the narrow verandah over the atrium guarded by a group of Fallen. There's a tarp above it, and a crashed ship nearby. Jump up here to find the Ghost opposite the slender tower or mast erected near the crashed ship, at your feet. - Dead Ghost #7
Enter the Ishtar Commons from the Academy. Hug the right hand wall and explore every dark side room. It's the second one, a tiny alcove that's very hard to see, as the entrance is in shadow. The Ghost is at your feet, on the skeleton of an apparent former Guardian. If you reach the Vex, you've gone too far. - Dead Ghost #8
Enter the Hall of Whispers from the Ishtar Commons. Look for a tree to your right. Climb the nearby stairs and walk around the balcony to the tree trunk; you'll know you're in the right place if you see a blue tiled structure with a vent. Walk right up to the tree and look up and slightly right; the Ghost is nestled in the branches. - Dead Ghost #9
Enter Winter's Lair and follow the tunnels until you reach the room where you fight the Kell's Guard for the first time. From the entrance, hug the left wall closely; you should eventually find a small, dark path, passing with a red spherical object on your right. Follow this path to its end through a short but twisted tunnel, and find the Ghost camouflaged by a glowing bed of crystals. - Dead Ghost #10
Exit Winter's Lair to the Cave of Embers, then follow the left hand wall, checking every cave, till you find the Ghost waiting. Standing in the mouth of the correct cave, you should have Winter’s Lair on your right, and be able to see three jagged rock formations marching across the landscape in front of you like spines down a dragon’s back. - Dead Ghost #11
There are various routes up to this this Ghost in Campus 9. Start on the roof of the building with a satellite dish. Put the path to the Waking Ruins at your back and you should see a rock pillar with a flat top, slightly lower than the nearby formations. Jump to it, then up onto the rock formation itself. Take a few steps to a slightly higher bit of ground and jump to the top of the first concrete-like pillar. Look around you and you should spot the Ghost on a platform across the way. Depending on your mobility ability you may find it easier to cross from lower down, as the invisible ceiling is quite low here. - Dead Ghost #12
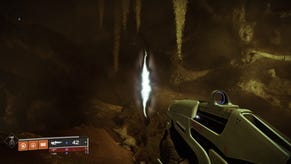
In the Endless Steps, look for a bright white laser pointing straight up from a concrete pillar on the side of the arena. The Ghost is on a short ledge on one side of this pillar. Standing directly in front of the laser, facing it, the path up is on your right; climb the rocky, grassy ledge, then double jump to the ledge. It’s very, very hard to reach without a fully upgraded mobility ability, but it can be done, although you’ll probably have to use the good old “hold the revive button while falling past it” method. I consider this Ghost the peak of bullshit, even more than that little bastard in the Temple of Crota, and will certainly have words to say to Bungie about it. - Dead Ghost #13
Enter N/Gen Branch from the Ishtar Commons and immediately look up. You’ll see a doorway topped by a bright orangey light, accessible by some stairs. Climb up here, dealing with the masses of enemies, and search around the outside of the door; on the left side, facing in, the Ghost is tucked behind an entrance console. - Dead Ghost #14
This Ghost is (technically) only accessible during one of the Strike missions, The Nexus, because it’s in Dig Site 4. If you have a fully upgraded mobility ability, you can actually bypass the locked gate in N/Gen Branch by jumping through a window into the corridor beyond, but it's genuinely easier just to do the Strike. To find it, pause in the room with a large glass cylinder in the centre. Instead of following your radar down the stairs, look along the wall opposite the path you came in by for the entrance to a dark room. The Ghost is in a sink in the bench closest to the door.
Be sure to check the rest of our Destiny guide for more tips and info.





.jpg?width=291&height=164&fit=crop&quality=80&format=jpg&auto=webp)
