Dead Space Chapter 4: Obliteration Imminent | How to beat the Brute boss
It’s time for Isaac to come face to face with Brutes.
Dead Space will slowly be ramping up at this point, with it becoming clear that there’s more to this alien invasion of the USG Ishimura than what first meets the eye. This also means your combat skills will be getting put to the test more, and when it comes to the Brute, let’s hope you’re well acquainted with Stasis.
In Chapter 3 of Dead Space, Isaac meets with Hammond again and is, of course, sent to fix more things around the ship. There’ll be trouble along the way, as always, mainly in the form of a Brute. So, without further ado, here’s our walkthrough of Chapter 3 of Dead Space, which explains exactly how to beat the Brute boss.
Dead Space Chapter 4 Obliteration Imminent
Following Chapter 3 of Dead Space, you should currently be at the Bridge after travelling on the tram. Use your locator to meet up with Hammond in the Captain’s Nest.
After meeting Hammond, you’ll need to activate the elevators, so follow your locator out of the Captain’s Nest and through the Main Atrium again.
With Security Clearance Level 2 now, we can exit the Main Atrium via the Security Room. However, as you approach the Security Room, a boss Brute will emerge.
How to beat the Brute in Dead Space Chapter 4
Before approaching the Security Room, loot the Main Atrium so that you’re as stocked up as can be. Then, head towards the door once you’re ready for the fight.
There’s no Stasis Recharge in this room, and Stasis is key to this fight. So, if you’ve some Stasis Packs at this point, you’re in luck. If not, I’d recommend finding a Store and grabbing one or two, depending on how confident you feel.
When it comes to combating the Brute, it’s weak spots are on it’s back. So, you’ll want to use Stasis to slow the enemy and then dash behind it to fire at. After a couple of attacks, it’ll keel over, and you can head into the Security Room.
In the Security Room, you can use the Armory’s bench just up ahead to apply any upgrades, and then you can activate the elevators using the control panel here.
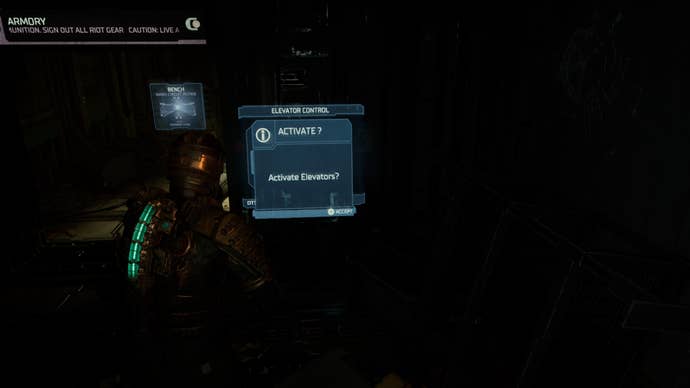
Then, leave the Security Room and enter the lift in the Atrium; go to the second floor, and through the Administration Access door. Then, follow your locator through to Mining Administration. You can enter the Records Office along the way to retrieve some loot.
In Mining Administration, go to the circuit breaker on the other side of the room, and turn on the ADS Cannons.
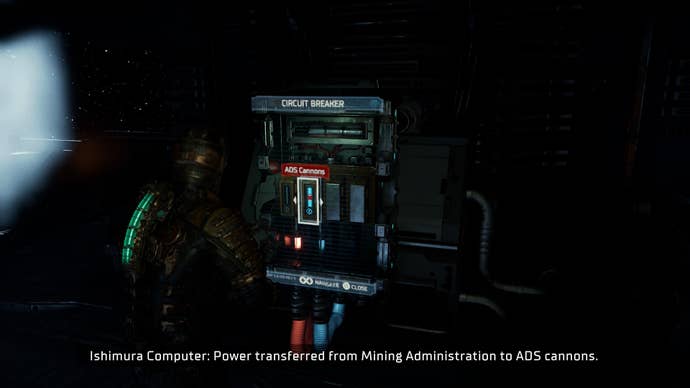
Next, we’re going to reroute the power from the electrical systems, so follow your locator out of this room and to the elevator; prepare for a lack of oxygen and some enemies along the way, and then go to the third floor this time.
Follow your locator again through to the Electrical Systems room. This room is a bit of a maze, but follow it around, and you’ll eventually reach a Stasis Recharge. You’ll want to avoid the live electrics, manipulating enemies into being electrocuted instead, and then run over the platforms yourself when the electric cuts out temporarily.
After the Stasis Recharge, prepare for another Brute. Again, use Stasis to slow it, and then fire at its weak point on it’s back.
When the Brute is dead, head over to the circuit breaker to turn off Electricals and turn on the ADS Cannons. You'll need to use Stasis to slow the live electrical pipes in front of the circuit breaker, before approaching it.
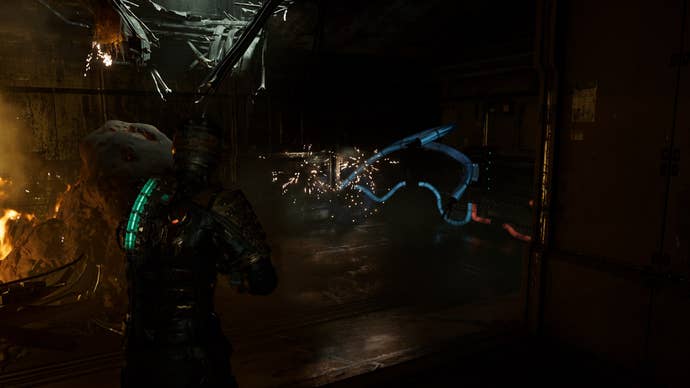
Now, you need to reroute power from Water Purification, so follow your locator through to there. Head into the Break Room along the way for some interesting lore. Once you reach the elevator, return to floor one.
Enter the lift opposite the one you just exit and activate it. In the next room, grab the available loot and save your game. Then, take on any enemies and go to the circuit breaker. At this one, turn off Purification and turn on the ADS Cannons.
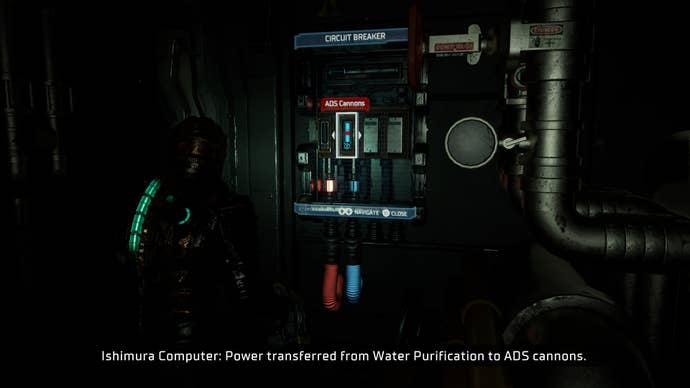
Isaac is now certain he can retarget the ADS Cannons manually, so it’s time to follow your locator through to Exterior Access. You can enter the Prep Room along the way for some loot.
Once outside, take off. You’ll need to find the three ADS Cannons and override them.
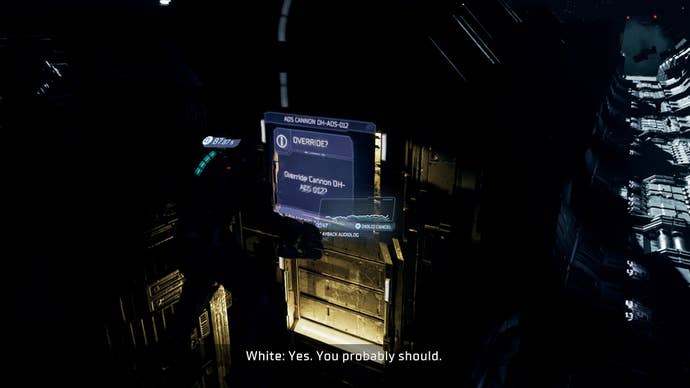
Approach each of the cannons control panels and interact to override it, then, you’ll need to fire at asteroids; do this by aiming and then pressing the ‘Call for Strike’ button shown, rather than your usual fire button. Once enough asteroids have been destroyed, that cannon is recalibrated. Just don’t do what I did and accidentally aim the ADS Cannon directly at Isaac. That doesn’t end well.
Do this for all three ADS cannons, using the nearby oxygen tanks to top up your supply when needed. When this is done, return inside and back to the Medical Deck via your locator. You’ve now finished Chapter 4 of Dead Space, so it’s time to move onto Chapter 5: Lethal Devotion.
- Dead Space Chapter 5: Lethal Devotion
- Dead Space Chapter 6: Environmental Hazards
- Dead Space Chapter 7: Into the Void
- Dead Space Chapter 8: Search and Rescue
- Dead Space Chapter 9: Dead on Arrival
- Dead Space Chapter 10: End of Days
- Dead Space Chapter 11: Alternate Solutions
- Dead Space Chapter 12: Dead Space
For more on Dead Space, take a look at our tips and tricks for tackling the USG Ishimura, and our review of the remake.
.jpg?width=690&quality=80&format=jpg&auto=webp)
