Dead Space Chapter 3: Course Correction
Refuel, refuel, and refuel.
Dead Space returns with a shiny new remake, and the tale of Isaac Clarke aboard the USG Ishimura is just as good now as it was fifteen years ago. Whether you’re a seasoned Dead Space fan or trying out the series for the first time, this game will still continually catch you off guard.
During Chapter 3: Course Correction of Dead Space, Isaac must refuel the fueling stations and spend some time fixing the Centrifuge, which is quite the task. So, here’s our walkthrough of Chapter 3 of Dead Space.
Dead Space Chapter 3 Course Correction
Following Chapter 2, you start Chapter 3 of Dead Space in the Main Hangar Bay where everything looks a little different to how it did earlier. Activate your suit and take off, then soar over towards the Engineering Deck, using your locator to guide you.
When you reach gravity again, head through the Engineering Deck door and use the elevator. Then, activate the Control Console in the middle of the room.
Follow your locator to the Refueling Control Stations and keep left.
Where the Oxygen Refuel is, turn around and use Kinesis to move the platform in front of you, then step onto the platform and activate it.
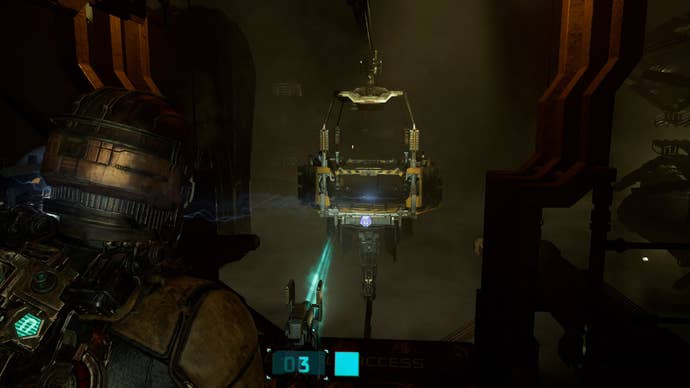
Head upstairs to grab the Fuel Station Keycard, and then go back down to enter the Fuel Maintenance room.
Use the circuit breaker here to turn on two things at a time: the Lights and the South Refuel Station. You can turn off Life Support and keep the lights on instead, if you prefer, but keep an eye on your oxygen levels.
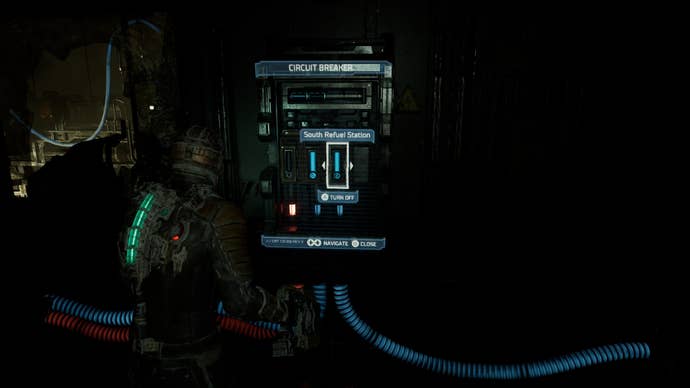
Follow your guide to the platform that needs refueling and use Kinesis here to move the lever down; additional fuel will be then be required at the north station. Now, follow your locator over to the platform from earlier and travel to the other side, and then to the north platform.
Use Kinesis to lower the lever again, and that’s the north station refueled.
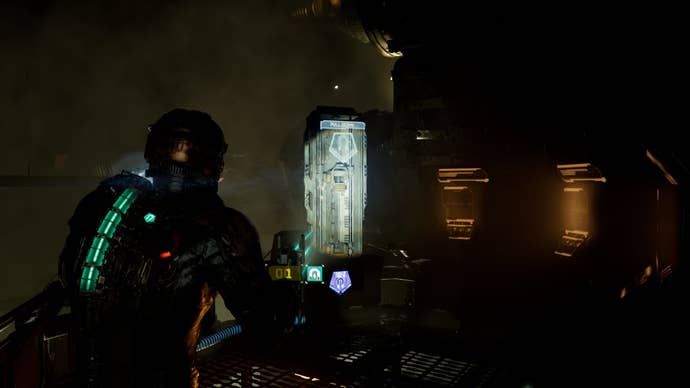
Follow your locator towards the next door, breaking the electrical components beside it. If life support isn’t on, time is not on your side, and enemies will be continually spawning here. Oxygen will be available after a few moments in the next room.
Again, follow your locator to the elevator, and enter the first Centrifuge door, grabbing resources from Equipment Storage on the way, if you wish. Then, enter the Decontamination Chamber and begin the decontamination sequence.
Take care of the enemies and exit on the other side of the chamber. Finally, save at the upcoming save station and enter the Centrifuge.
In the next room, you’ll be soaring around in zero gravity and will need to connect two chasms to the Centrifuge; use Stasis on the chasm first to slow it, and then Kinesis to move it into the centre. Do this to both chasms, and note that there’s also a Stasis Refill in this room if required.
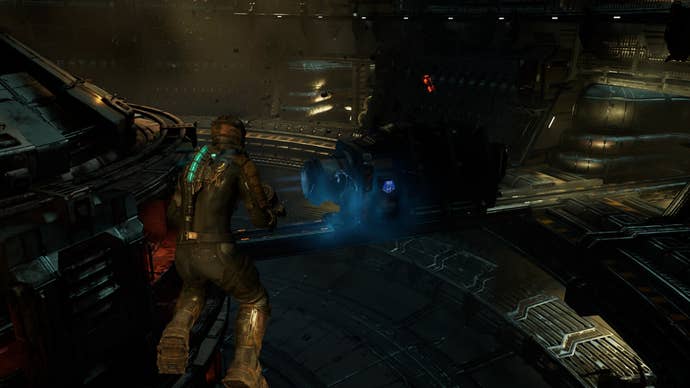
Once done, head up to the control panel with an Oxygen Refill beside it and activate the Centrifuge.
You’ll now need to ignite the engines, but your oxygen is depleting again. Take the elevator behind you, and make your way along the path here; be timely about it as to avoid the spinning arm of the Centrifuge from hitting you, and if enemies approach, let the machine take care of them or kill them from a distance so that they do not block your path.
When you reach the alcove with another elevator, head up and through the door where you’ll find another save station, and will have oxygen access again.
Save your game, and continue through the next door; as you advance, you’ll be whisked off your feet, literally. You’ll want to fire at the glowing, bulbous part of this Drag Tentacle.
Once taken care of, follow your locator into the zero gravity zone, and take off. Use Stasis on the fan in the next room to slow it, then go through the fan’s blades and land on the platform here. Turn off the Fans and Airlock 1, and turn on Airlock 2; you can now go through the next door where your locator directs you.

In the next room, shoot the bulbous mass on the wall, then go through the door to the Engine Room. Make your way through the narrow path here, and then go up the elevator in the next room.
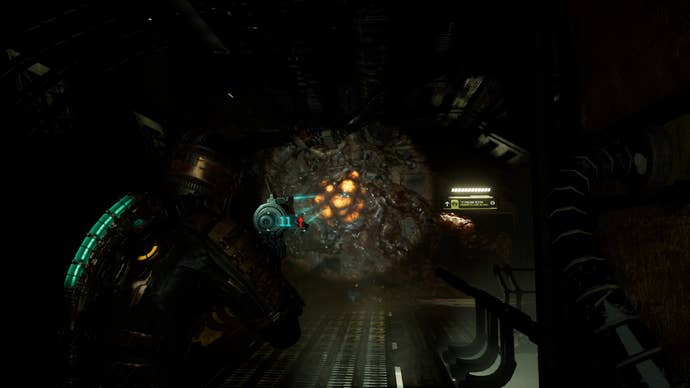
Shoot the bulbous mass blocking your next path, and go down the elevator again. More enemies will be in the room below, and you’ll need to use Stasis to slow the broken door; then, go through this door.
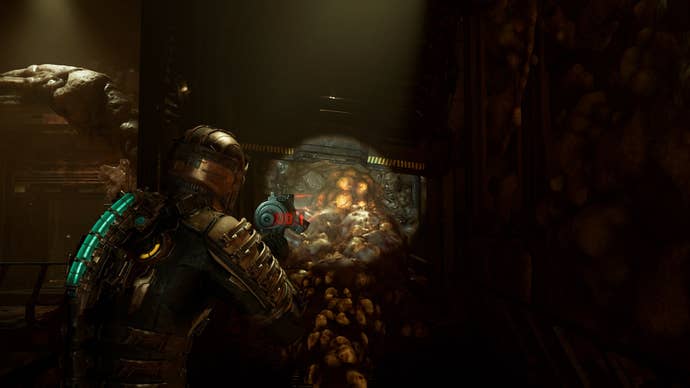
Take care of the enemies in the hall, and use the Save Station above if needed, then head into the Engine Room.
You’ll now need to find a power cell in this room; if you go to the end of the room, you will find a red socket for the cell, and directly across from it, just up a ramp, is the power cell. Use Kinesis to move the power cell into the socket.
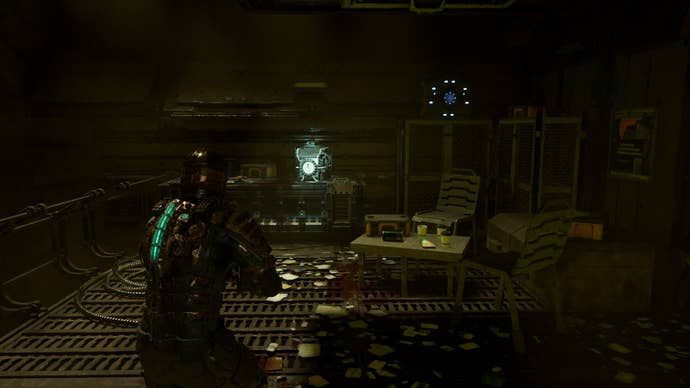
You’ll then need to wait for the engine to do its thing, taking care of the enemies that spawn in the Engine Room in the meantime. When the engine is ready, go ahead and ignite it from the control panel.
You’ll then need to return to the Tram Station, so follow your locator; at the Tram Station, board the tram and travel to the Bridge, which marks the end of Chapter 3: Course Correction. Now, you’re on with Chapter 4: Obliteration Imminent.
- Dead Space Chapter 4: Obliteration Imminent
- Dead Space Chapter 5: Lethal Devotion
- Dead Space Chapter 6: Environmental Hazards
- Dead Space Chapter 7: Into the Void
- Dead Space Chapter 8: Search and Rescue
- Dead Space Chapter 9: Dead on Arrival
- Dead Space Chapter 10: End of Days
- Dead Space Chapter 11: Alternate Solutions
- Dead Space Chapter 12: Dead Space
For more on Dead Space, be sure to take a look at our review of the remake, and some tips and tricks to take note of while playing the game.
.jpg?width=690&quality=80&format=jpg&auto=webp)
