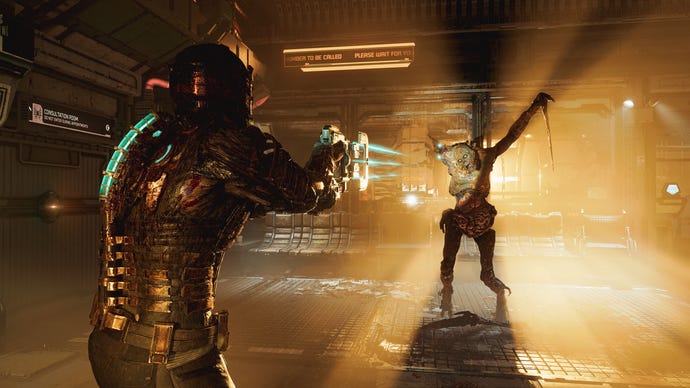
Dead Space Chapter 2: Intensive Care
Intensive care is what I need after this game.
You’ve already boarded the USG Ishimura of Dead Space, and Isaac has seen unimaginable horrors in his short time aboard the ship. That said, he hasn’t seen anything yet, and has a long way to go before he gets any answers. During Chapter 2: Intensive Care, we’ll be exploring the medical area of the Ishimura.
Things only get weirder for Isaac from here on out, who now has to go about finding a Hydrazine Bomb in his next attempt to escape safely. Without further ado, here’s our walkthrough of Dead Space Chapter 2.
Dead Space Chapter 2 Intensive Care
After finishing Chapter 1, you’ll start Chapter 2 of Dead Space off in the Medical Bay, where you can collect the Kinesis module. This ability allows you to retrieve items and move them around an area, and when used carefully, can be a great way of killing off enemies via impalement.
Use your new ability to move the crates in front of you, so you can walk past them, then follow your locator to the Medical Tram Station. Collect the Pulse Rifle from the corpse here and equip it (if you want!), then follow your locator again.
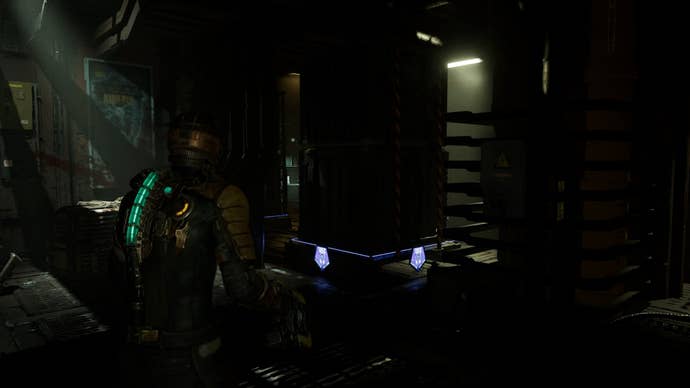
In the Security Station, use Kinesis to clear the hall along the way, where you’ll find some loot, a Store, and a Save Station. Then, follow your locator again until you find a tank blocking your way; use Kinesis on this to move it.
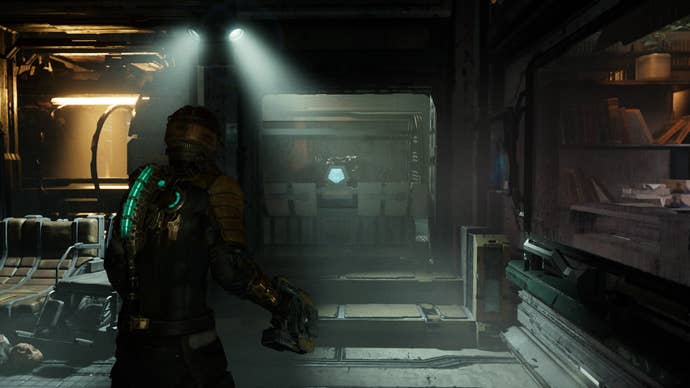
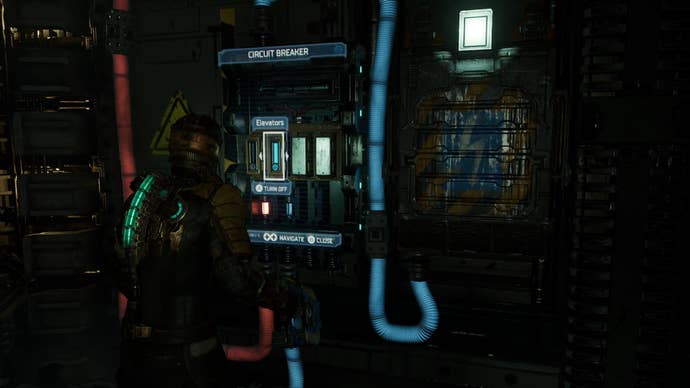
At the circuit breaker, use Kinesis to move the nearby power cell into the socket. Then, use the breaker to turn on the Elevators. Jump in the elevator, and up top, use Kinesis again to move the platform up ahead closer to Isaac.
Continue following your locator and you’ll enter a zone with no oxygen; rush to the next door before your tank runs out. Then, you’ll find yourself in Zero G Therapy with, you guessed it, no gravity. You can take off using Isaac’s suit here and soar around over to Zero G Therapy Maintenance.
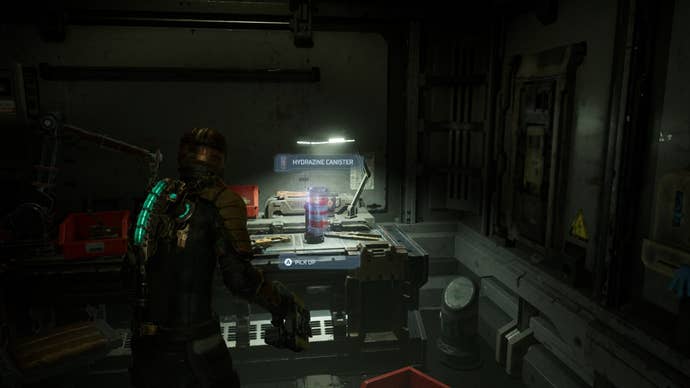
Collect the Hydrazine Canister here and return back the way you came, following your locator over to Coolant Pipelines. Your locator will guide you to a door with electricals beside it that need destroying. Do this and head on through.
You now want to follow your locator to the Lab, although there’ll be another broken door that requires Stasis on the way. Once in the Lab, you’ll be taught all about impalement using Kinesis, and suddenly, a quarantine hits.
Eliminate the enemies using what you’ve learnt, and go down the elevator in this room, where there’ll be more enemies. Once the quarantine is over, follow your locator again over to Limb Simulation Therapy. Note that there’ll be a Bench along the way, too.
In Limb Simulation Therapy, turn the Shock Pads off via the circuit breaker, and turn the doors on. Grab the Shock Pad from the bench and follow your locator again into the Security Station, using Stasis on the broken door again along the way.
Then, plant the Hydrazine Bomb and head into the marked area with the window beside it for it to be detonated. You’ll have an all-new path to take now, so follow your locator into the Emergency Room.
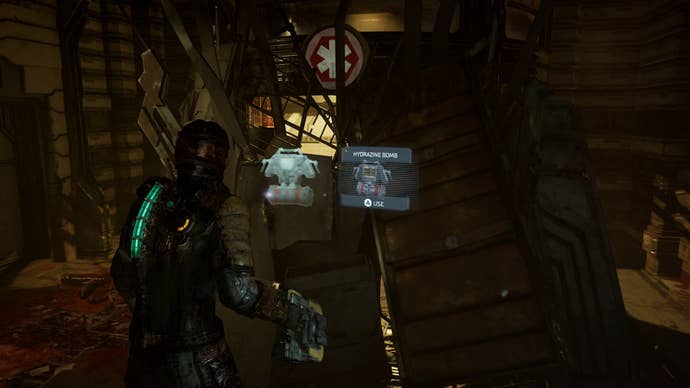
Use the circuit breaker here to turn the Showers on. To your left, the shower door will be revealed, but you’ll need to use Kinesis to open it. Inside, you’ll find loot.
Now, turn the showers off at the circuit breaker, as well as the doors, and grab the power cell using Kinesis. Take it to the opposite side of the room and pop it into the alternate circuit breaker, which will unlock ER Hallway A.
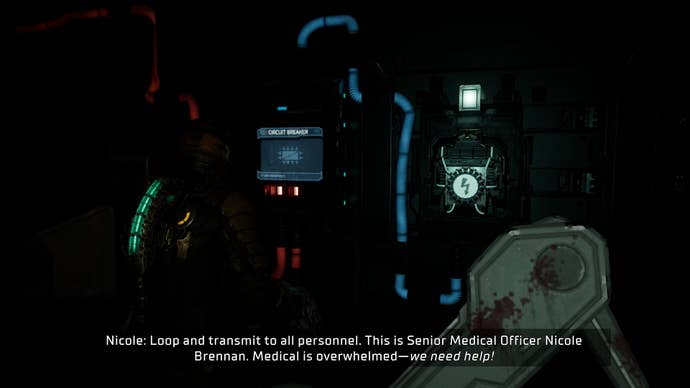
Follow your locator through the room and into Intensive Care. Enjoy the small cutscene and save here if needed, then head into the Autopsy Room using your locator again.
Here, you’ll meet the Captain, and an Infector; these flying Necromorphs will infect human corpses, so it’s important to take care of them first when you later see them.
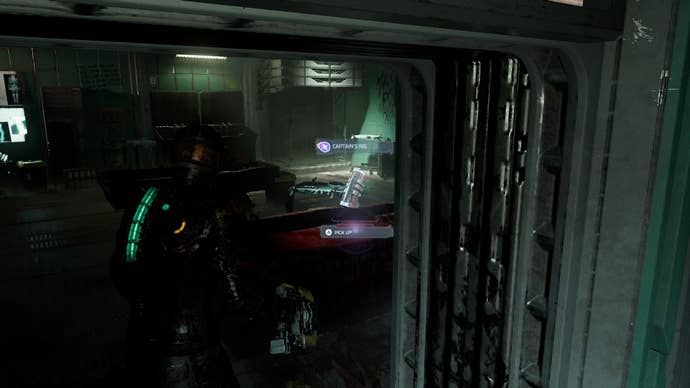
Kill the Captain, and take his rig from the bed. Your Security Clearance level will now be upgraded, and your locator will guide you back to the Medical Tram Station.
Override the lockdown via the control panel here, and activate the tram system. Hop aboard the tram when it arrives, and travel over to Hangar-Cargo-Tram Control.
Then, your locator will guide you into the Main Hangar Bay, where Chapter 2: Intensive Care ends. Now, it’s onto Chapter 3: Course Correction.
- Dead Space Chapter 3: Course Correction
- Dead Space Chapter 4: Obliteration Imminent
- Dead Space Chapter 5: Lethal Devotion
- Dead Space Chapter 6: Environmental Hazards
- Dead Space Chapter 7: Into the Void
- Dead Space Chapter 8: Search and Rescue
- Dead Space Chapter 9: Dead on Arrival
- Dead Space Chapter 10: End of Days
- Dead Space Chapter 11: Alternate Solutions
- Dead Space Chapter 12: Dead Space
For more on Dead Space, we’ve a few tips and tricks for tackling the remake, and don’t forget to take a look at our review.
