How to get the Jet Gun in Black Ops 6 Zombies
Here’s where to find all the crafting components needed to get the Jet Gun on Liberty Falls in Black Ops 6 Zombies.
The Jet Gun, also known as the Thrustodyne in Call of Duty: Black Ops 6 Zombies, is a Wonder Weapon that can be used to suck things up. It’s necessary to complete the main quest on the Liberty Falls map, and can be used for other easter eggs hidden away on the map too.
Outside of that, the Jet Gun isn’t the most useful weapon ever. While you can use it to train zombies and bring otherwise surrounded power-ups towards you, it’s not the best way of taking care of the hordes you’ll be facing. That said, we need it, so let’s get going! Here’s how to get the Jet Gun in Black Ops 6 Zombies.
How to get the Jet Gun in Black Ops 6 Zombies
To get the Jet Gun on Liberty Falls in Black Ops 6 Zombies, we need to go about collecting four different components first and foremost: the Water Valve, the Water Pressure Gauge, the Handbrake, and some Electrical Wires.
To the east of the Speed Cola Perk on your map, there is a flower shop. Collect the small green Water Valve from the pipes outside.
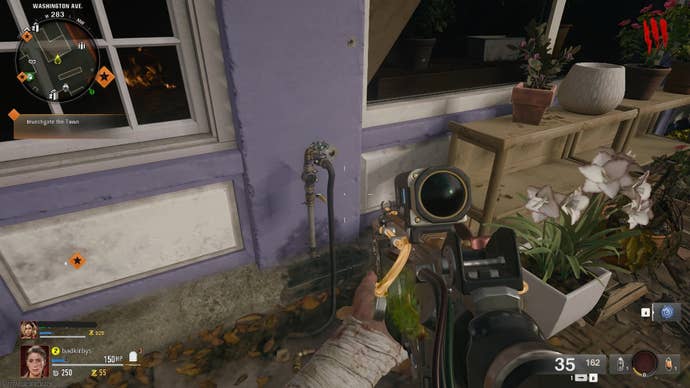
- It’s worth noting that some of the components required for this quest do not appear as interactable items. Press the interact button while your cursor is on them anyway, and you will be able to grab them.
Up next, pay a visit to the bowling alley. On the wall beside the front desk, there is a Water Pressure Gauge; shoot or melee it to open it, and hold the interact button to begin raising the water pressure.
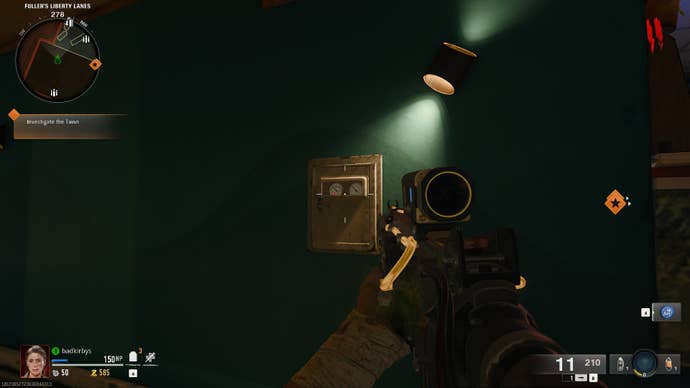
You will need to do this for a while, and zombies will continuously spawn around the bowling alley as you do. In a squad, you’ll need your squadmates to defend you during this process. Solo, this portion is significantly harder, but you’ll need to pause to fend off zombies at regular intervals.
Once that’s done, the Water Pressure Gauge will appear on the floor for you to collect.
Next, we need the Handbrake. Go to the cemetery of the church, where Pack-a-Punch is located, and do what you do best; kill zombies. Eventually, a named zombie known as the Groundskeeper should spawn. Quickly kill him and he will drop the Toolshed Key.
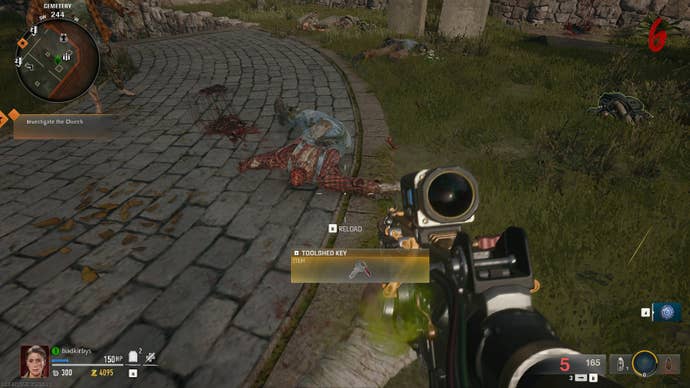
- If the Groundskeeper does not spawn or disappears before you kill him, you can continue to kill zombies in the cemetery and he will eventually spawn again.
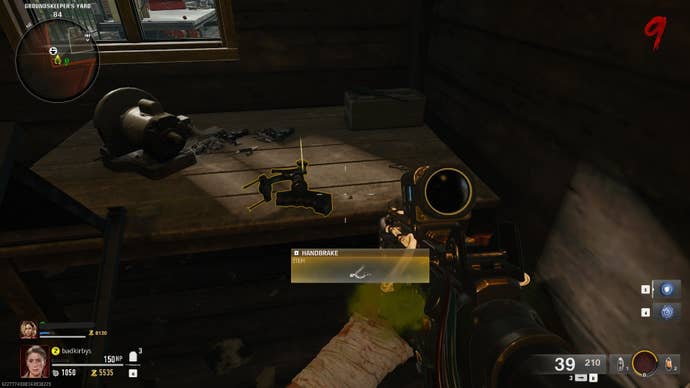
If you go down the stairs in front of the church, and down the alleyway to your left, you’ll come to the back of a house where there is a shed and crafting table.
Use the Toolshed Key on the shed and collect the Handbrake from the table inside. One more component to go!
Use the crafting table beside the shed next to craft a Mangler Cannon. This will cost you 1250 Salvage, and you need to be a minimum of Level 20 to be able to craft it. Alternatively, you can wait for a Mangler to spawn and shoot their arm to acquire one. These elite enemies appear to spawn from Round 10 onwards.
Across from Olly’s Comic Shop, near where The Arsenal is, there’s a radio shop. Use the Mangler Cannon on the gate of the shopfront to open up the entrance.
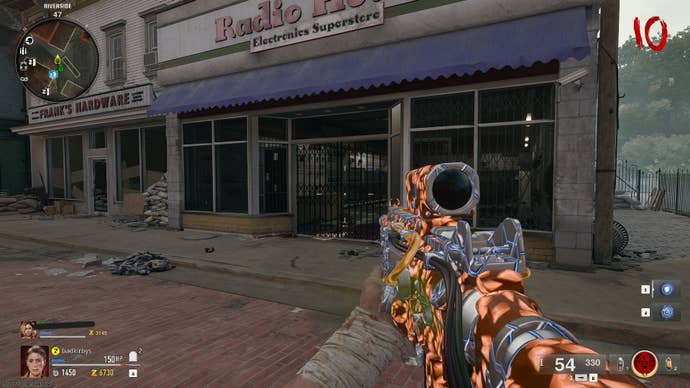
Inside, interact with the black piles of junk on the floor until you find Electrical Wires.
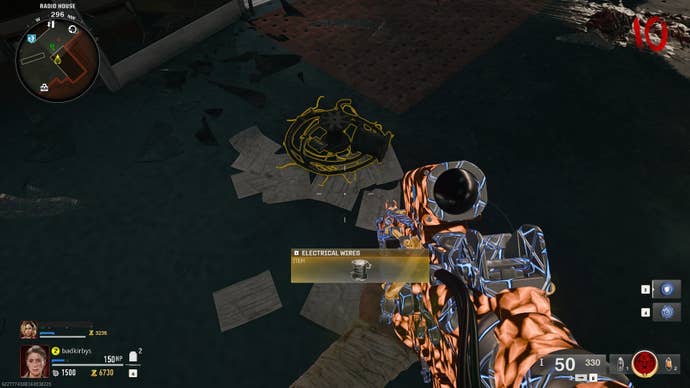
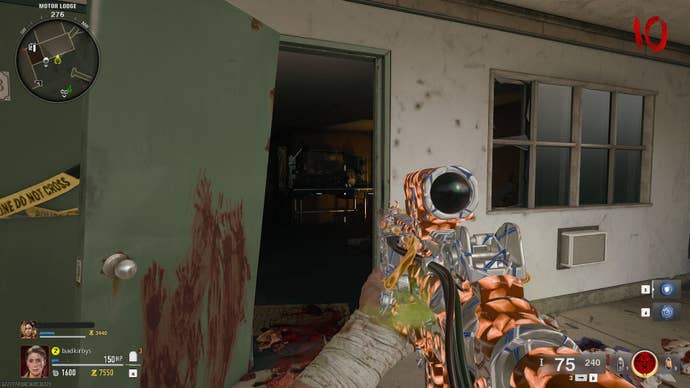
With the Electrical Wires now in your possession, head to the second floor of the motel, which is near your spawn point in Liberty Falls.
Some zombies will burst out of one of the rooms as you approach. Kill them and enter the room, and use the crafting table here — alongside the components we have collected — to finally craft the Jet Gun.
This is the first portion of Liberty Falls’ main quest. If you are able to exfil with the weapon and bring it back, you will likely have a slightly quicker and easier time completing the main quest.
Though, now that you know how to make the Jet Gun, it takes no time at all running through the first few rounds and crafting it again in future.
For more on Call of Duty: Black Ops 6 Zombies, take a look at our guide to the Liberty Falls bank vault code, as well as how to use Loot Keys.


