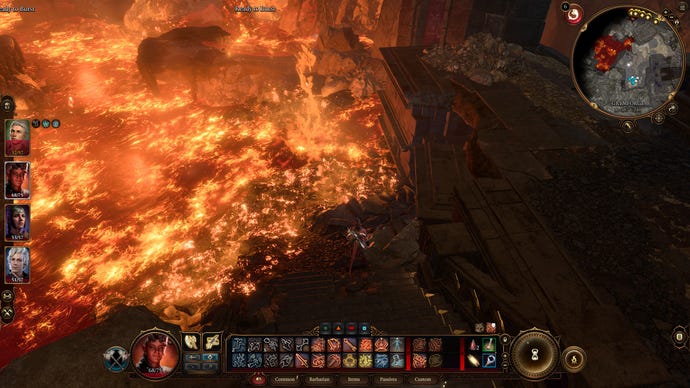
How to find and activate the Adamantine Forge in Baldur's Gate 3
The mythical Adamantine Forge is very real in Baldur's Gate 3, but it will take some work to find it!
The vast and mysterious Underdark in Baldur's Gate 3 is filled with secrets, but none of them are more enigmatic than the legend of the Adamantine Forge.
To make the mythical forge a reality, you will need to scour the Underdark for clues, fight giant monsters and solve a wealth of difficult puzzles.
Here’s everything you need to do.
Baldur’s Gate 3 Adamantine Forge guide
First, there are a number of ways to stumble onto the legend of the Adamantine Forge in the Underdark.
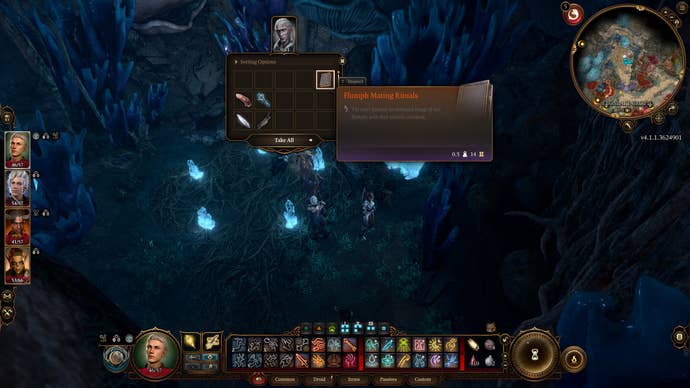
One way is to avenge Glut’s circle, defeat the Duergar and gain access to the reward grove. Inside, you find the remains of a Drow with some very interesting reading material. Pass a check while reading the book and you discover instructions for the Adamantine Forge and resolve to find it somewhere in the Underdark.
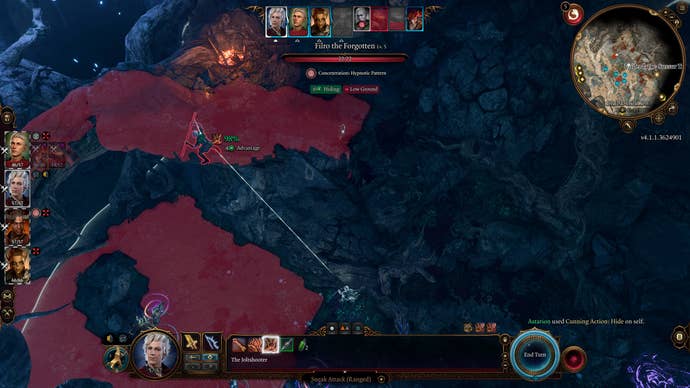
Alternatively, you could find Filro the Forgotten by the Sussur Tree, another of the party who set out to find the forge. Defeating him yields another set of notes pertaining to the Adamantine Forge, and some more clues to its whereabouts.
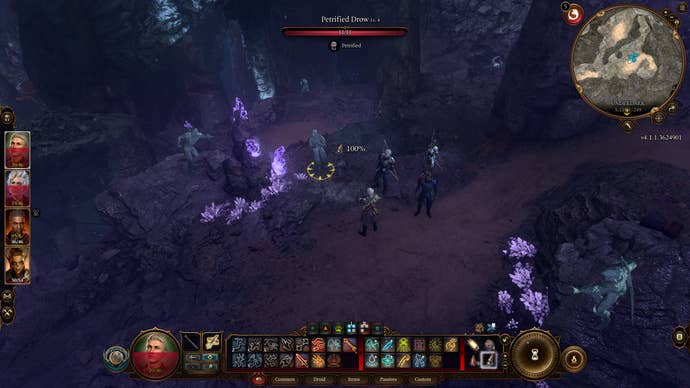
Finally, near the Temple of Selune you find a Spectator - one of the iconic enemies in Dungeons and Dragons. If you either defeat or revive the petrified Drow with 11 health on top of the ridge where you face the Spectator, you meet Dhourn, Initiate of the Living Library, who led the expedition to find the forge.
With the items you find in his possession, you now have everything you need to strike out the Adamantine Forge yourself.
Consequently, these three characters will all also have one of the Icy Helve, Icy Metal and Icy Crystal in their possession. If you combine these three items in your inventory you get a staff that’s one of the best weapons in Baldur’s Gate 3!
Where to find the Adamantine Forge in Baldur’s Gate 3
To find the Adamantine Forge, first make your way to the Decrepit Village in the southwest of the Underdark and take the skiff you find there.
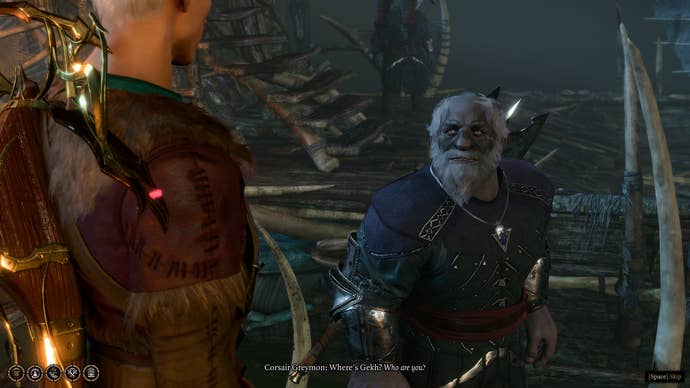
On the other side, you will enter a new area: Grymforge.
From the shore, walk up the stairs to your left, then go around to the right.
On the ground you will see the remains of Dark Justiciars, followers of Shar that Shadowheart will remark on if she’s in your party.
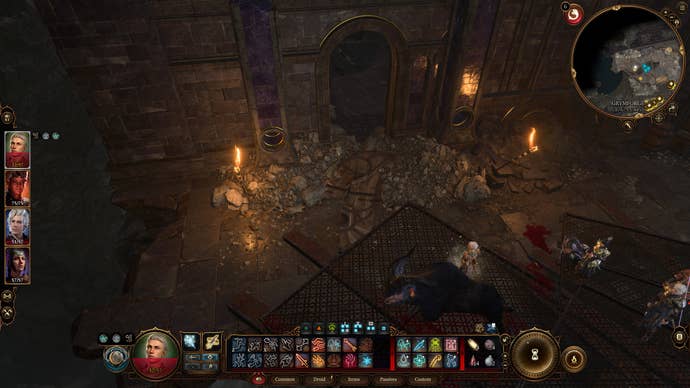
Next, continue along the path and you will come to a blocked tunnel being worked on by Duergar and animals. Talk to the mercenaries and they will ask for your help in the rudest way possible.
You can either attack them there and then and take your own chances, or agree and set about finding a way through.
If you have a method of speaking to animals you can convince them to resume work and hammer their way through the blockage, otherwise you can destroy the rocks yourself with thrown explosives from your inventory.
The easiest solution is to pass the check with the animals, but make a quick save or spend some inspiration just to be sure.
Whichever method you choose, the Duergar will attack your party once the way is clear. If you were kind to the animals, they will join the fight on your side.
Once you’re free of battle, make you way through the blockage and go up the stairs. As you do, there’s an interesting mask to pick up from the floor, but you real destination is at the top.
When you go out onto the next walkway a perception check will clue you in to the plethora of traps and hazards hidden along this path.
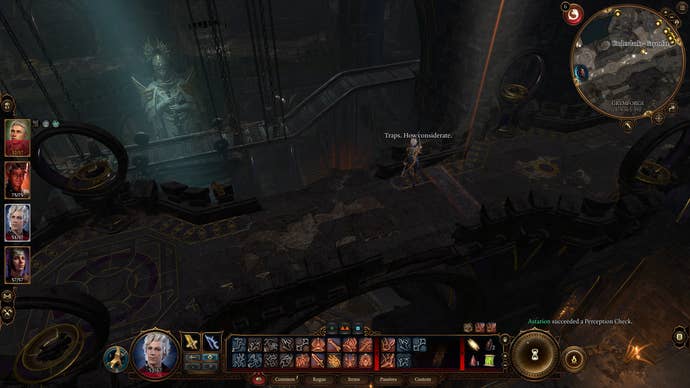
I’d suggest toggling off group mode, then using the character with the highest dexterity to go along the path and disarm all the traps.
Alternatively, you can have each party member individually jump over the horizontal plates placed at various intervals all along the walkway - these are what set off the traps.
Either way, once the route is clear, climb down the metal ladder in the middle of the walkway. This is where you need to start splitting up.
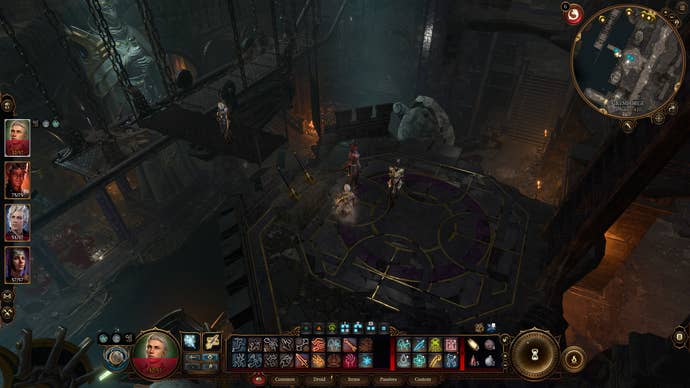
In front of you, you should see a box with two levers and a suspended plank over the top of a gap. Toggle off group mode and have one party member stand next to the levers to operate them.
Next, have the rest of your party jump onto the suspended platform. Pull the first lever and this will send them over to the other side of the room.
If you want to explore the area on the other side thoroughly, have all three party members jump off the other side and regroup.
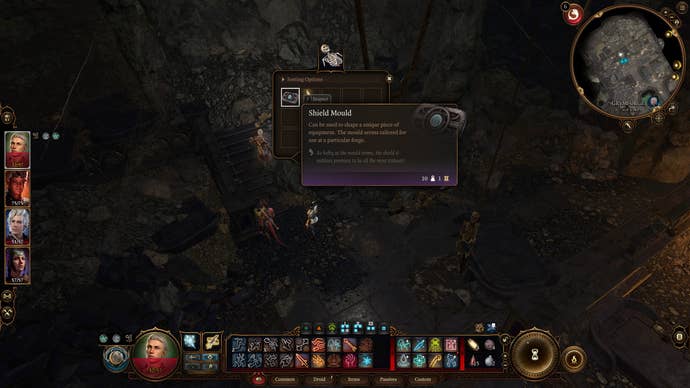
Pick the lock on the big door in front of you and you and inside you find a mould for the eventual forge on the skeleton crushed under the rubble next to the far wall.
On the hanging skeleton, you find the key to the locked door on the other side of the room, which contains some demons you need to defeat if you want to claim the loot inside.
Finally, in the bottom corner of the room you find another skeleton. This one has the key to a nearby Harper stash on the other side of Grymforge.
Once you’re done in here, ungroup your party again and have two members jump back onto the suspended platform.
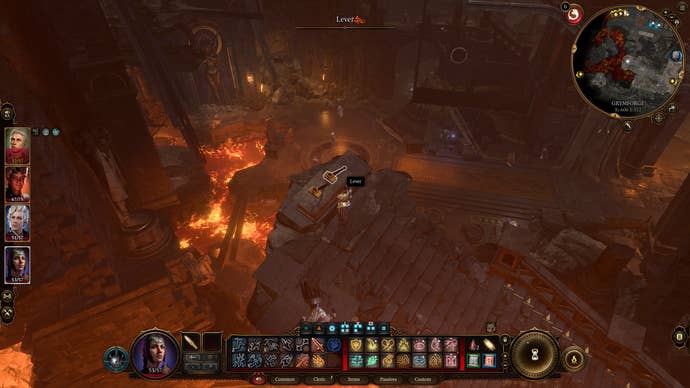
With the remaining party member, walk down the balcony until you reach a gap you need to jump over. Climb across the rocks until you reach another box with levers on. Have them wait there.
With the two party members that are still together, have them jump from the suspended plank to the middle walkway. Grab the mould, then walk up the walkway as far as you can.
Here you should find another suspended plank which is controlled by the levers your other party member is stood next to.
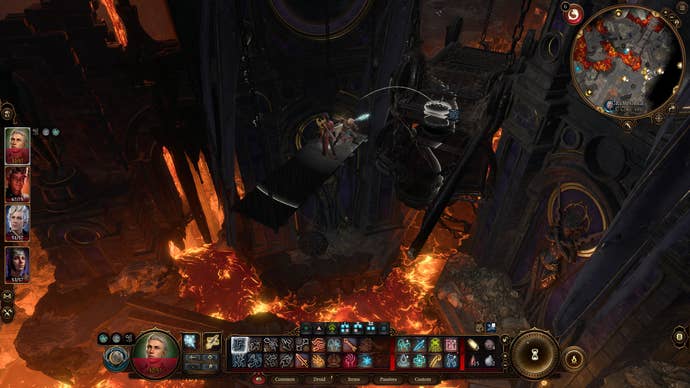
Have them move, raise and lower the plank with the levers and jump the two party members onto this second plank. Then use the levers again to swing them across to the other side and raise them up so they can jump off.
In this new lava-filled area, jump down to where you can see another mould and you should discover the ancient forge waypoint.
Take this opportunity to switch back to your two characters that are still by the levers and have them fast travel to the ancient forge waypoint by clicking on it on the map screen.
When everyone’s back in the same place, you can regroup your party.
Look around this area and you will find some more moulds and be able to fight some animated automatons.
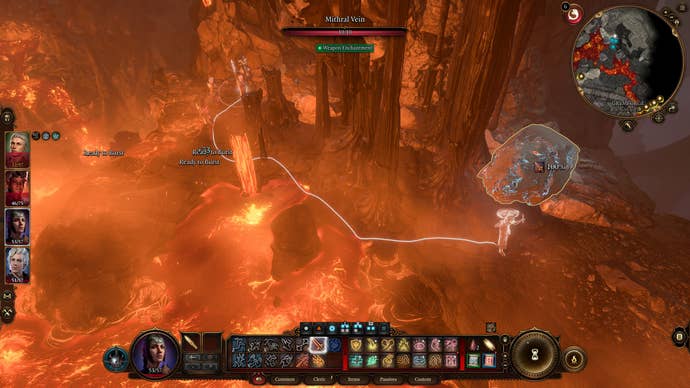
Behind the platform with the automatons, you can walk over the hardened magma and destroy the mithral ore vein. This gives you some mithral ore to use in the forge.
But what you’re really looking for is down the slope to the left.
How to activate the Adamantine Forge
Walk your party down the slope and jump over the gaps in the giant staircase. On your left as you descend is a platform which leads to another mithral ore vein. As you approach it, you need to fight some magma mephits, but they have quite low health.
After you’ve collected the mithral ore vein, go all the way to the bottom of the staircase and you will be on top of the Adamantine Forge.
Interact with the box next to the lever in front of you and place one of the moulds you’ve found inside.
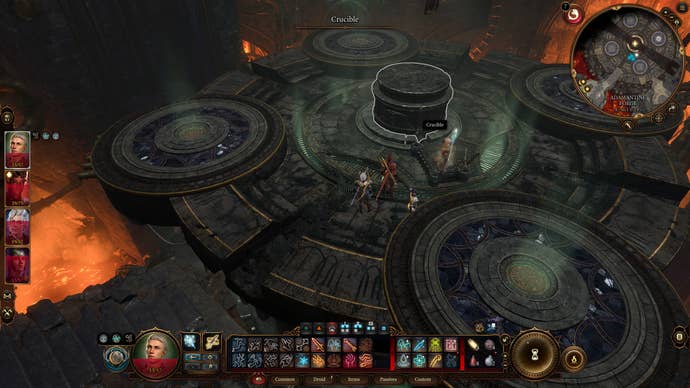
Next, interact with the crucible and place a piece of mithral ore inside.
Finally, pull the lever on the other side of the forge platform to strike the crucible with a hammer and prime the ore.
This will cause the platform to lower. Before you pull the lava valve on the other side of the platform to complete the process, ungroup your party and make one character with access to ranged attacks stand on top of the crucible.
Have two characters stand by the lever that drops the hammer. Then have your final party member stand by the lava valve. When everyone’s in position, pull the valve.
How to defeat Grym in Baldur’s Gate 3
To use the Adamantine Forge, you must first defeat its eternal protector, Grym.
Grym is impervious to most forms of damage, except for when its metal body has been superheated by the incredible heat of the lava flooding the forge.
Grym will only take damage when it has the “superheated” status, which you can see under its name when you hover over it.
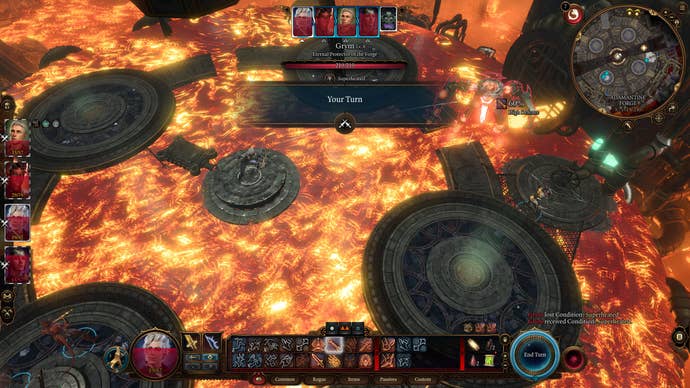
When fighting Grym, the most important thing to know is that it will always attack the last character to aim an attack at it. To defeat it easily, aim a ranged attack at the giant robot with the character you have stood on top of the crucible.
Skip the turns of everyone else so that it will only attack that one person.
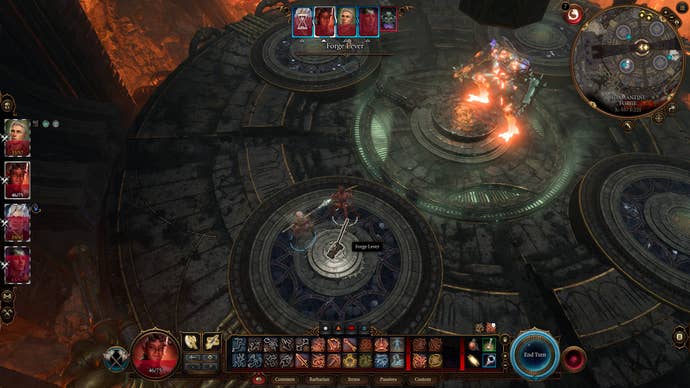
When the robot walks onto the crucible to attack that character, use one of the party members you have stood next to the hammer lever to bring it down on the giant robot.
This will deal a huge amount of damage, destroying the robot in just a couple of hits.
If possible, jump the character on the crucible out of the way before you strike with the hammer, but if that isn’t doable, just do it with them standing there anyway - you can always heal them easily.
Since Grym doesn’t go down in just one hit, you will need to line up another shot. Unfortunately, more magma mephits appear when you strike Grym with the hammer once. And to make matters worse, around this time the lava will disappear and Grym will lose the superheated status.
Immediately refill the forge with lava using the character you have standing next to the valve.
Then use one of the two characters next to the hammer lever to bait Grym towards them and into the lava so it resets its superheated status.
Now have the character who was on the crucible attack them from that position again and use the second character by the hammer lever to smack the robot again.
You can then deal with any remaining mephits and regroup to claim your prize.
When you struck Grym with the hammer, it actually ejected whatever item you made in the forge from the box where you inserted the mould. Collect it and the quest will end.
Collect the unique helm from Grym, then either fast travel away or push the button next to the hammer lever to reset the height of the platform.
If you got both pieces of mithral ore, you can insert another mould and repeat the process to create another item if you wish!
