Animal Crossing New Horizons: How to Build Fences
You can brighten up your island in Animal Crossing New Horizons by building fences. Here's how.
Animal Crossing New Horizons gives players the freedom to customize and design the layout of their very own deserted island. You can lay down plants, sculpt away at cliffs, and even put down fences to make things look a bit more orderly. In this guide we'll explain how to build fences, and give you some tips on buying new styles and setting them up.
On this page:
How to Unlock Fences
You won't have the ability to build fences until a certain point in Animal Crossing New Horizons. You'll need to have built the museum (more on that here), and gotten into inviting new characters to your island (more info here). When you're asked to build the houses for the people moving in, Tom Nook will give you some fencing for free, so that you can start laying it down. For us, this occurred on the fifth day.
How to Buy More Fencing
You'll be given 50 fence pieces by Tom Nook initially, though you'll need more eventually. To get more, check out the Nook Stop each day, as there will be a rotating selection of fencing to choose from. You'll need to spend Nook Miles to get them, though once you have the recipe you can make more fencing whenever you want.
How to Build Fences
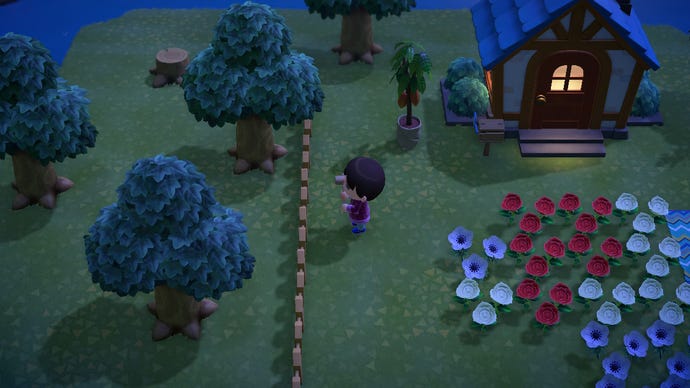
To build fences in Animal Crossing New Horizons, just head into your inventory and select the fence. Choose 'build', and you'll pull out a wooden mallet. Head to the area you'd like to put up a fence and press 'A'. You can always pick a fence back up with 'Y' if you need to move it around.
To read USG's official verdict on Animal Crossing New Horizons, head here. For a look at how cloud saving works, head here.
