The Surge 2 - essential tips you need to know before starting
Whether you're new to The Surge series, or continuing the journey from the original game, our tips will save you a lot of trouble.
The Surge 2 is a lot like its predecessor. It’s a challenging, often obtuse game that is not afraid to leave you on your own to discover its various intricacies and figure out some of its systems.
The Surge 2 is Souls-like sci-fi RPG, but don't let that fool you. Though some of the game's concepts are inspired by FromSoftware games, The Surge is very much its own game. What you can expect are challenging enemies, plenty of content, elaborate boss fights and a currency you lose upon death that can also be used to upgrade your character.
As a sequel, much of what the original game introduced returns in The Surge 2, mostly unchanged.
If you played the original game, a few of these tips could be familiar to you, because The Surge 2 doesn’t really reinvent itself. New players will want to absorb all the tips below, though, because some of them will make the experience a lot less frustrating.
How levelling up works in The Surge 2
The Surge 2 has plenty of RPG elements, but its levelling system is not as straightforward as you might find in Assassin’s Creed Odyssey or BioWare games. Scrap is what you use to level up, but you’re not really boosting an overall character level in that sense when you do.
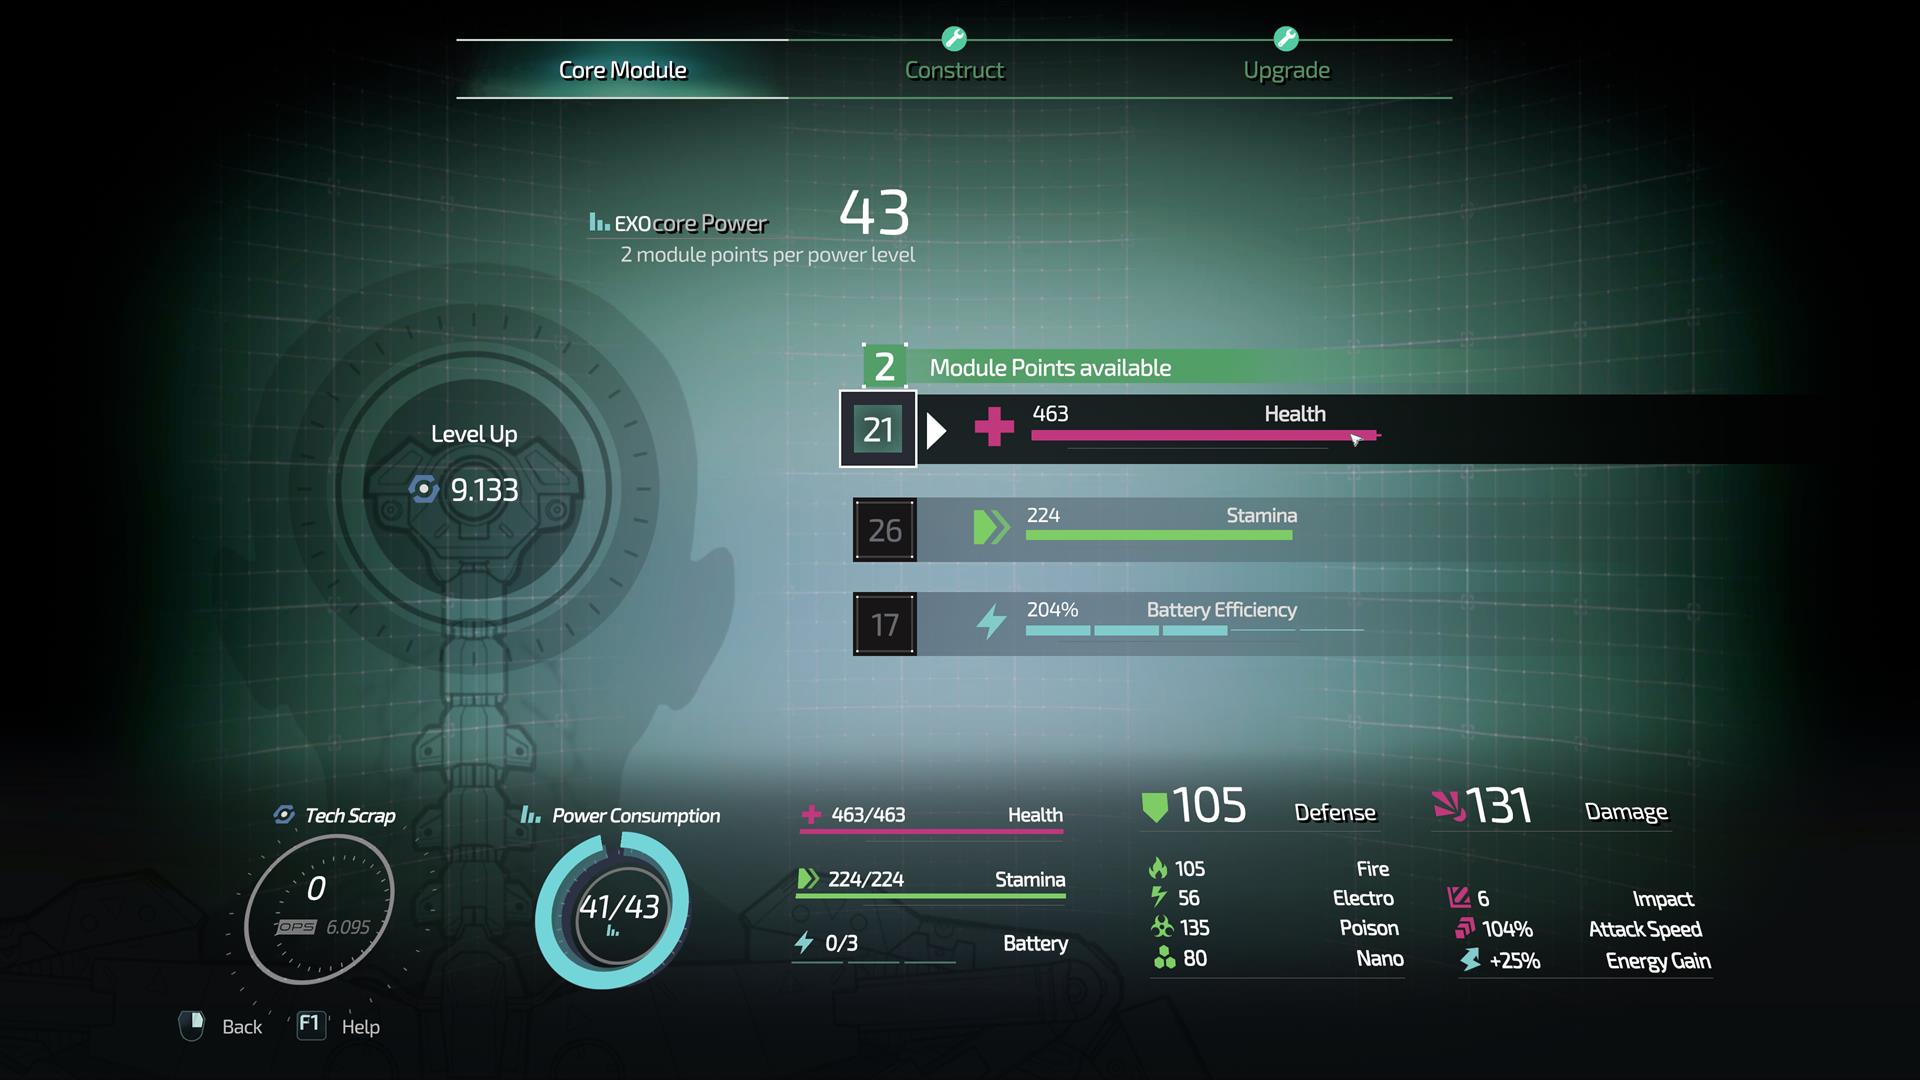
Each level you climb awards you Module Points (essentially skill points), which you can use to boost one of three attributes: Health, Stamina, and Battery Efficiency. Note that you’re not boosting base damage or any of the many stats you’re used to seeing in other games.
The other major benefit of levelling up is expanding the Core Power of your EXO suit. The higher your Power Capacity, the more Implants, and heavier armour/weapons you’ll be able to equip. Your choice of weapons and armour is what's ultimately going to dictate your attack/defence effectiveness.
Core Power is indeed shared among Implants and Gear, so budget carefully. Every few levels, you’ll expand your Implant slots to allow for even more Implants. This is nice, but your real worry early on is upgrading Core Power itself, so don’t be afraid to boost your level.
How Medbays work in The Surge 2
The Surge 2’s version of Souls bonfires are the Medbays. Much like the original, a Medbay is what you use to level up your stats, as well as upgrade and craft gear. Medbays also allow you to bank Scrap for later use, which is helpful if you have a lot of it that you’re afraid to lose.
One key thing to keep in mind, however, is that once you use a Medbay, all enemies in the world will respawn. This also goes for the first time you activate a Medbay, so don’t hit that button unless you’re sure.
The downside to this is that finding a Medbay kind of forces you to activate it if you don’t want to run all the way from your previous one when you die. If you’re confident in your limb-chopping skills, you can always make a mental note and come back after clearing the area to bank all of that Scrap.
The good news is that you can change Implants anywhere, but you should return to a Medbay often to bank your Scrap and go up a few levels. As explained in the first tip, you'll need to keep upgrading so that your EXO rig can support heavier and heavier equipment, not to mention more Implant slots.
As a bonus, Medbays will restock your drone ammo - assuming, of course, you have enough stashed to pull from.
Don’t open doors before reading the pop up
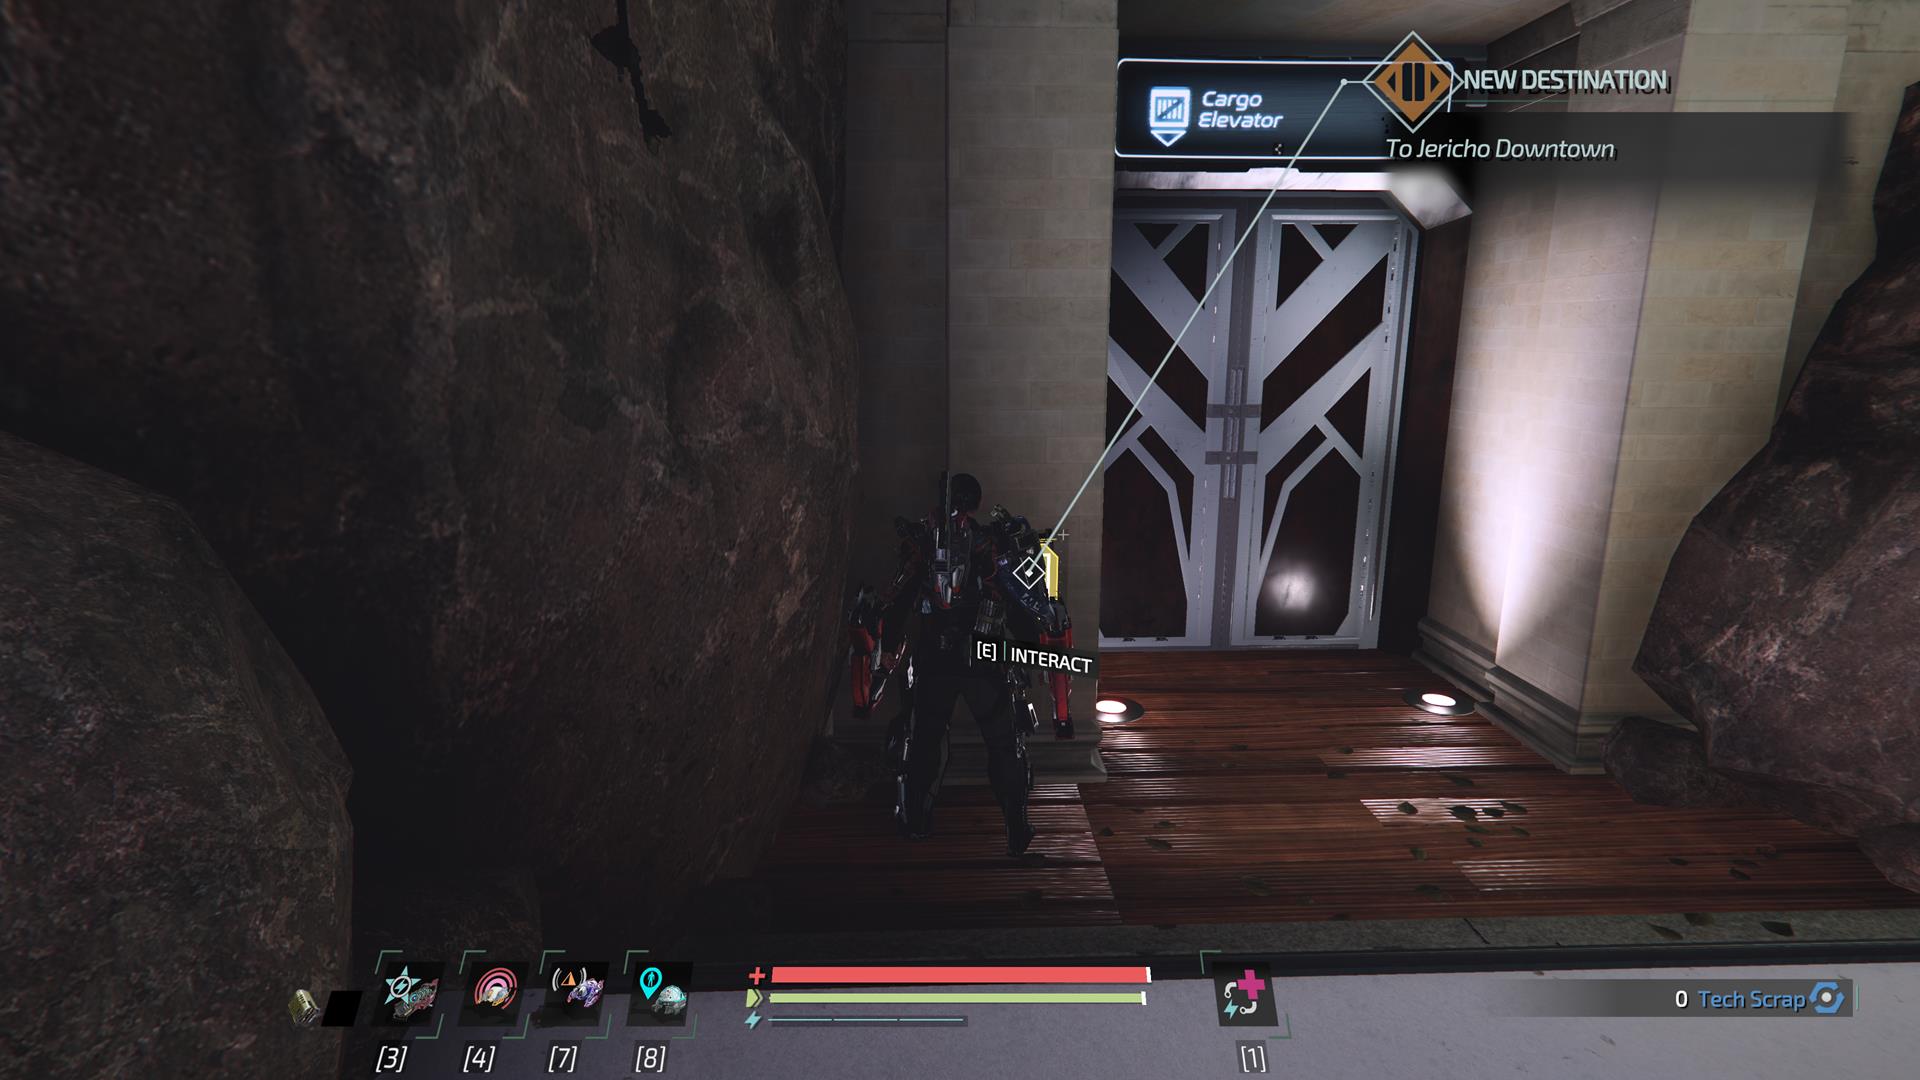
Anytime you approach a button in The Surge 2, the game will helpfully tell you what happens when you press it. Many of the buttons you come across will open shortcuts back to old sections. All you need to do is hit the button.
In a few cases, however, you won’t be able to see what’s on the other side. This usually means the door connects to a different area. If you hit the button, you’re essentially fast-travelling to a new level, which means all enemies will respawn.
It can be tempting to hit every button you see because doors often open up new shortcuts, or hide valuable items, but don’t do it right away. If the door control says it connects to [insert area name], come back when you actually want to go there.
This is something worth keeping in mind, as it can be frustrating to see all enemies return when you just wanted to explore.
Visit the Underground occasionally
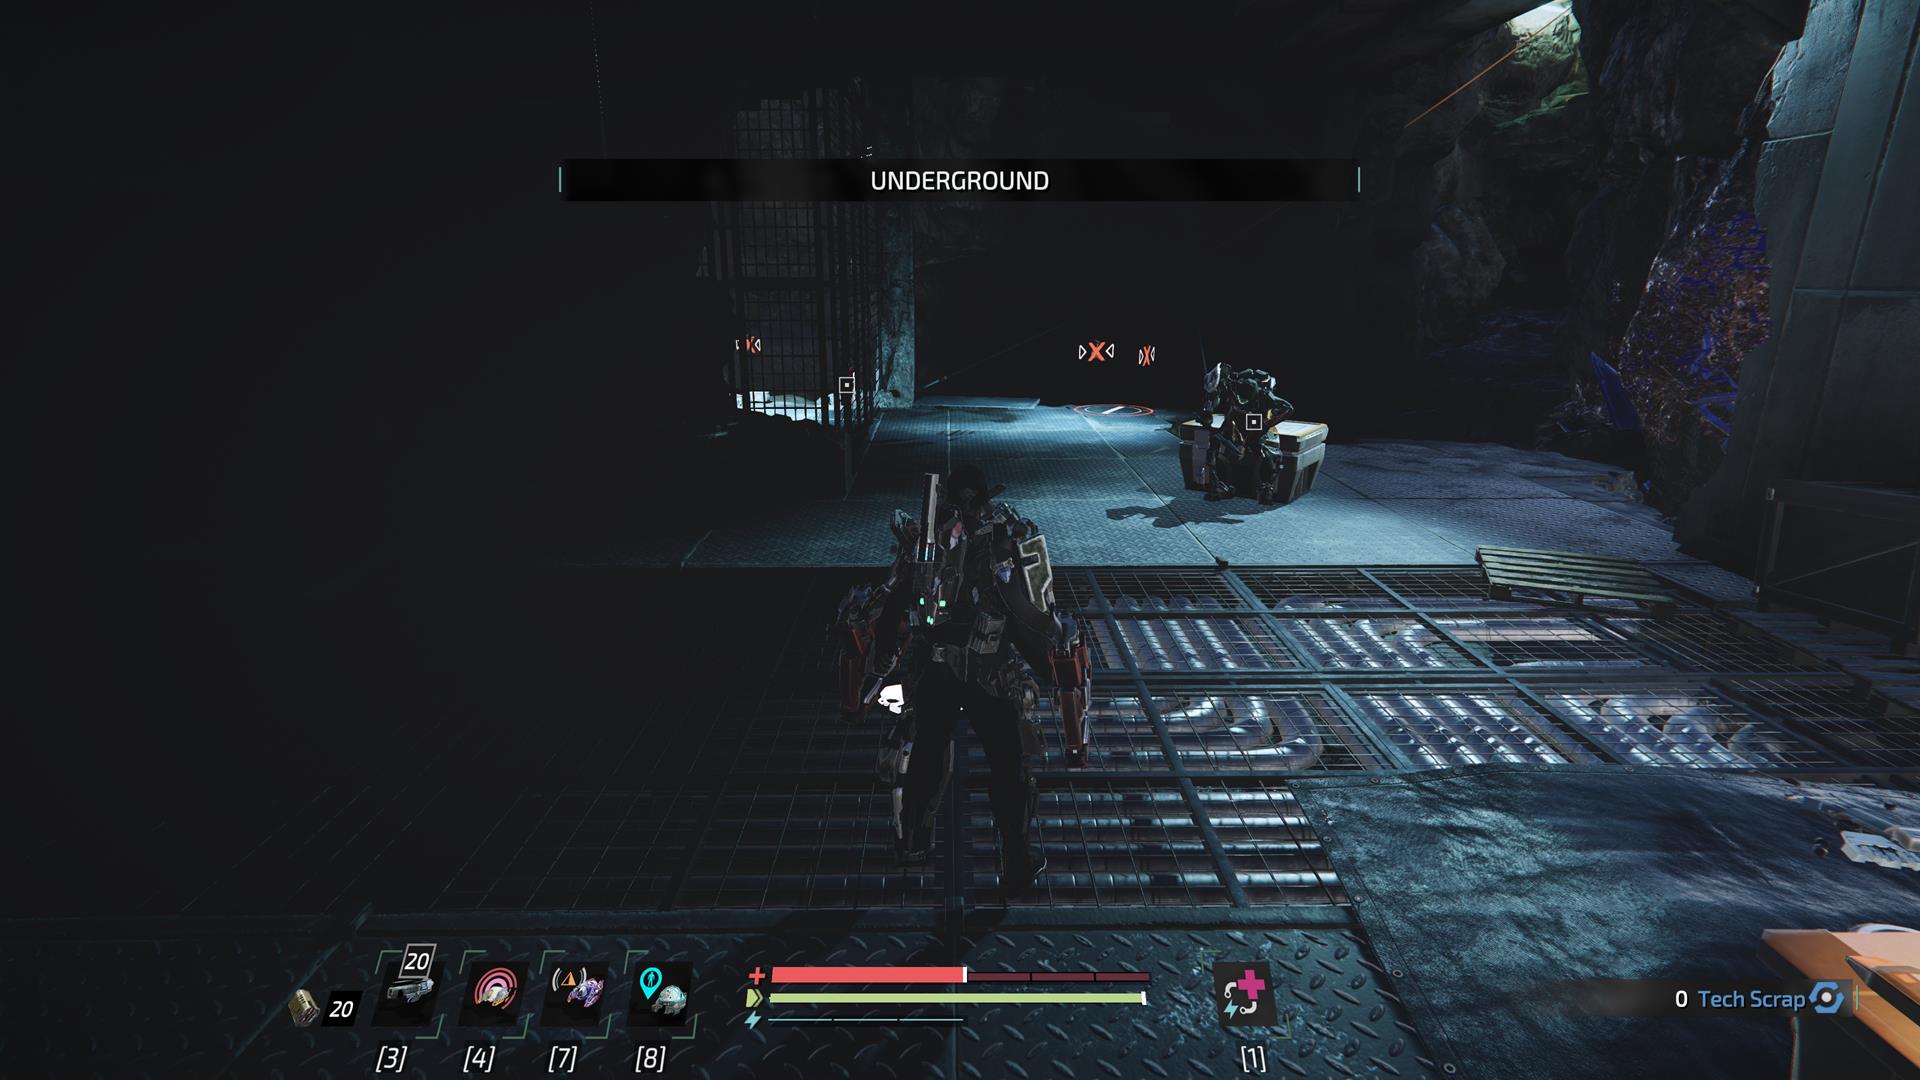
The Underground is an area the game teases very early on, but you don't actually get to see it until you clear most of Port Nixon. The Underground can be accessed from several doors scattered around the city, each opening up a section of the zone.
As soon as you can go there, do it, but be careful that hitting that button will respawn everyone you killed in the level, as the game considers the Underground a new area.
When you head there, you'll be able to progress the Stranger's quest. Go and talk to him, he'll task you with obtaining a certain armour set. You won't be able to explore the rest of the area immediately, as at that point you'll be missing the Lifter Hook.
You'll need to come back later, but depending on how you make progress through the game, you may be able to acquire what the Stranger needs early. When you do, head back to progress the quest. The Stranger is also a vendor, so keep that in mind when you need to restock.
You can re-spec anytime
The Surge 2's Core Power upgrade system lets you reallocate your Module Points any way you want. Simply head to a Medbay and hit click the option when it appears. It costs 500 Scrap and it's very helpful when you want to overcome certain obstacles in-game.
For instance, you can give HP a massive boost at the expense of energy, or invest enough in stamina to be able to block and parry your way around freely. It's all up to you, just know that you're never locked to any build.
There’s no fast travel in The Surge 2
This one is as simple as it gets; The Surge 2 doesn’t have fast travel options. Although Medbays are kind of like Souls bonfires, they don’t offer a world map that lets you warp into places you previously visited.
If you, for whatever reason, want to return to an area you’ve been to hours ago, you’ll need to go the distance. Shortcuts and Lifter/Force Hooks help with that, of course, but you’re nonetheless going to spend a lot of time dodging enemies as you head back for an item you missed or to hand in a quest.
Beyond that, Lifter/Force Hooks won't be immediately available to most players, so moving around the different zones early on is going to be a chore. The tram system from the original game sadly does not return in The Surge 2.
Healing items don’t replenish
One of The Surge 2’s bizarre quirks is that it doesn’t offer a healing item that can be regularly replenished at Medbays. In other words, there’s no Estus Flask or Blood Vial you can refill/buy.
Instead, you’ll need to rely entirely on your Implants for healing. In The Surge 2, Consumable Implants are charged using Energy, which you get by attacking enemies. You can sometimes come across Energy caches, but the main way of acquiring more is simply landing hits.
Any hit, so long as it connects, will fill that Energy bar ever so slightly. When you have enough for a full segment, you can use it to charge or pre-charge an Implant. Depending on the level of your Implants, they may be able to hold two, three or more charges.
But the point is, you need to stay on the offensive to top yourself up. Later on, you’ll acquire Implants that use Energy to restore health over time or confer other boosts, but it all comes back to Energy.
Drones, drones, drones
Making use of the various drones in The Surge 2 is essential in keeping up with the difficulty curve. You’re given your first drone fairly early on, but the game doesn’t make a big deal out of it as you’d expect for such an important piece of kit.
Tapping Y/Triangle pulls it out, and tapping it again fires. The Surge 2 has a plethora of drones, some designed strictly for combat, and others for more recreational reasons - such as leaving graffiti on the wall for other players to see.
Although drones deal decent ranged damage, it’s best to rely on them to pull enemy aggro. Enemies often patrol in groups, so it’s in your best interest to separate as many of them as you can before jumping in.
Their damage is often enough to destroy remote turrets, though, which makes it easier to move around certain combat arenas. Some, like the Starfish Drone, can be used to overload door panels and grant access to previously inaccessible parts of levels.
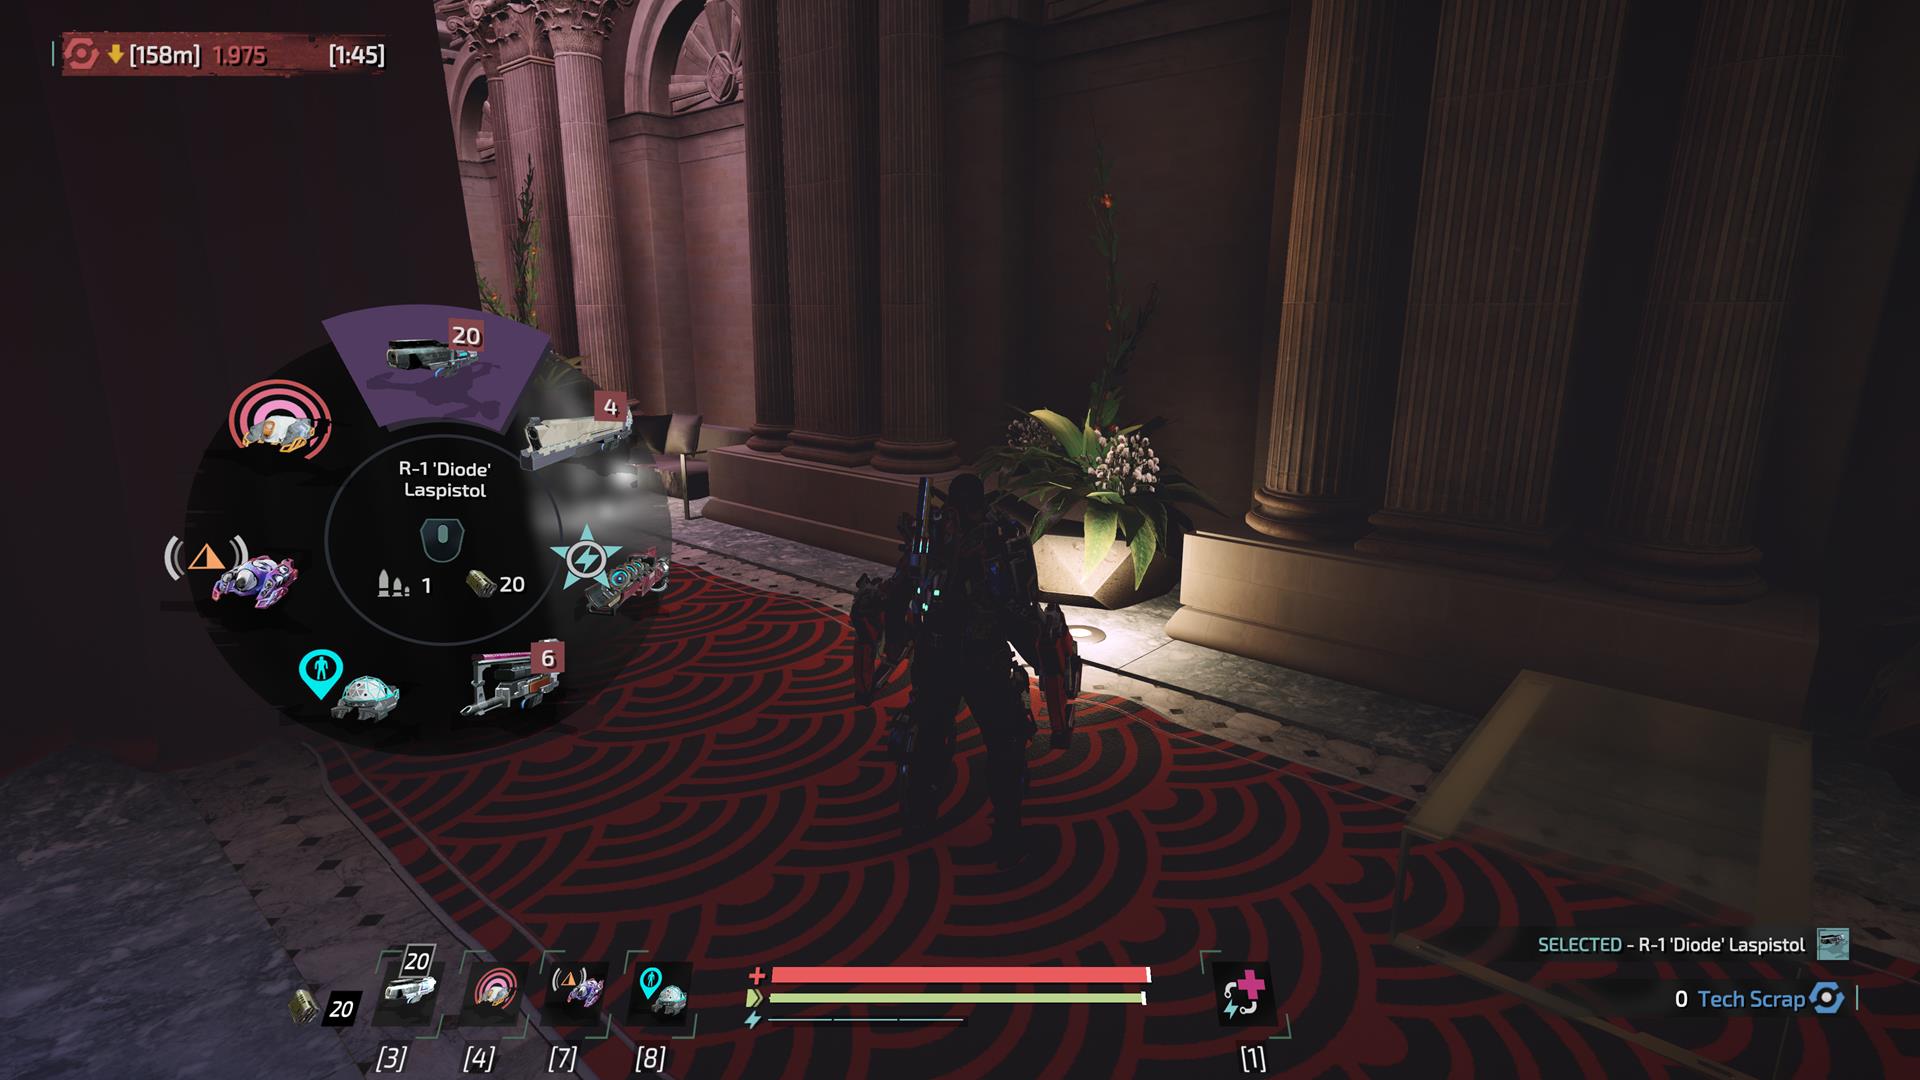
By default, you can set six of these up as favourites, which you can easily reach by holding left on the dpad to bring up a radial menu. It’s worth checking the drones section of your inventory often to see if you recently picked up anything interesting.
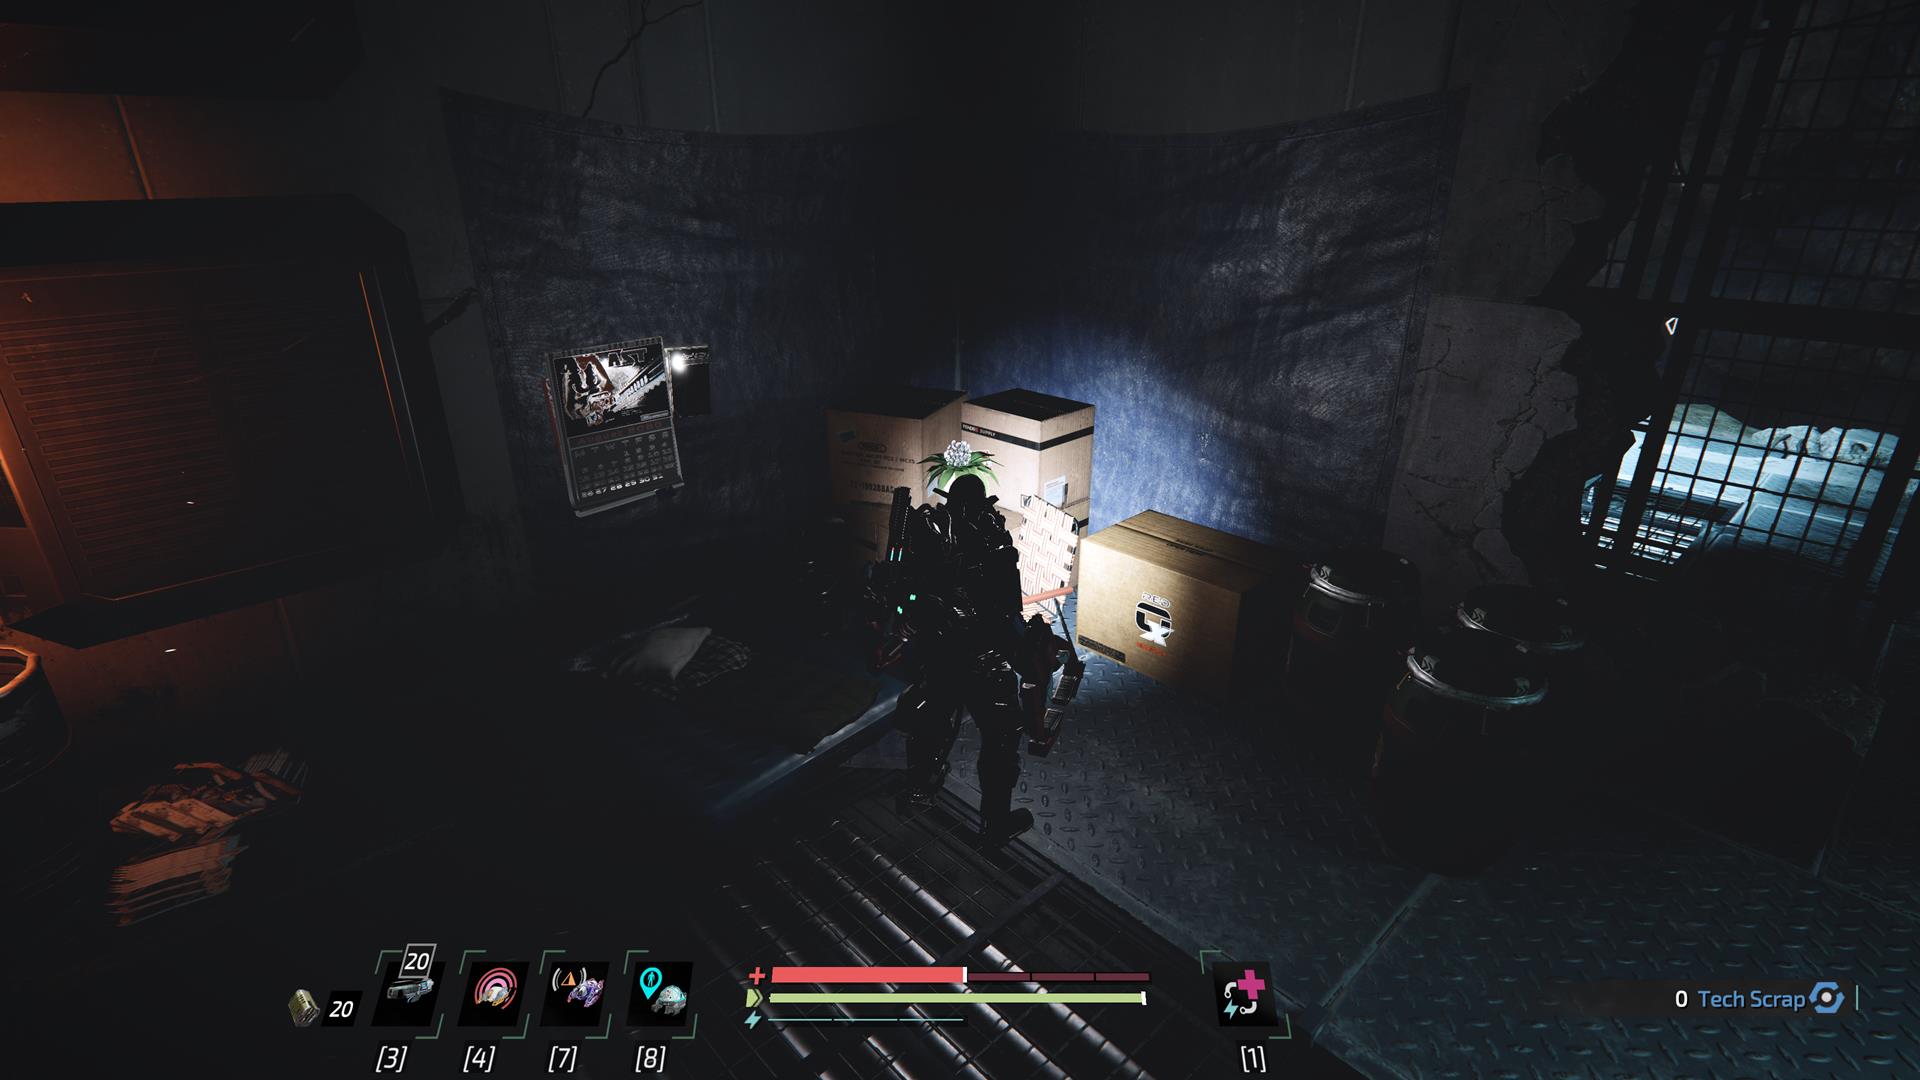
You have a flashlight, use it!
One of The Surge 2's more underrated tools is incredibly simple, but often forgotten. As soon as you get your first rig in the game's opening area, you'll automatically gain access to a flashlight. To turn it on, simply hit down on the dpad.
There's no battery consumption to worry about; you can leave it on for as long as you like. The flashlight is essential for a lot of areas in The Surge 2, especially if you're scouring through every level for hidden items. Turning it on could reveal a hidden pathway, or simply make it less dangerous to traverse a perilous path.
Anytime you feel like you need to turn the brightness up, remember that you have a flashlight.
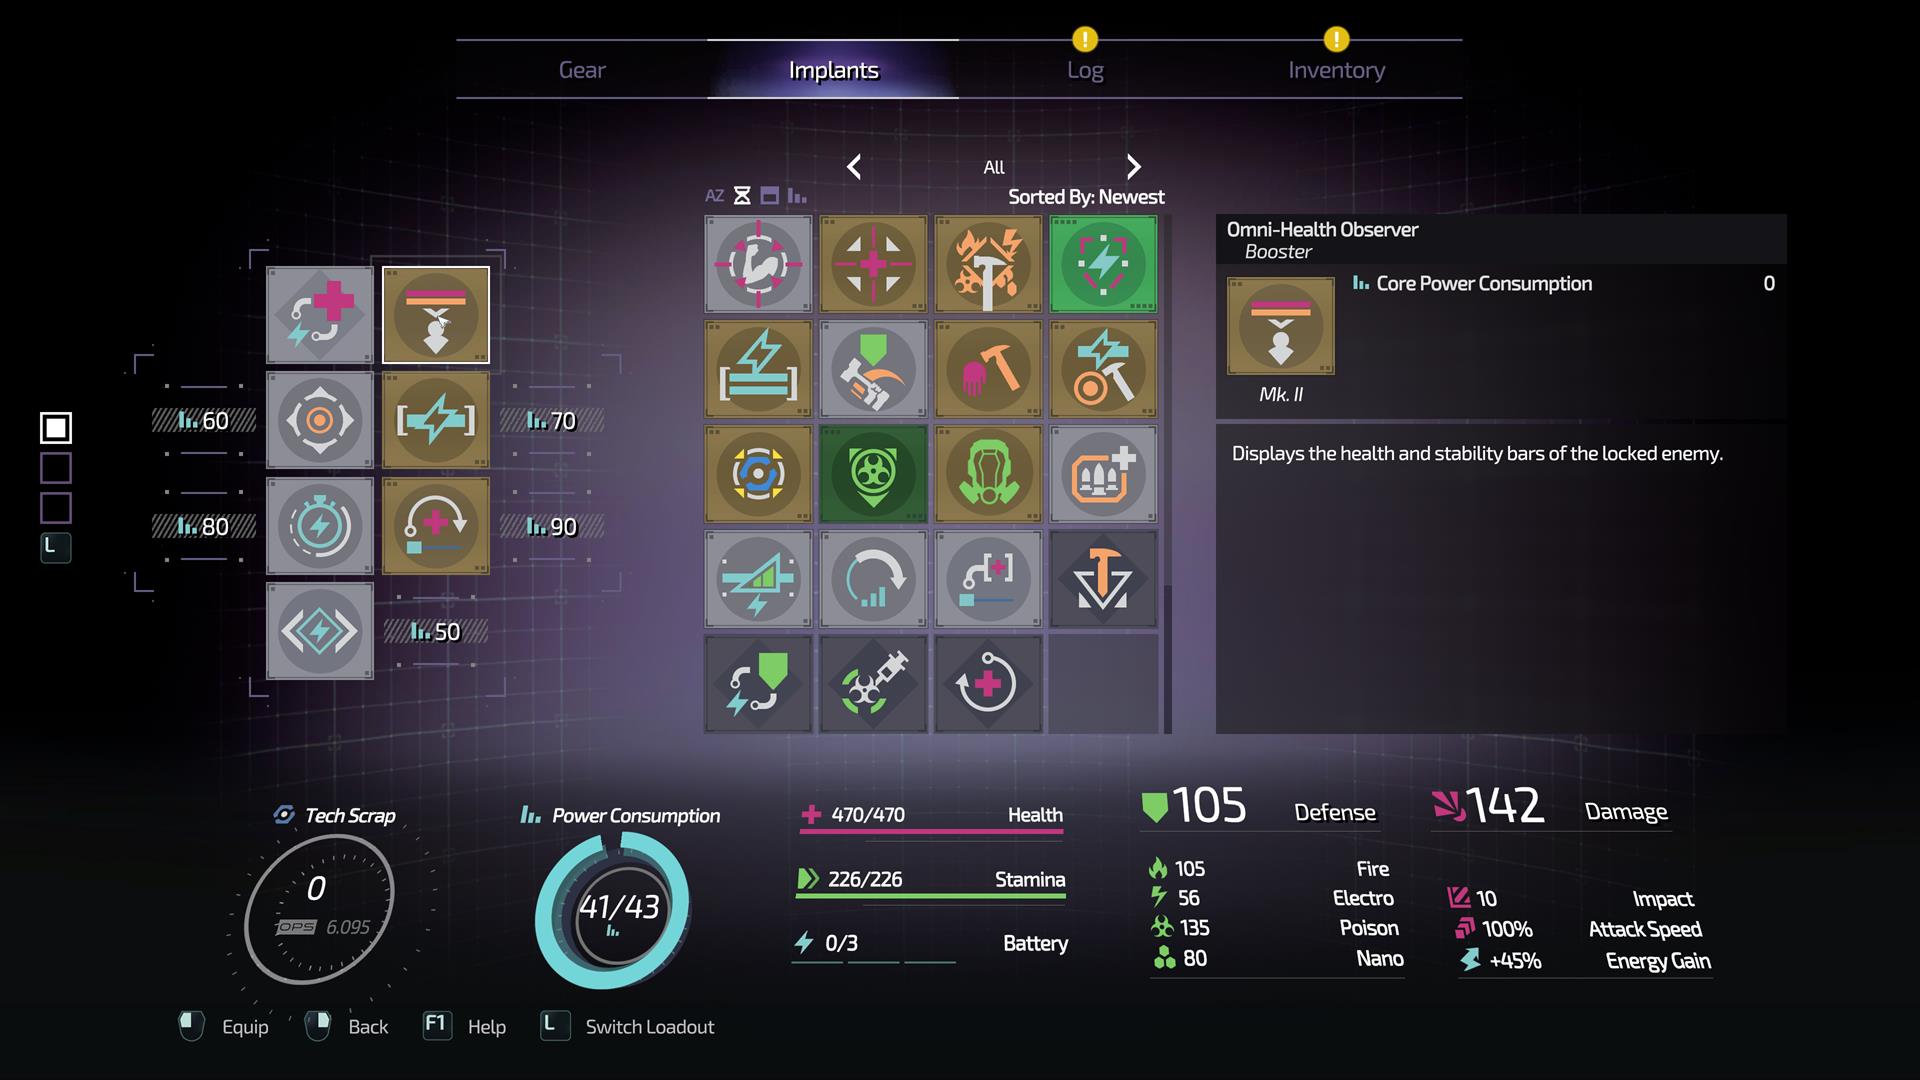
The Omni-Health Observer is an invaluable Implant
The Surge 2 gives you one its best Implants in its starting area, that being the Omni-Health Observer. When equipped, this neat Implant always displays the health and status of enemies you lock onto.
These are incredibly important pieces of information that you're going to need, especially if you're engaging more than one enemy at a time. Keep it on until you really don't need it. By that point, you should have enough Power to sustain more crucial Implants.
