Dragon Quest Builders 2 - all 10 Furrowfield Shrine locations and solutions
Alongside building the farm of your dreams, there are mysterious Shrines dotted around the map in Dragon Quest Builders 2.
Each Shrine has its own puzzle for you to solve with various levels of difficulty. Upon completing a Shrine, you'll be rewarded with a Mini Medal. Collect all 10 Mini Medals and return to the Hairy Hermit on the Isle of Awakening to trade them in for prizes. Yay!
For two of these Shrines, you'll need to have advanced far enough into the story to have received the Bottomless Pot of water and Glider, so keep powering through until you've unlocked those items.
With that said and done, let's take a look at where to find all 10 Shrines and how to solve them.
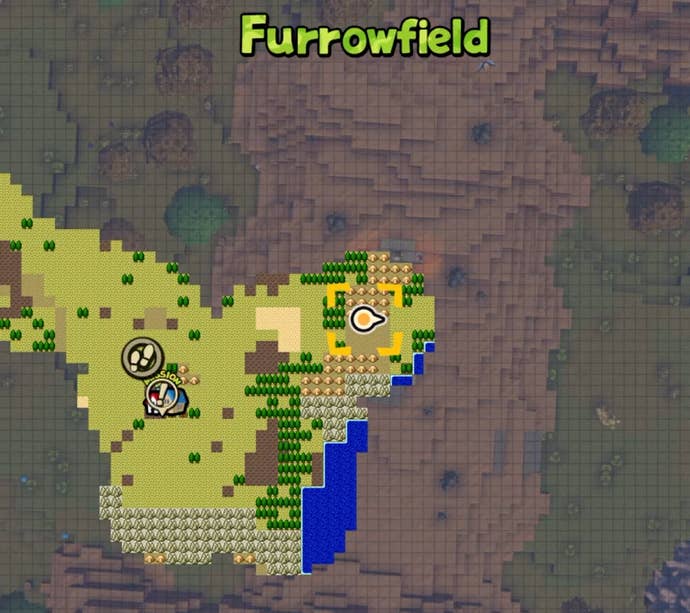
Dragon Quest Builders 2 - Furrowfield Shrine locations
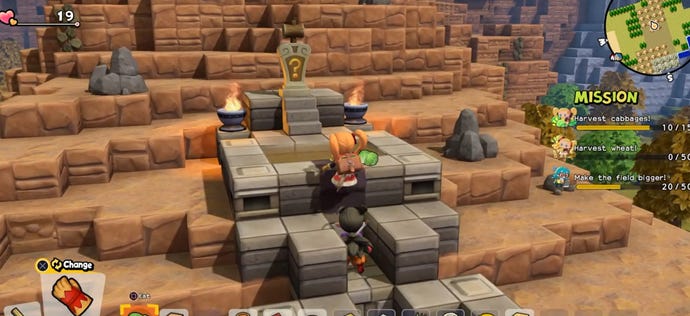
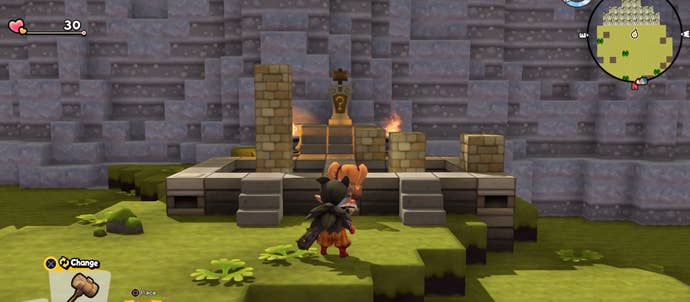
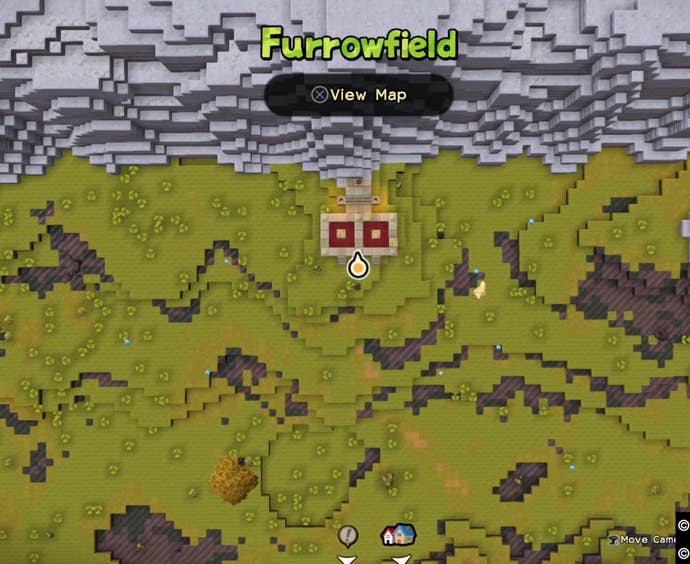
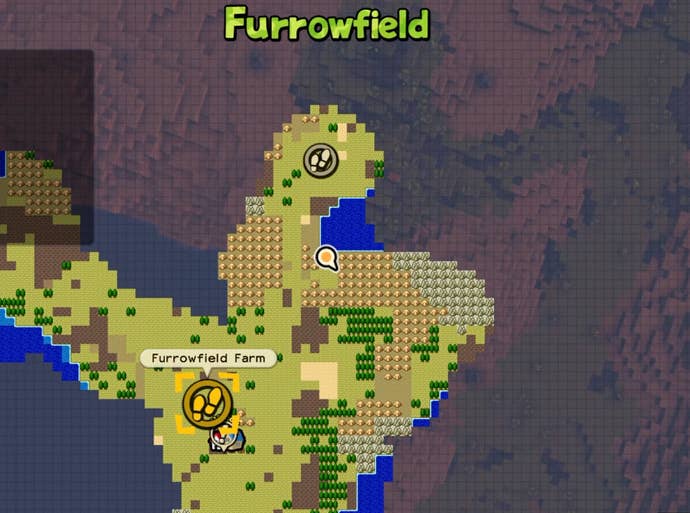
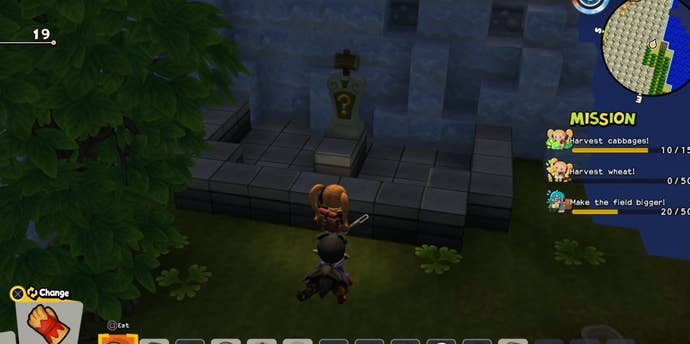
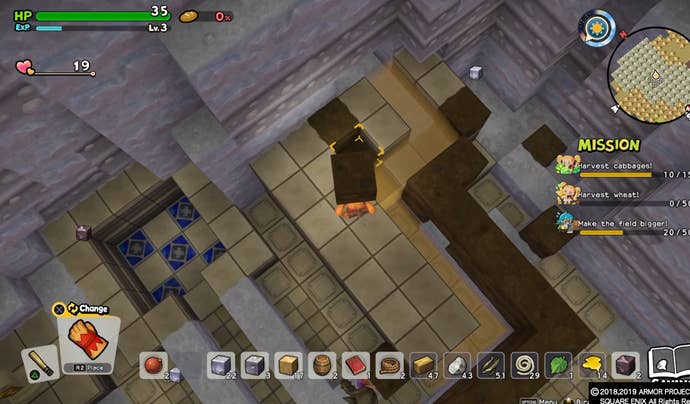
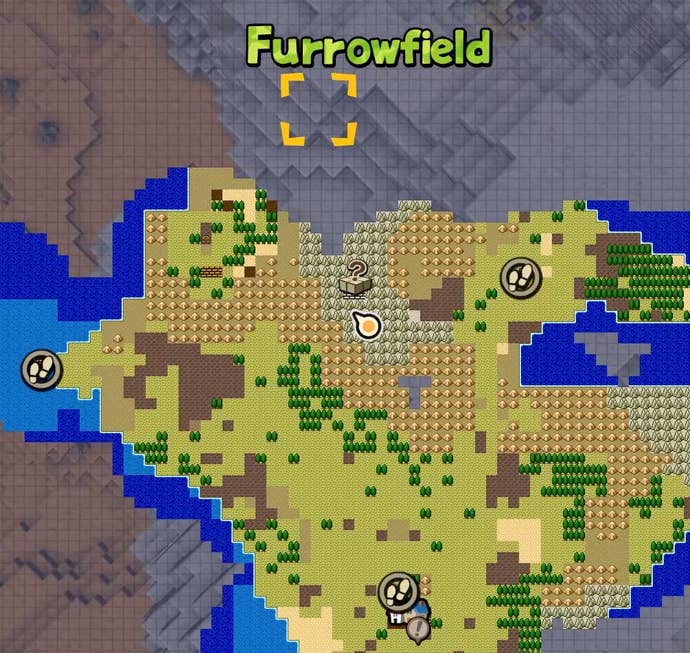
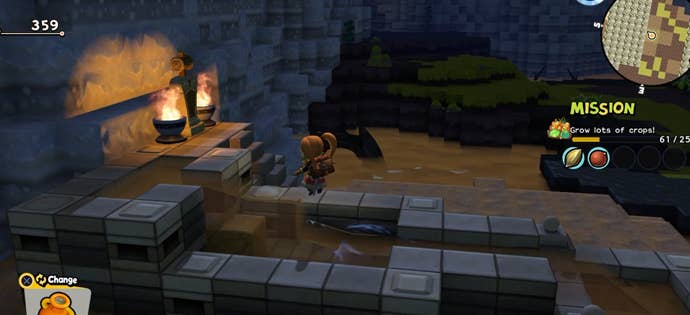
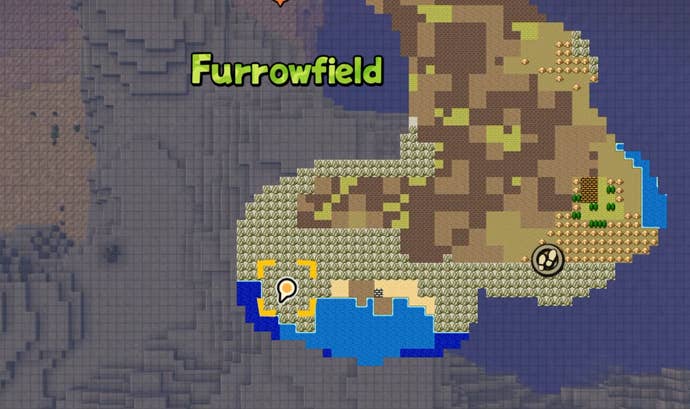
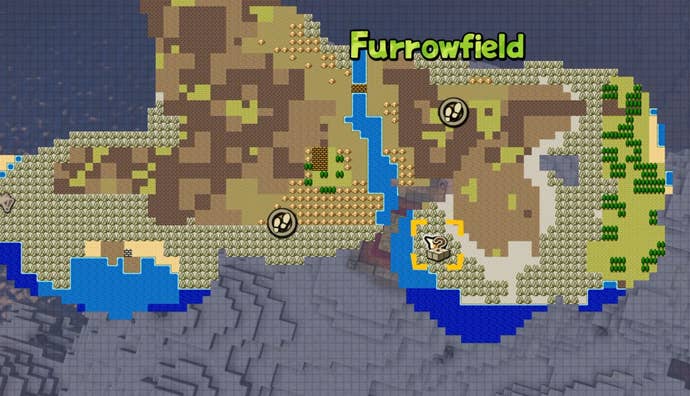
The first Shrine can be found directly South of Furrowfield Farm. Interact with the Shrine and read the inscription before you try and solve it.
All you need to do here is pile the blocks on top of the right-hand column so that it matches the one on the left. You'll get a notification telling you you've completed it, so interact with the Shrine again to collect your medal.
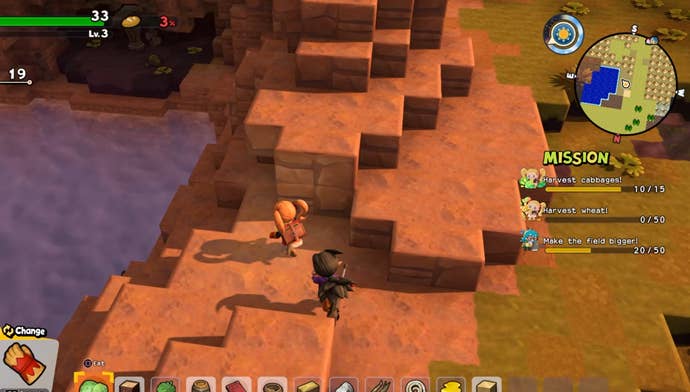
The second Shrine is found East of the farm, past the hungry rat and up some brownstone steps. All you need to do here is remove the block that's interrupting the flow of water.
Once the water has flowed all the way down, you'll have solved the puzzle.
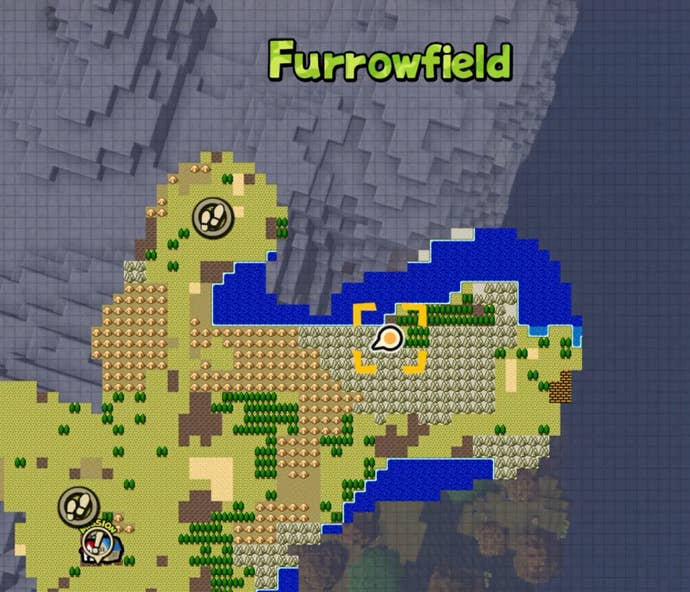
For the third Shrine, heard slightly Northeast of the farm. You'll see a path through the brownstone with a body of water beside. On the right-hand side, you'll spot some stairs that take you down a few levels to sea height.
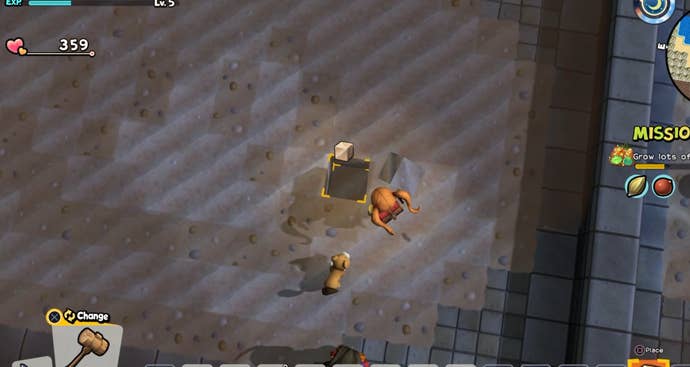
Hidden there you'll find the next puzzle. Put the brown block in the open space to complete the puzzle.
The next Shrine can be found Northeast of the farm, in with the chalk pyramids with the Ogre nearby. It's in a little secluded area beside the water, in amongst some trees.
What you need to do is climb up the wall directly above the Shrine and dislodge the two blocks to allow the water to flow down. Wait a few moments and the pool below will fill with water, completing the puzzle.
The fifth Shrine is by far the most challenging of all. It's in a cave Northwest of the third Shrine, which is North of the farm, in the white chalky mountains.
You'll need to build a path for the water to flow to the pool, as well as make sure you have the water flowing down, as opposed to just all over the place.
Before you begin this shrine, make sure you take lots of food with you as it will use up a lot of energy.
First, use the chalk blocks to line out a path from where the water flows round to where the pool is. Then, dig up loads of the dirt blocks and place two of them on top of the chalk until the corner before the pool. You should also line the floor of the water flow path with dirt blocks up to roughly the same point.
At the water blockage point, use the dirt blocks to force the water slightly to the left and then down. You'll need about five dirt blocks for this little section alone before building your dirt wall around.
It is quite a fiddly level, but as long as you get the water flowing downwards in direction by using the dirt blocks, you'll get there in no time.
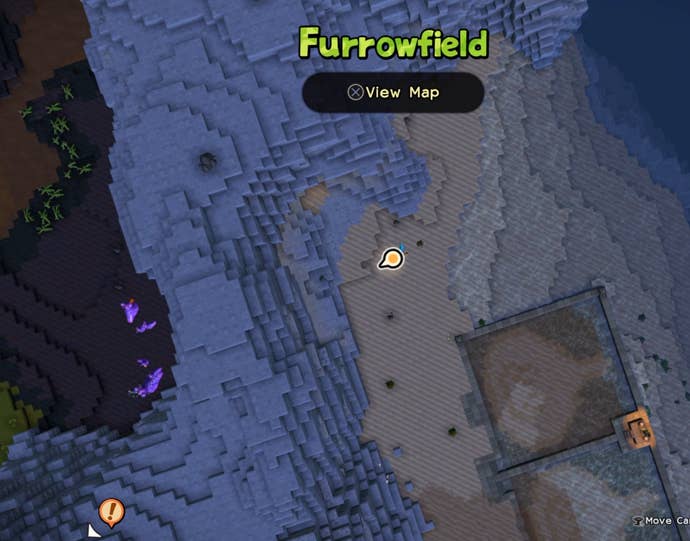
Now would be a good time to progress with the story if you haven't already, as you'll need the Bottomless Pot for this next Shrine. You can find it in South of the farm - head to where the first Shrine is and carry on to the left to find a tunnel that takes you to a new area of the map and The Banks of the Bog warp zone. You're looking for a large gap in the chalky mountains that leads you out to a seafront.
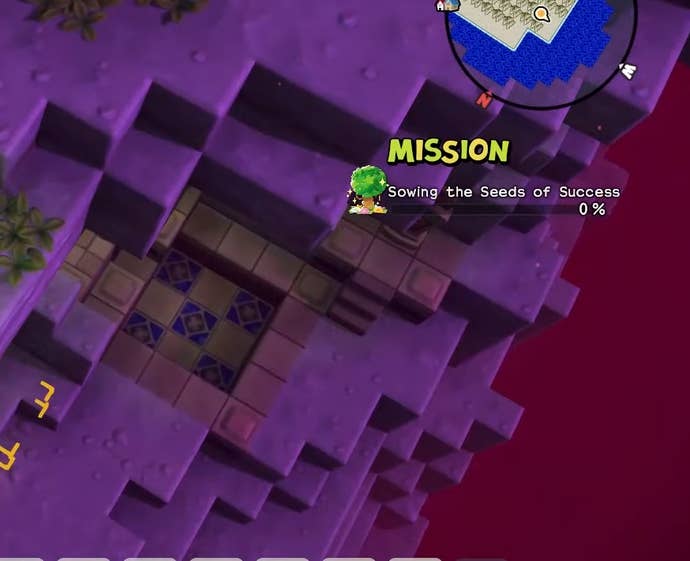
For this Shrine, you need to drain the left pool of water and clear the area of rubble - don't destroy the sand blocks, though, as you'll need them. The pattern on the left needs to match the pattern on the right, so you'll need to hold down L2/LT to bash a hole in the ground to place the two sand blocks.
In the left pool, you'll see two almost plus shaped markings. You need a dig a hole on the left-hand side of the left plus sign and put the sand block in there, and vice versa. Do this, and the sixth Shrine is complete.
Go back through the gap in the rocks and head to the left to find the next Shrine. Again, you're going to be removing blocks to help water flow, but also laying down some blocks so that it flows downwards.
Put a block or two just below the waterfall to help it along, or use your new Bottomless Pot to fill it up.
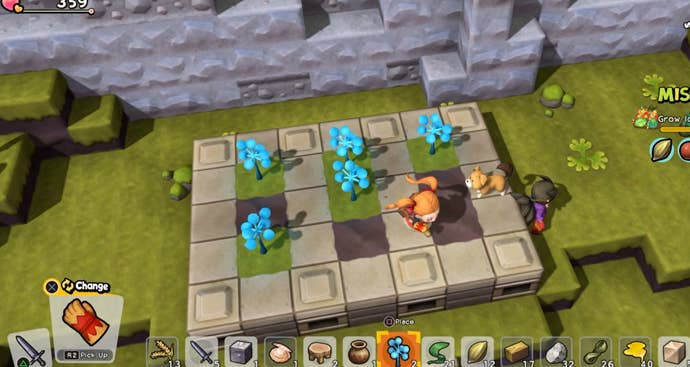
For the eighth Shrine, you'll see a little raised garden. To solve the puzzle, all you need to do is place some blue flowers on the green spaces. That's it, time to move on.
You can find it close to the Archers, near the old church. If you fast travel to the rat's apple farm and head Southeast, you'll find it soon enough.
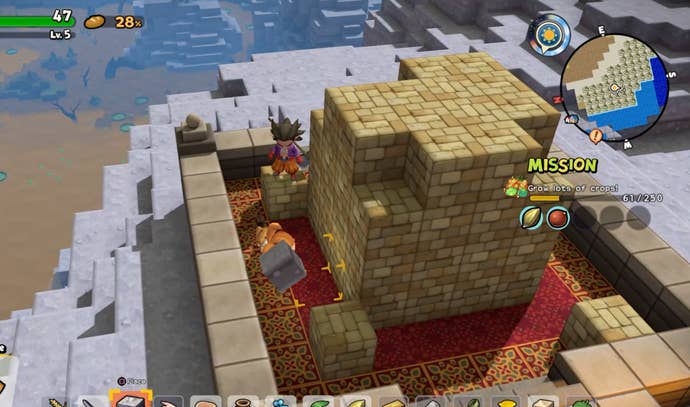
The penultimate Shrine can be found East of the apple farm location, and you'll be able to see it on the map as a giant red and beige keep atop the chalky mountains. To solve this puzzle, all you need to do is plug the holes at the top of the block pile using the sandy blocks proved. Easy stuff.
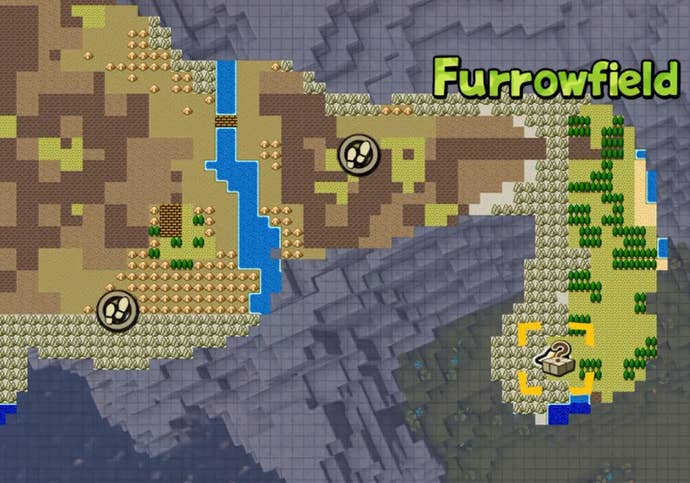
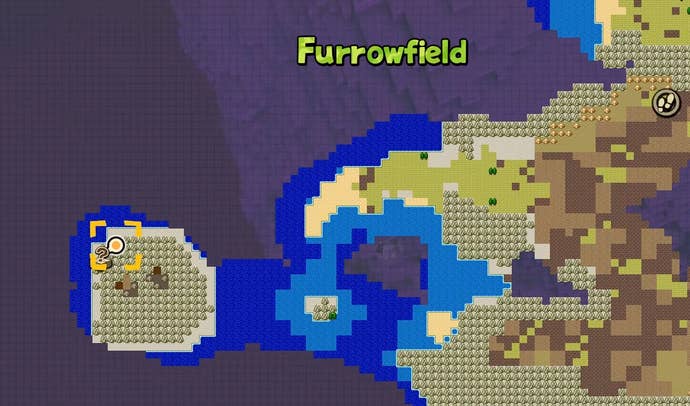
For the final Shrine, you'll need to be able to glide, so progress through the story until you get that item. Once you've done that, head West past where you planted the grass for the Archer. Keep heading West - right across the water, really go for it - until you reach another much larger island.
The Shrine can be found in the Northwest of the island, facing the sea. All you need to do is pour water from your Bottomless Pot into the top section, remove the block and let the water trickle down.
Congrats, you've solved all ten puzzles on Furrowfield Island! Head back to the Isle of Awakening for your rewards.
Want more? Check out our Dragon Quest Builders 2 review, as well as our room and set recipe guide.
