Resident Evil 7 guide: where to find repair kits, build a better M21 shotgun and M19 pistol
Use your handyman skills to get better guns.
Resident Evil 7 guide: all the repair kit locations and how to use them
Resident Evil 7 is more focused on combat than Capcom had a lot of us believe before the game launched, and a big part of that is the game's weapon line-up.
Two of the weapons you'll be able to find out in the world are broken. These are the M19 Pistol and the M21 shotgun. Both of these weapons are more powerful than the basic variant pistol and shotgun - and they use the same ammo to boot.
You'll want these guns. But to get them working, you'll need to combine them with a repair kit. here's how to find those all-important kits:
Repair Kit #1 - the Yard & Trailer
The first repair kit in the game is available to you as soon as you have access to the yard and trailer area - so after you've taken part in the duel in the dissection room, picked up all three dog heads and placed them in the front door of the Main House.
Let's assume you start inside the trailer. Open up the front door of the trailer and look straight ahead; there's the main house. There are two sets of stairs: left and right. Look at the left-hand set of stairs and then look slightly to the right of those stairs on ground-level. Here there's a piece of corrugated metal that's designed to repair a hole in the base of the house's decking.
Rip this metal open and crouch to crawl underneath. In this area there's a box you can smash with your knife or with a single bullet, and inside is a repair kit.
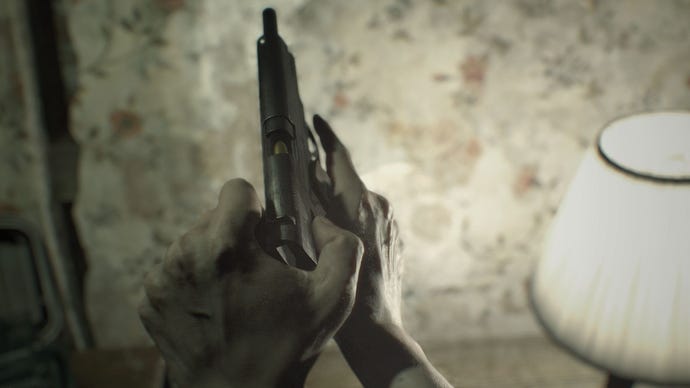
The timing of when the game gives you this repair kit means it's best used to repair the Broken Pistol found on the bed in the trailer. This becomes the M19 Pistol when fixed. It has a 17-round magazine and is more powerful than the other basic pistols in the main game, the G17 and MPM.
Repair Kit #2 - the Testing Area
The second (and as far as we can tell, final) repair kit in the game is available once you've got the Snake Key and have access to the Testing Area, the part of the game where Lucas has set up some SAW-like puzzles for you to solve.
This one's actually tied to an in-game treasure photo, so you'll need that first. This treasure photo is found in the Main House. Head upstairs to the Master Bedroom (the snake key room on the second floor of the main hall) and head into the extra side-room from that room, Storage. On the left of this room you'll find a treasure photo which depicts a mannequin head atop some metal structure or another. You need this image to even see the repair kit; it won't be able to be picked up without this clue.
With this photo head to the Testing Area. The first few rooms are ones you have to work your way through avoiding trip wires. In the fourth winding room keep an eye open - the cage-like structure you need with the mannequin head on top of it is off in the corner. Touch the mannequin head to find the repair kit.
The timing of when this kit is available to you makes it ideal for repairing the M21 - the second, more powerful shotgun in the game. The M21 is available from earlier on, but before you have a repair kit. At this point you'll have access to the Toy Shotgun in order to escape with it without sacrificing your other shotgun, and a repair kit to repair it. Have at it!


