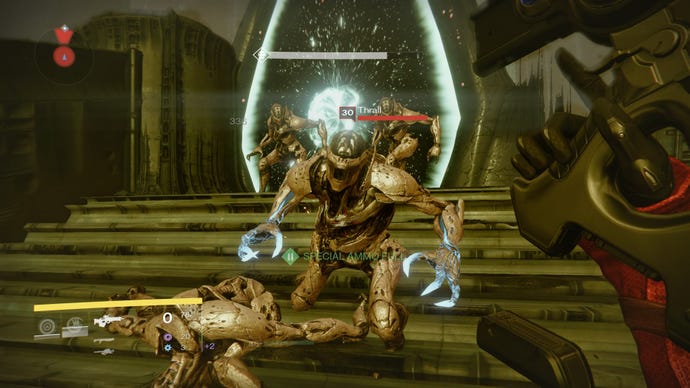
Destiny: The Taken King - The Taken King quest walkthrough
You'll start The Taken King with this long quest-line. Here's how to beat it and what to expect.
The Taken King quest is, pretty obviously, the main plot-line for Destiny's The Taken King. You'll want to rinse this as quickly as possible in order to hit level 40, grab a suite of new-gen gear and get stuck into the expansion's real meat, the Strikes and the new Raid.
But that's not to say The Taken King quest isn't worth the wait. Taking in Earth, the Moon and the brand new Dreadnaught location, this is an epic piece of Destiny showing Bungie isn't afraid to experiment with puzzles and greatly different combat mechanics over the game we saw in year one. The Taken enemies will delight you, and, as you're probably well over-powered for the level, you'll get a chance to test out the way the Taken operate. Good practice for the later challenges, because it really does get tough.
That comes later, though. To business. Get familiarised with the new main location, the Dreadnaught, and stick one to the Hive. Let's go.
You pick this quest up automatically as soon as you start playing. Just hit the flashing red marker on your map. Also, please note that we've only provided walkthroughs for the actual levels in the quest. The steps where you talk to the Vanguards are something you can probably manage on your own.
- Step 1: The Coming War
- Step 2: Talk to Cayde 6
- Step 3: Clyde's Stash
- Step 4: The Dreadnaught
- Step 5: Talk to Cayde-6
- Step 6: Talk to Zavada
- Step 7: Enemy of my Enemy
- Step 8: Talk to Eris Morn
- Step 9: Lost to Light
- Step 10: Talk to Eris Morn
- Step 11: Speak to Cayde-6
- Step 12: The Promethean Code
- Step 13: Last Rites
- Step 14: Regicide
- Step 15: Talk to Eris Morn
- Step 16: Talk to Cayde-6
- Step 17: Talk to Zavala
Head back to our full Destiny: The Taken King guide.


